
How to Install a Front and Rear Bumper on a 1965-1966 Mustang
Last Updated August 8, 2023 | Alison SmithBefore we got started on Project Betty, our 1965-1966 Mustang build, we asked if there were any basic installs you wanted to see first. One of the questions a lot of people had was how to install bumpers on a classic Mustang. There’s no underestimating the power of brand-new bumpers. Re-chroming the factory bumpers can get pricey, so replacing them can save a lot of time and money.
Follow the steps below to learn how to put new front and rear bumpers on your classic Mustang in just a few hours.
Step-by-Step Instructions
In the following steps, we’ll show you how to install this CJ Classics Chrome Bumper Kit on a 1965-1966 Mustang. The kit contains a new front and rear bumper plus the hardware needed to mount them to the bumper brackets.
Required Tools:
- 3/8" Ratchet
- 1/4" Ratchet
- Long Extensions
- 11/16" Socket
- 5/8" Socket
- 1/2" Socket
- Swivel
- 1/2" Wrench
- Phillips Screwdriver
Step 1: Begin Removing Front Bumper
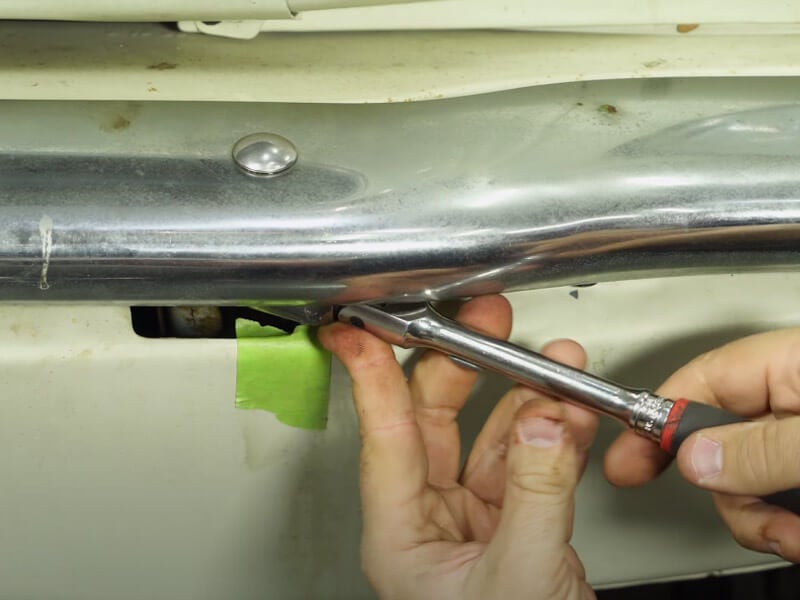
Begin removing the bolts on the front bumper. Using a swivel, you can start with the side bolt on one side. Penetrating lubricant can help remove any stuck bolts.

Pro Tip: If you’re worried about messing up your Mustang’s paint job, put tape on the places where the extension could rub against the body to prevent metal-to-metal contact.
Step 2: Remove Bumper Guards or Brackets (Optional)
Bumper guards can make it challenging to remove the bumper. So, if you do have bumper guards, you may need to remove them before taking the rest of the bolts out of the front bumper. Also remove the bumper bracket if it’s in the way.

Step 3: Repeat Process on Other Side
Once you remove the three bolts on one side, repeat the process on the other side until all the bolts are removed. You can use one bolt to keep the bumper in place until you’re ready to remove it.
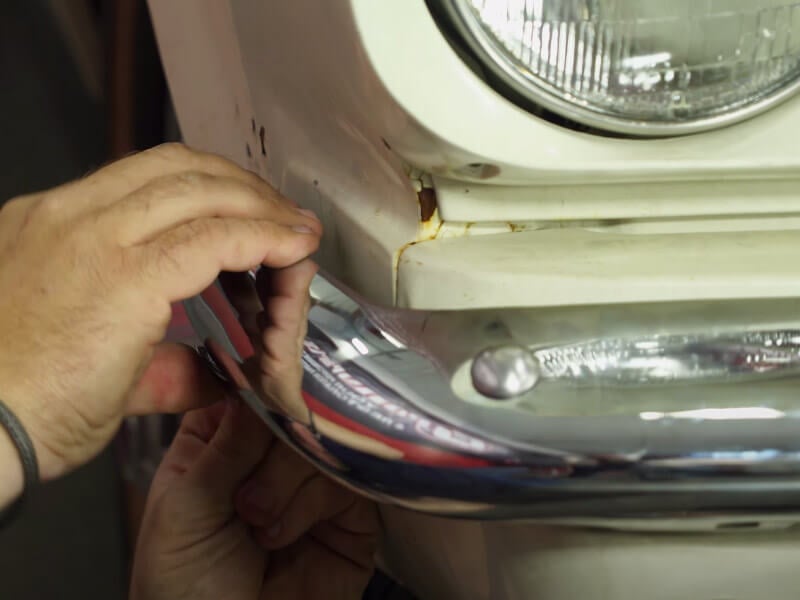
Step 4: Remove the Front Bumper
Starting from one side, pull the bumper out and forward to clear the bracket. You should then be able to remove the whole front bumper.

Step 5: Inspect Bumper Brackets
With the bumper off, inspect the bumper brackets to see if they’re in good shape. Check to make sure they’re not bent or damaged. The slotted holes will help properly align the new bumper. Whether you’re using original or new brackets, you may need to open up the holes to fit the new bumper. Leave the brackets loose so you can make adjustments before tightening everything down.

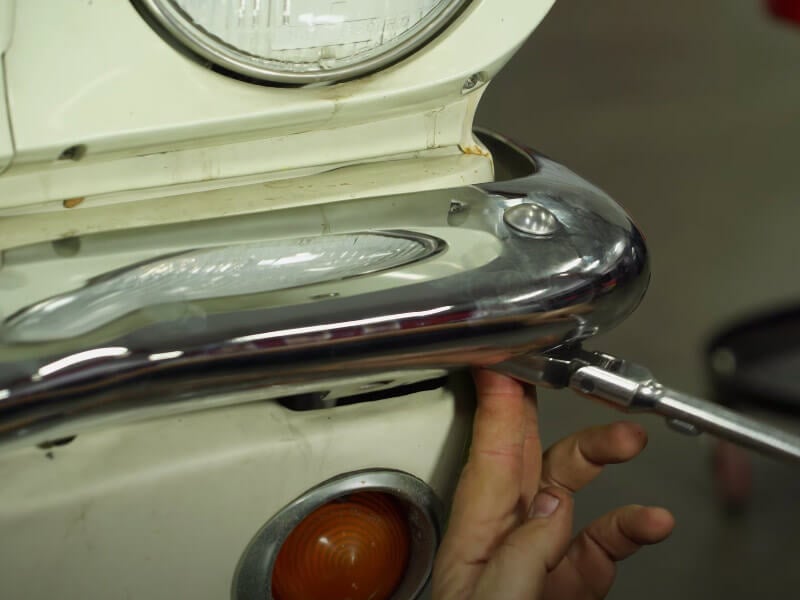
Step 6: Attach New Front Bumper
Grab the new front bumper and place it on the brackets by hooking it around the corner on one side. Hold it in place with a bolt if needed before moving on to the next step.

Step 7: Install Hardware on New Front Bumper
Reinstall the new or existing hardware onto the front bumper. Put all the front bolts in first, followed by the nuts, and hand-tighten. Then, reinstall the side bolts.
Step 8: Tighten Bolts Down
Once all the bolts are seated, you can use your ratchet to tighten everything down. Finish by tightening the bolts on the side. That’s the last step for the front bumper!
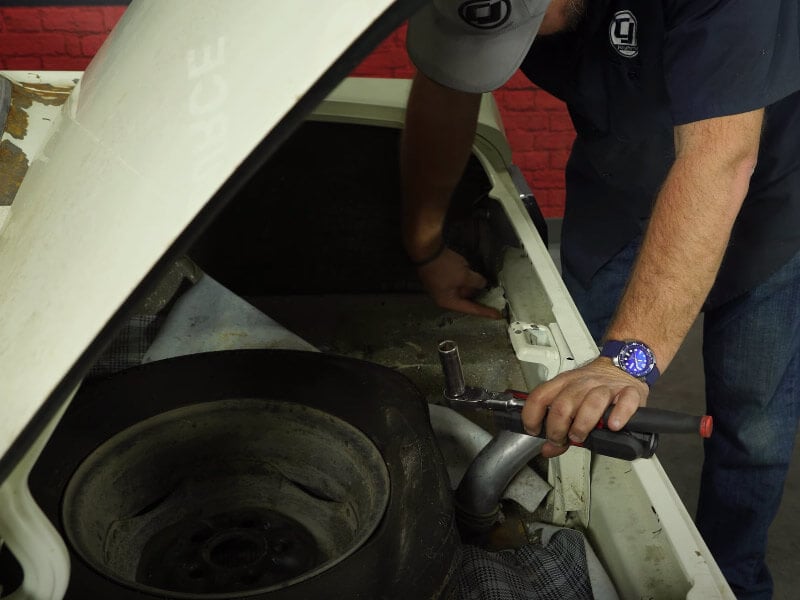
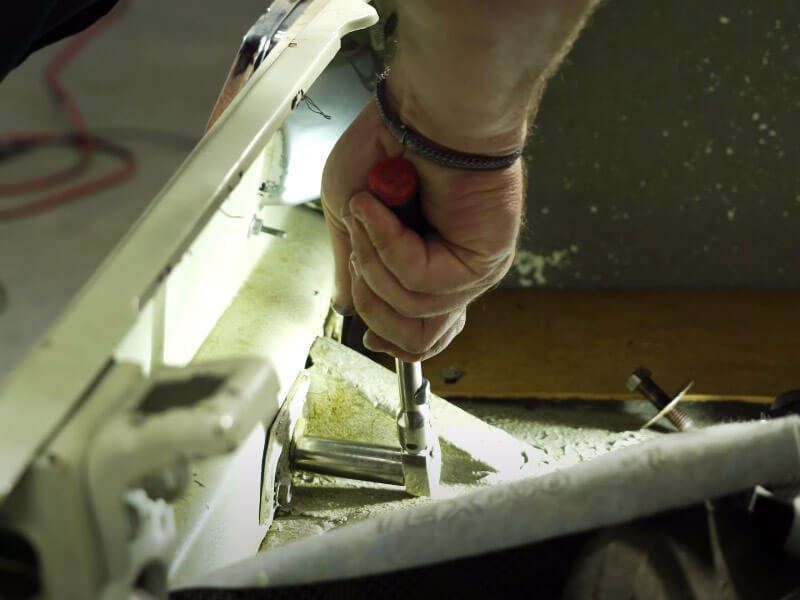
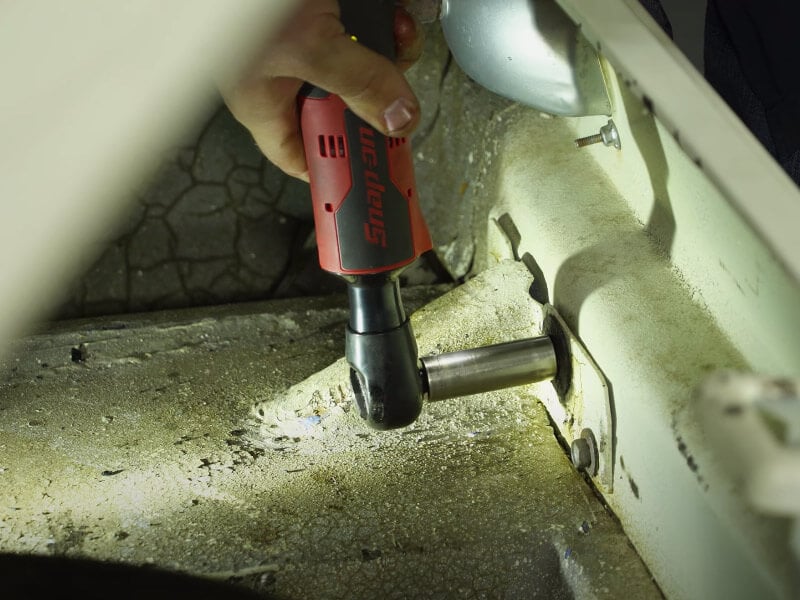
Step 9: Remove Bolts on Rear Bumper
Since there’s no way to access the bolts on the rear bumper, you’ll have to go through the trunk. Spray them with a lubricant ahead of time for easier removal. Don’t remove the last few bolts yet.
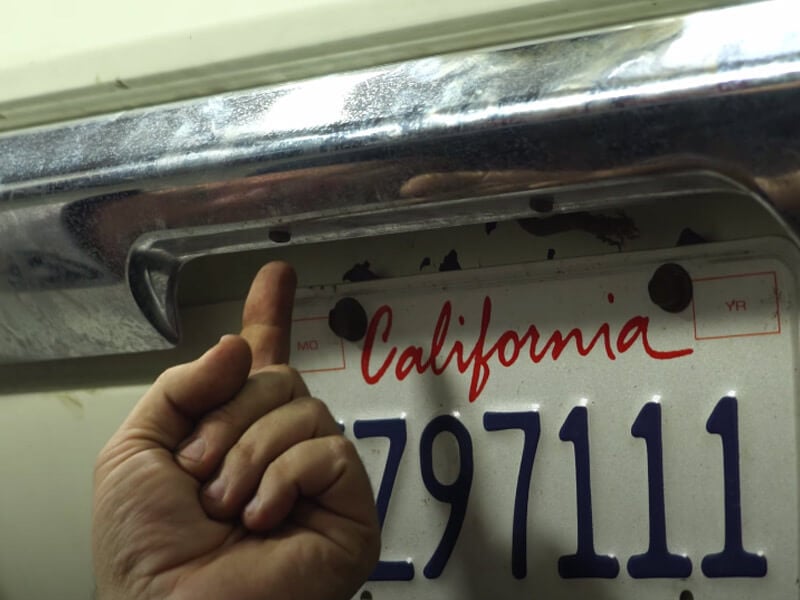
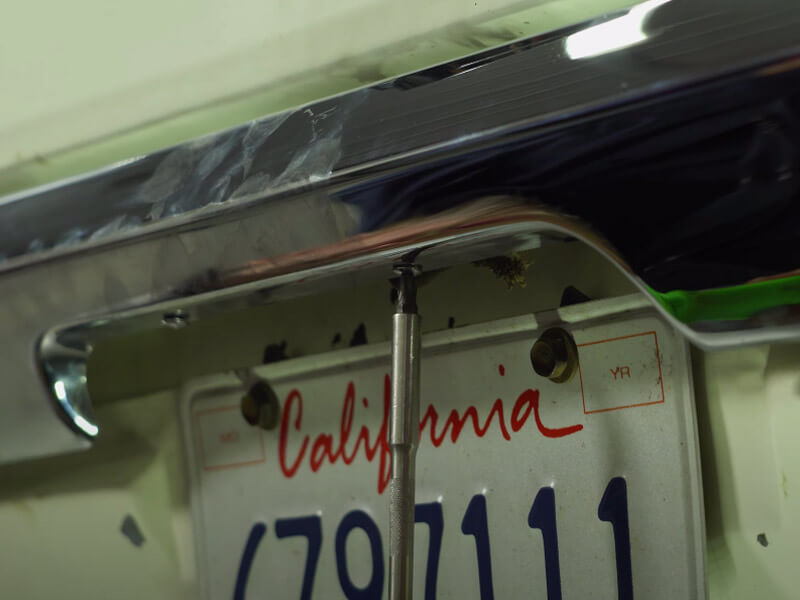
Step 10: Unscrew License Plate Light Bracket
You will need to remove the license plate light bracket before removing the remaining bolts on the bumper. Using a screwdriver, remove the bracket by unscrewing the two screws on the bumper above the license plate.
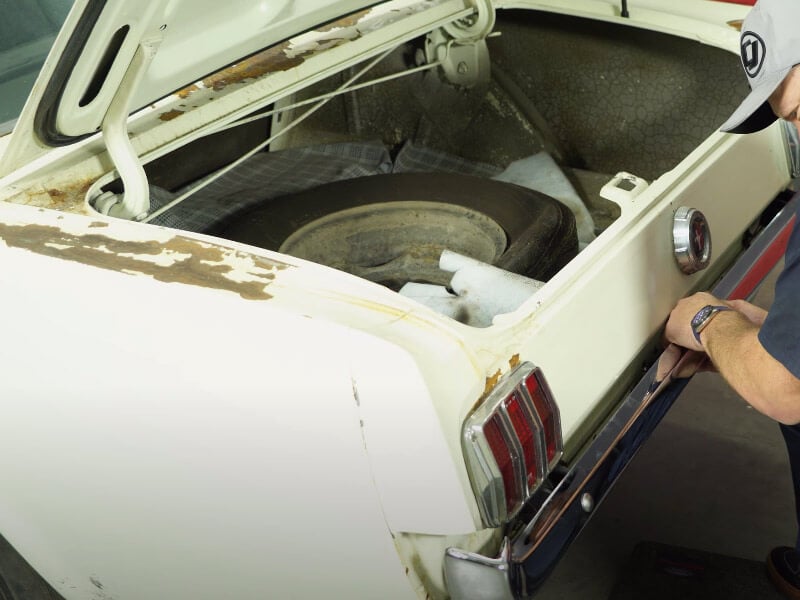
Step 11: Detach Rear Bumper
Next, hold the bumper and remove any remaining bolts. You can then detach the bumper once all the bolts are free.
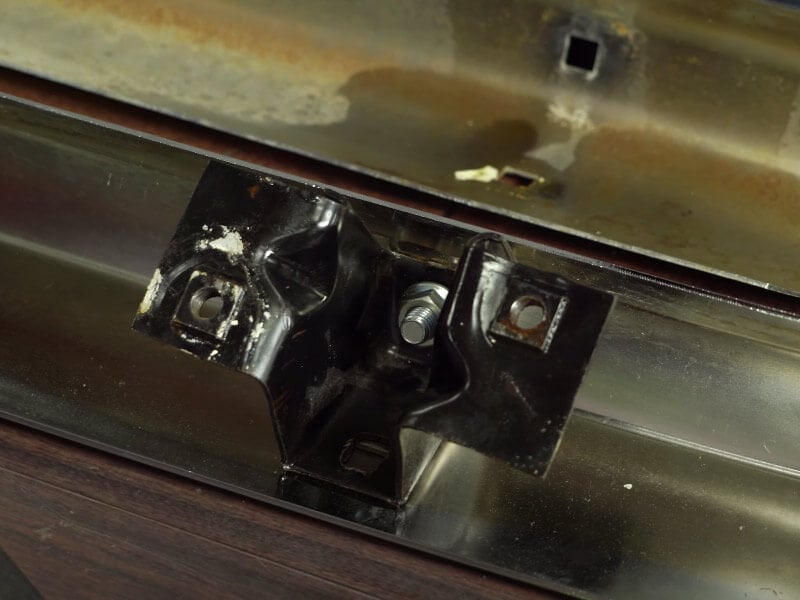
Step 12: Relocate Bumper Brackets
Remove the bolts attaching the bumper brackets to the old bumper. Once the brackets are removed, relocate them to the new bumper. Use new hardware to install the brackets on the new bumper if needed. Get both bolts seated before tightening them down. Repeat the process for each bracket.
Step 13: Attach New Rear Bumper
Grab the bumper and align it with the rear of your Mustang. Slide the license plate light bracket back in and attach the bumper with a few bolts to hold it in place.
Step 14: Reinstall License Plate Light Bracket
Get the license plate light bracket properly situated and screw it back into place.
Step 15: Install Remaining Bolts
Install the remaining bolts and tighten them down. Don’t forget to tighten any of the other bolts that were holding the bumper in place as well. After the bolts are all tight, the installation is finished!
Considerations for Your Mustang Bumper Install
A little elbow grease or lubrication might be needed to get the old bolts off your classic Mustang. If the brackets or any of the hardware are rusted, you can always replace them with new hardware. Not only will they be easier to remove in the future, but they’ll also look better too. Just be sure to follow any specific manufacturer instructions included with your new bumpers. For more classic Mustang how-to guides, check out How to Install a Radiator on a 1965-1966 Mustang, or How to Install Rocker Panels on a Classic Mustang.
Sign up for our newsletter to stay up-to-date on our latest resources and parts to get you through your restoration.


Please Note: This guide is a tool to help you install parts on your vehicle. If you don’t feel confident performing this installation on your own, please have a professional install the parts for you.


