How to Change the Oil in a Ford F-150
Last Updated April 25, 2024 | Andrew BoyleChanging your oil is a necessary part of maintaining your F-150. Engine oil is used to maintain lubrication and drive engine block temperatures down. The cooler an engine runs, the more efficient it can be.
Over time, engine oil can pick up contaminants and eventually break down. This reduces its ability to lubricate all of the moving parts in your engine. That’s why it’s necessary to keep up on oil changes so your truck can remain at peak efficiency for years to come. It’s recommended that you change your oil on average every 3,000-5,000 miles. With certain oils out nowadays, some may even extend that to 10,000 miles depending on how you drive your truck. We typically suggest a healthy average of every 5,000 miles for oil changes.
For this particular oil change, we’ll be working on our 2014 F-150 EcoBoost. We used a K&N Filter for 2011-2020 F-150s. The process below will be the same for any 2011-2016 F-150 oil change. This F-150 oil change is pretty easy and should take only about 30 minutes.
F-150 Oil Change Video

F-150 Oil Change Step-By-Step Instructions
Tools Required:
- Lift or Jack and Jack Stands
- Ramps
- Drain Pan
- Oil Filter Wrench
- 3/8" Socket
- 15mm Socket
- 15mm Wrench
Time: 20-30 minutes
Difficulty: Easy
- First off, you’re going to want to remove the oil cap in the engine bay. This is done so your engine can breathe better when you’re draining the oil out of the oil pan.
Tech Tip: While you’re up in the engine bay, be sure to check all of your other fluids and top off if needed.
- Make sure you’re following your manufacturer's suggested oil weight by checking your owner’s manual or glancing at the top of the oil cap. We’ll be using 5W-30 for this oil change.

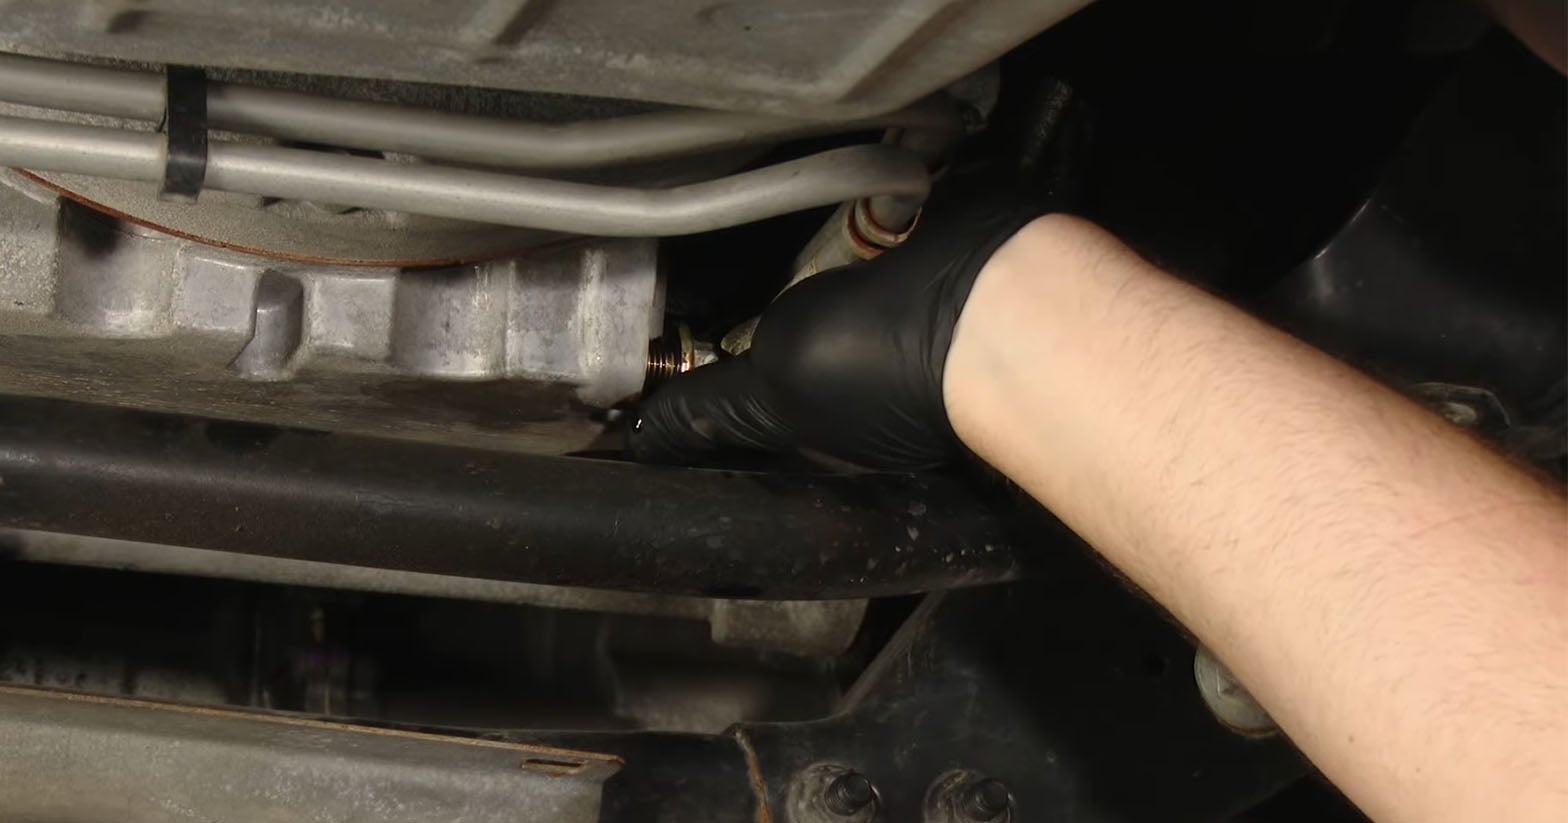
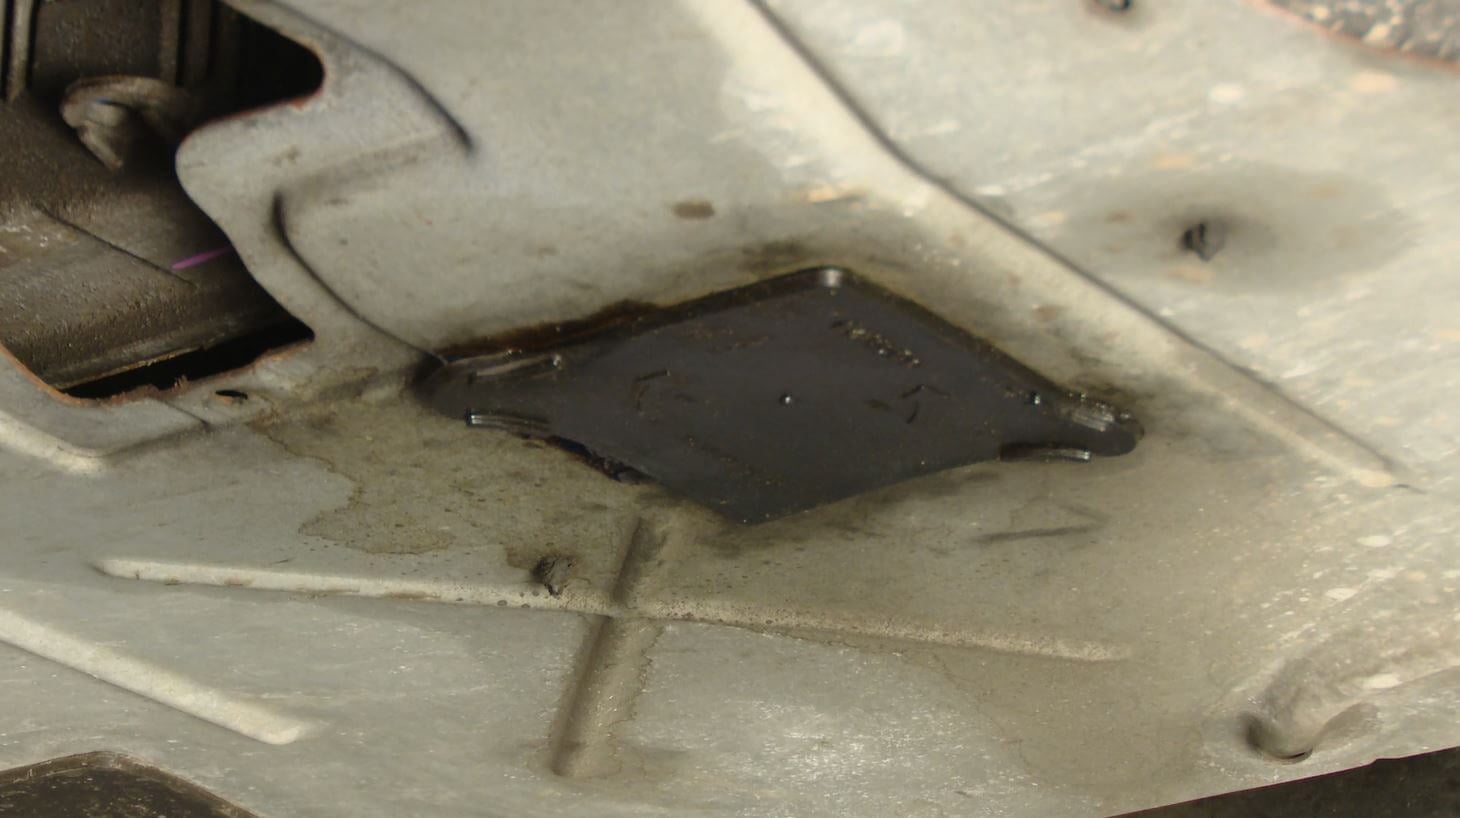
- Now that you’re under the truck, grab a 15mm wrench and locate the drain plug for your oil pan. You’ll also want to make sure you have a proper catch for the oil to drain out of your F-150. Position the catch away from the plug because the oil will likely come shooting out.


- Once you break the plug loose, you should be able to use your hand. Slowly loosen the plug while applying pressure. When the bolt is completely unthreaded, quickly pull the plug out using a swift motion to keep your work area relatively clean.


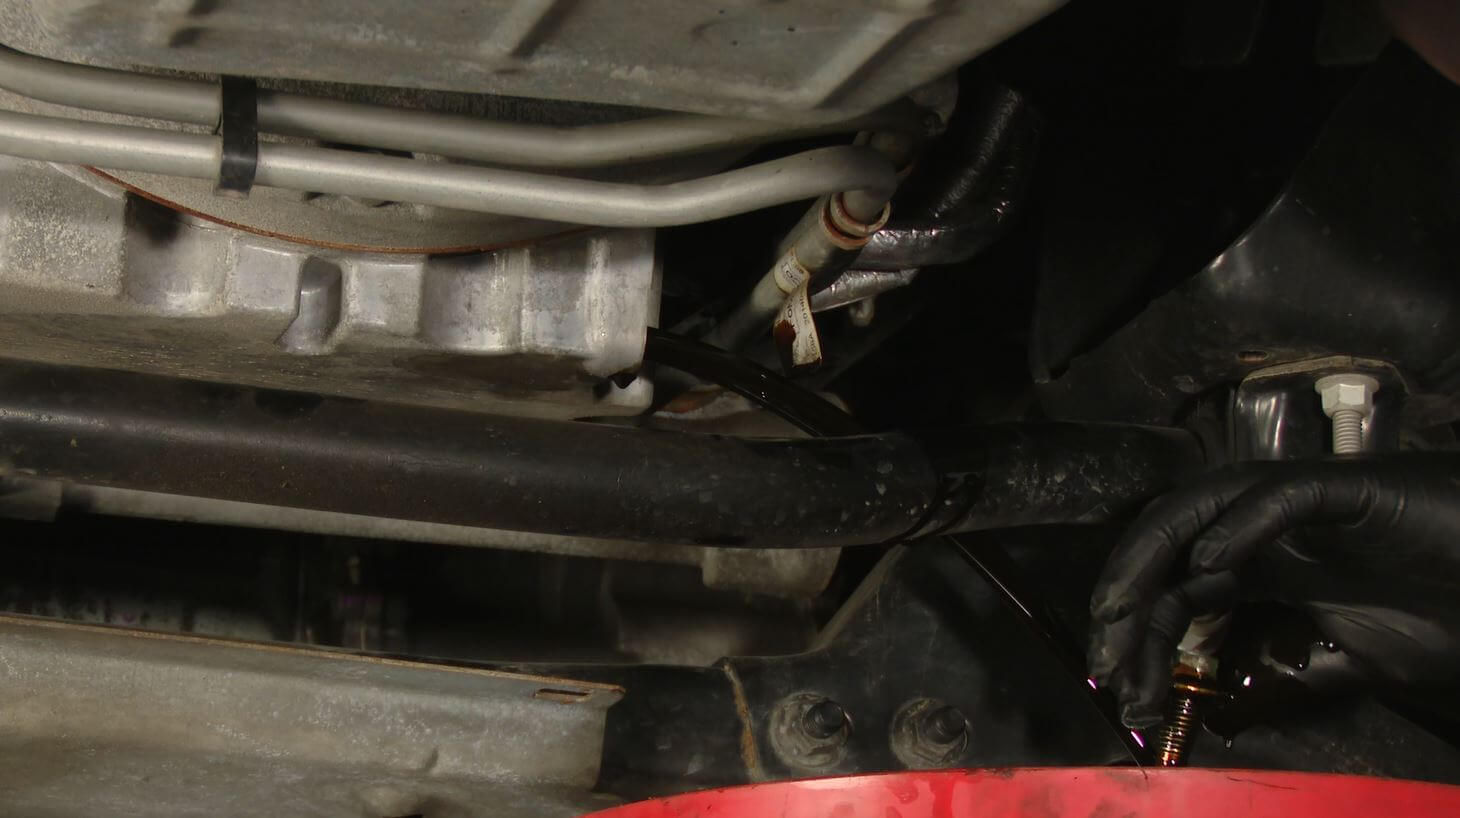
- Once all the oil has drained, you’re ready to reinstall the drain plug. Thread the plug in by hand to ensure that you do not cross-thread the oil pan. Then, snug it up with a wrench.


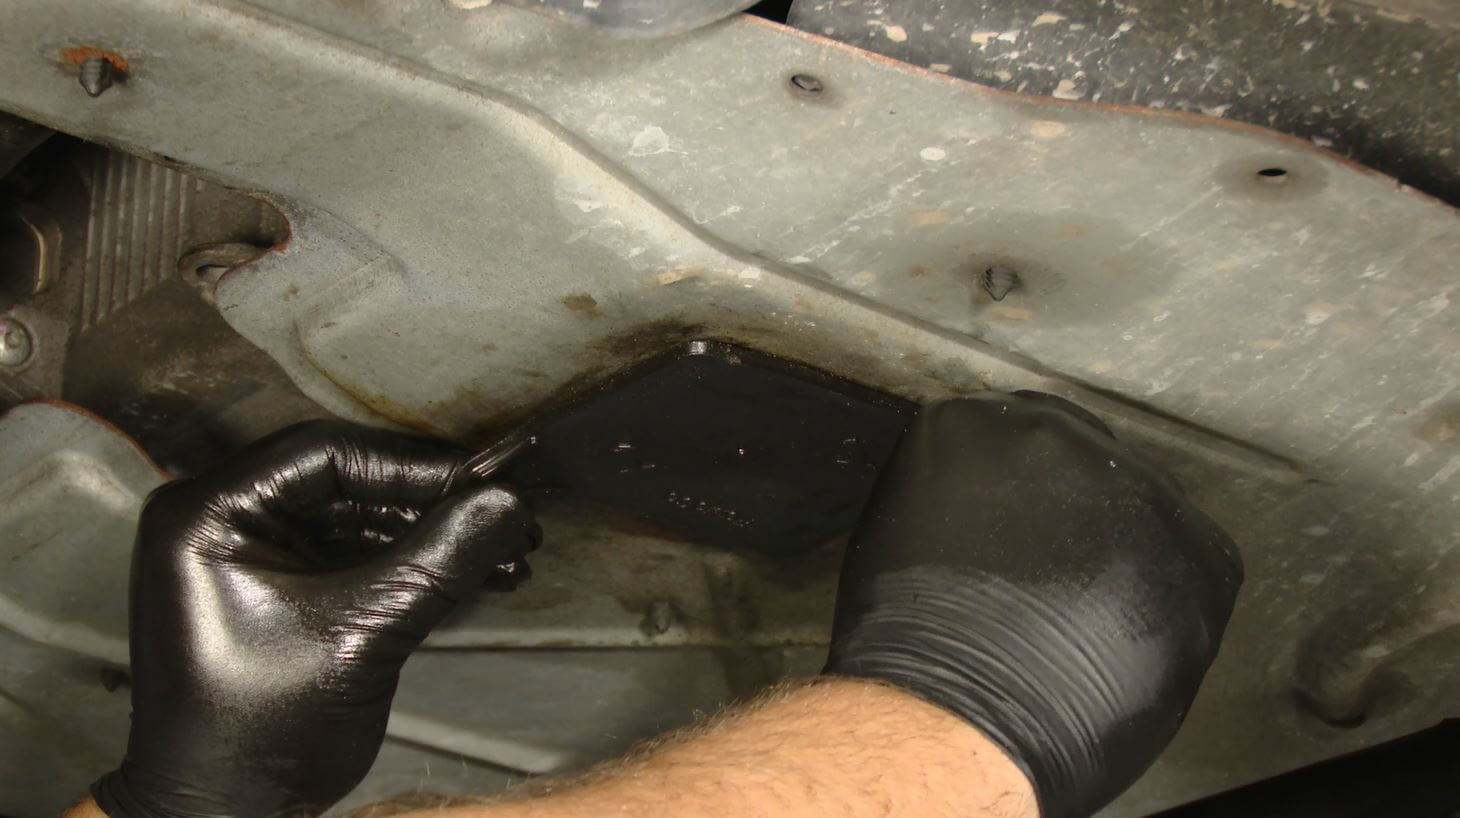
- Now you’re ready to work your way to the oil filter. Remove the splash shield towards the front of the truck. You will have to reach up into the engine bay to get to your filter.

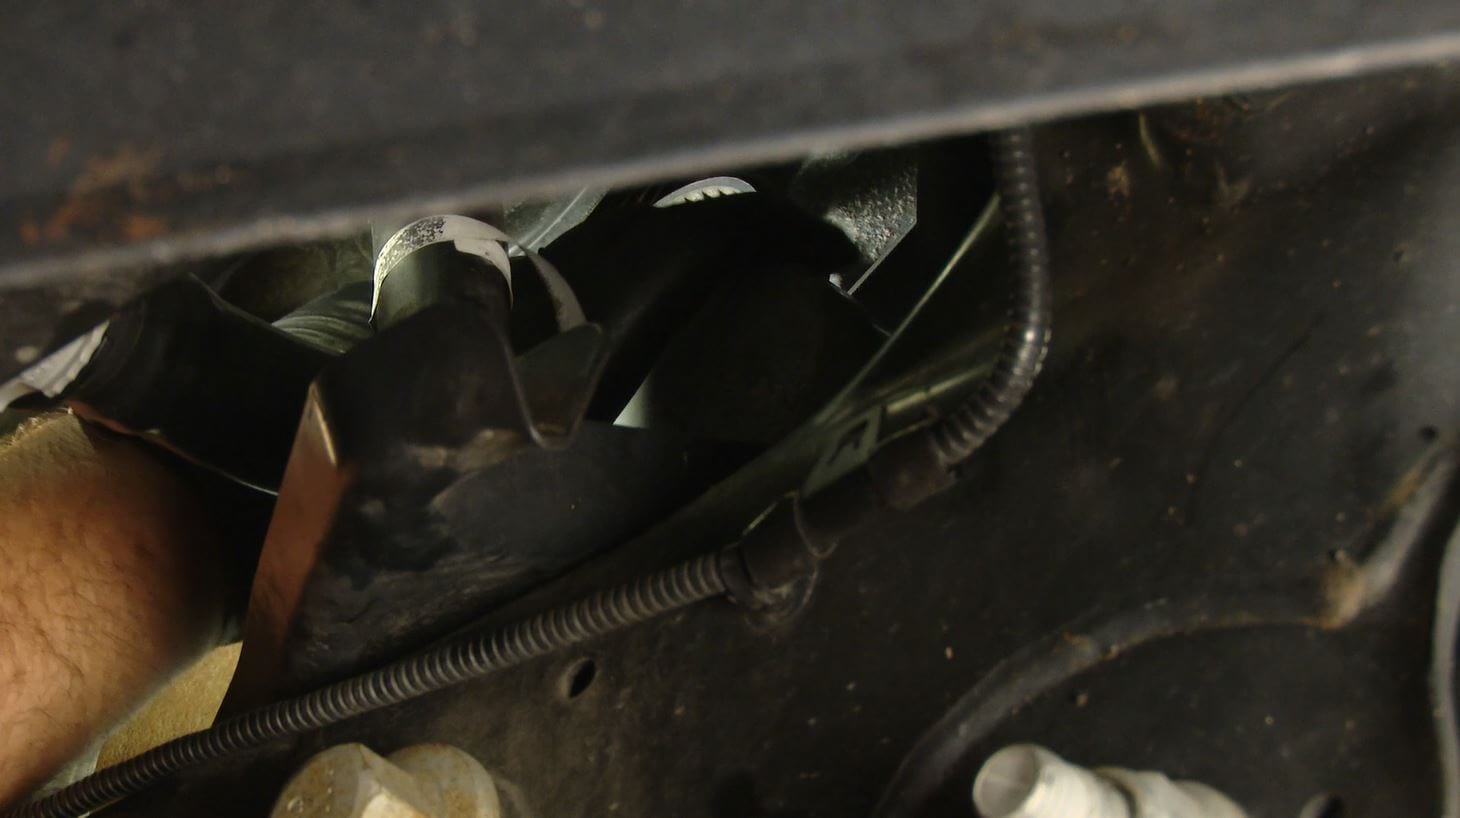
- In order to drain the filter, you will need to remove this rubber seal on the bottom of the truck.

- Reach up into the engine bay by the splash shield that you removed to begin unscrewing the oil filter. The oil will drain through the hole where your drain pan should be positioned. Then, remove the filter and drain the rest of it in your drain pan.


- Once the oil is completely drained out, you can replace the rubber seal.
- Then, grab the new oil filter and apply oil to seal to ensure that it seals properly and is easy to get off for your next oil change.

- Double check and make sure that the old oil filter gasket came off with the old filter. If it’s not on the filter, it’s likely still stuck to the engine block - if so, be sure to remove it. Otherwise, the new filter will not seal properly.
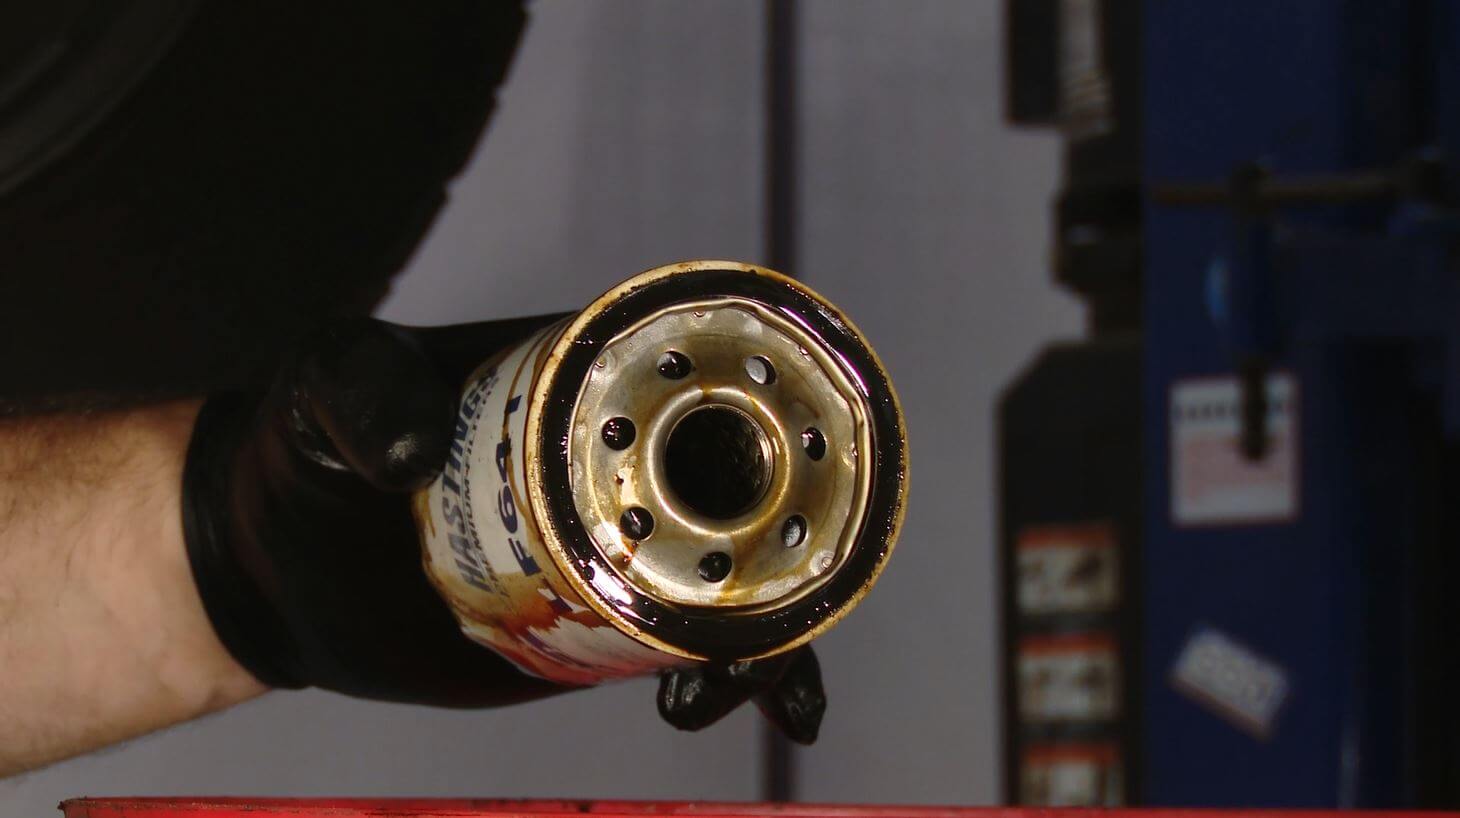
- Finally, install your new oil filter. Tightening the filter by hand should be sufficient. You don’t want to overtighten an oil filter or it would be very difficult to get off for your next oil change.

- Reinstall the splash guard towards the front of the truck.

- Next, grab a funnel and move to the engine bay. You’re now ready to fill your engine with the new oil! Be sure to abide by the manufacturer suggested oil capacities in your Owner’s Manual.

- Once you’ve finished, grab a rag and remove the funnel while cleaning up any excess oil. Then reinstall the oil cap.

- Start the engine, check for leaks and make sure everything is good to go. Check the oil one more time after running then engine as well. Be sure to dispose of the oil properly and your oil change is complete!

Transform Your F-150 with Aftermarket Parts
Now that you know how to change the oil in your Ford F-150, you’ll be ready next time your oil pressure gets low, and you’ll save yourself some money by doing it yourself. If you’re looking for other ways to get better performance out of your F-150, we have the aftermarket performance parts you need. Check out our wide selection of F-150 parts below.


