
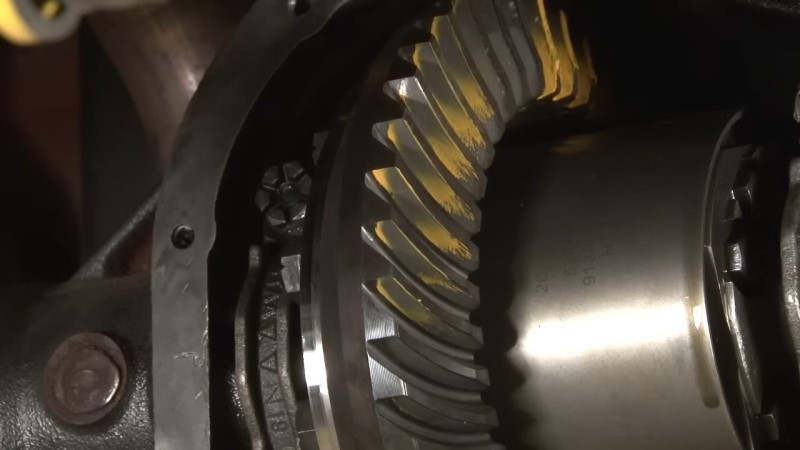
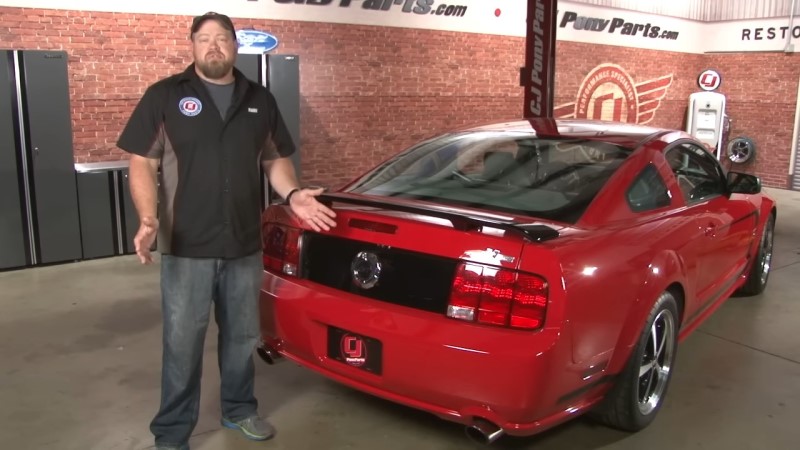
How To Install a 1986-2014 Mustang Ring and Pinion Gear Set
Last Updated August 28, 2024 | Kevin BrentReplacing the rear gears in your Ford Mustang is a rewarding upgrade that can significantly enhance your vehicle's performance. Whether you're seeking quicker acceleration or smoother ride quality, upgrading to a numerically higher gear can make a noticeable difference in your driving experience.
It’s important to point out that adding a new ring and pinion rear gear set is not an easy install. It requires precision, specialized tools, and a solid understanding of the steps involved. In this guide, we'll walk you through each stage of the installation, from preparation to the final test drive, ensuring you have the knowledge to tackle this project with confidence. We’ll also help you determine if you have the tools and skills required to perform the installation yourself or if it's best left to a professional.

How to Install a Ring and Pinion Gear Set On a 1986-2014 Mustang
Due to its complexity, this install will likely take the better part of a day to complete. Before starting, gather all necessary tools and parts. You'll need a ring and pinion gear set, three quarts of gear oil, friction modifier, and several specialized tools listed below. For this install we used Ford Performance’s ring and pinion gear set for 1986-2014 Mustangs equipped with an 8.8" rear axle. Make sure that the rear end gear kit you choose is compatible with your Mustang’s year and model. You may also want a second person to help with parts of this install.
Check out the video below for more information on the installation.
Tools Needed
- Jack or Jack Stands
- Wrench and Socket Set
- Torque Wrench
- Oil Drain Pan
- Pry Bar
- Punch and Hammer
- Snap Ring Pliers
- Magnet
- Micrometer
- Brake Cleaner Fluid
- Rag
- Scraping Tool
- Bearing Race Installation Kit
- Bearing Press (Specialized Tool)
- Backlash Dial Indicator
- Marking Compound
- Silicon Sealing Compound
- Anti-Seize Compound
Step 1: Lift the Vehicle and Remove the Wheels
Safely lift your Mustang using a jack and secure it on jack stands. Remove the rear wheels to access the axle and differential assembly.
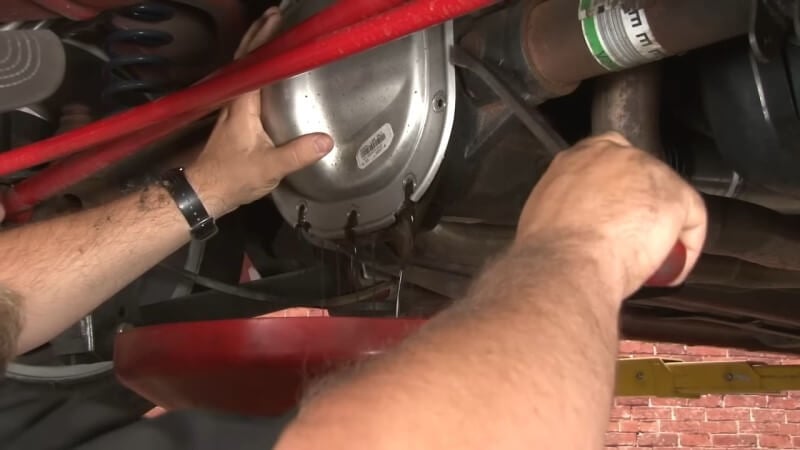
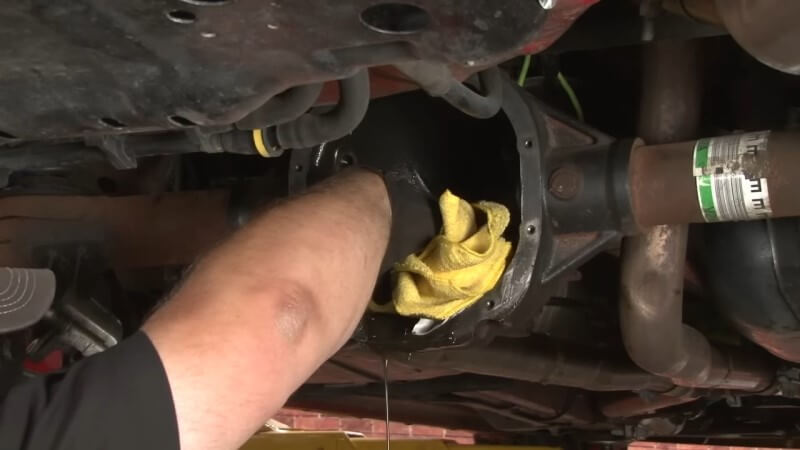
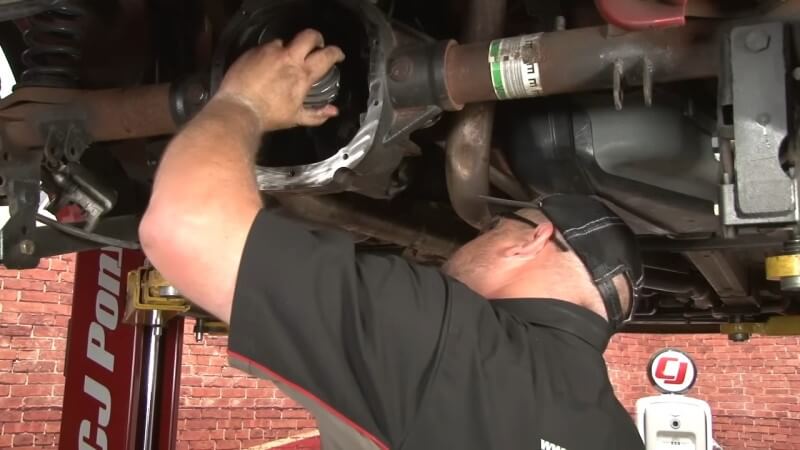
Step 2: Drain the Differential Oil
Place an oil drain pan beneath the differential. Detach the differential cover by removing the bolts with a socket wrench. Allow the oil to fully drain before proceeding. You may need to use a crowbar to pry the cover away from the differential.
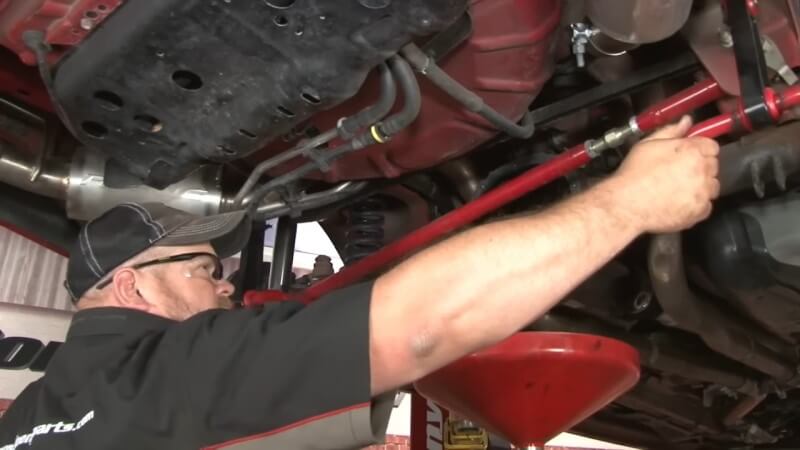
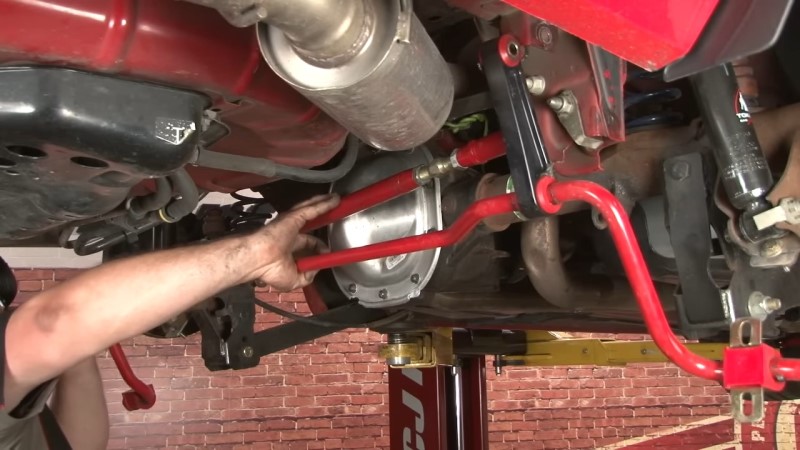
Step 3: Remove Sway Bar and Panhard Bar
Remove the two nuts at the base of each end of the sway bar, using a wrench to hold the bolts in place. Then, remove the bolts at the top of the sway bar assembly and set the sway bar aside. Unscrew the two bolts on each side of the panhard bar and remove that as well.
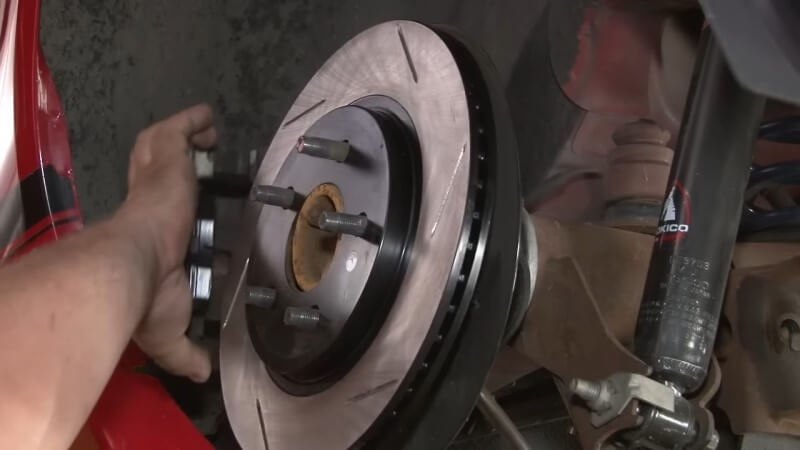
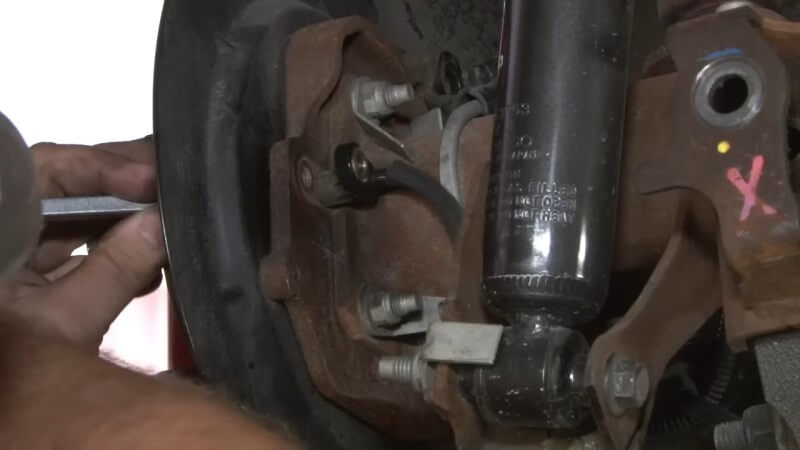
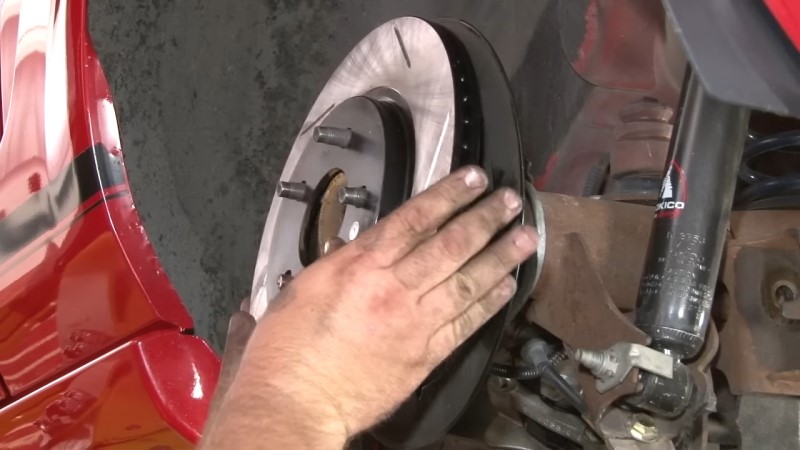
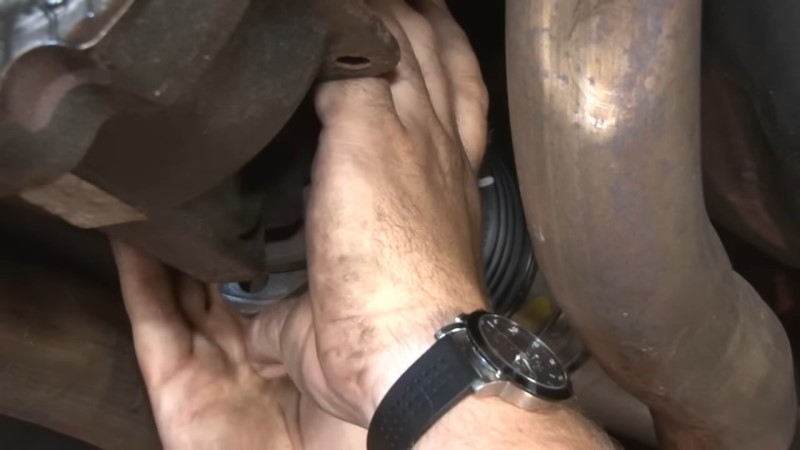
Step 4: Remove Brake Caliper and Rotors
Loosen the brake calipers on both sides of the vehicle and set the caliper aside. Then, pull the brake rotors away from their mounts and set them aside as well.
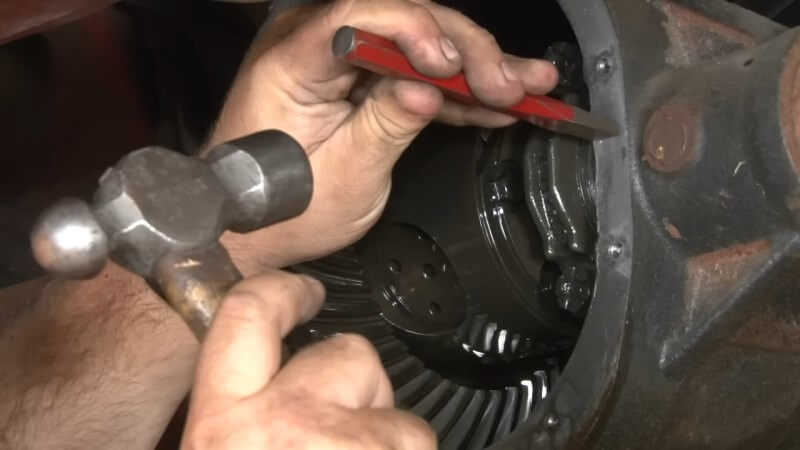
Step 5: Mark the Bearing Caps and Driveshaft
To ensure that the differential bearings are reinstalled in the same orientation, use a small punch and hammer to mark the bearings on both sides. Then, make a corresponding mark on the outer edge of the differential casing so the two marks line up.
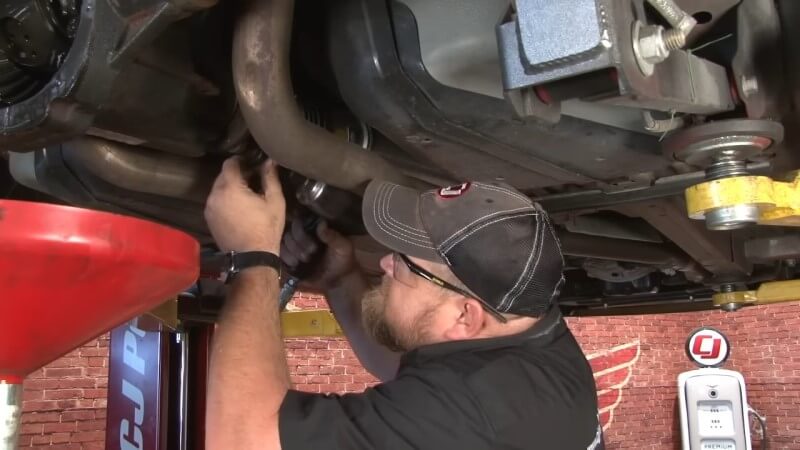
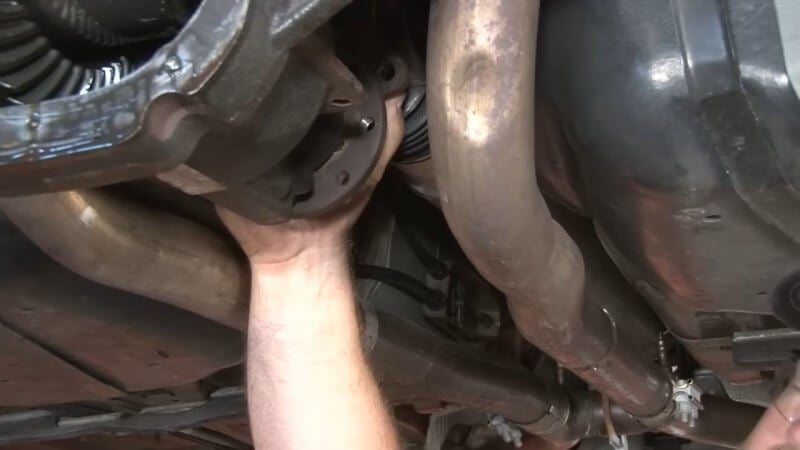
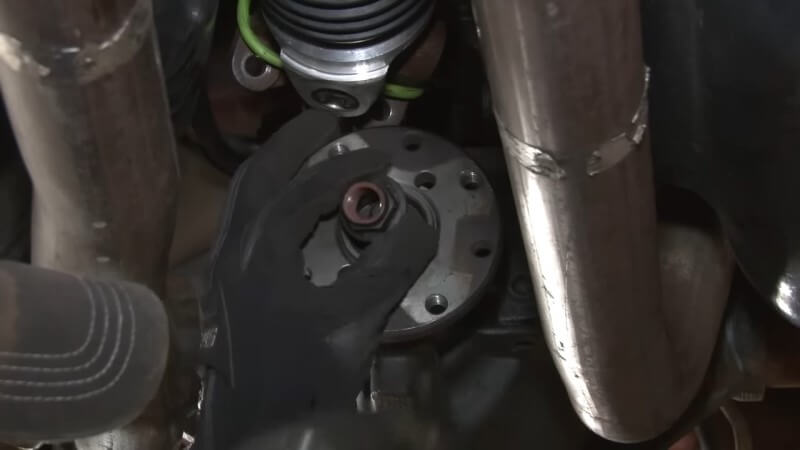
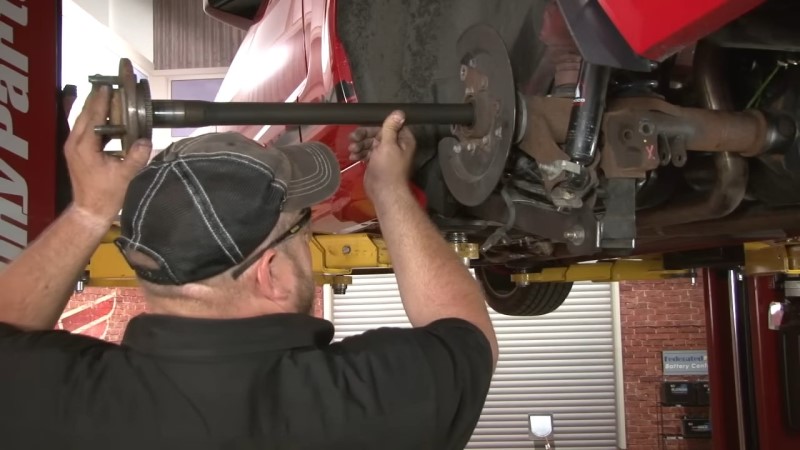
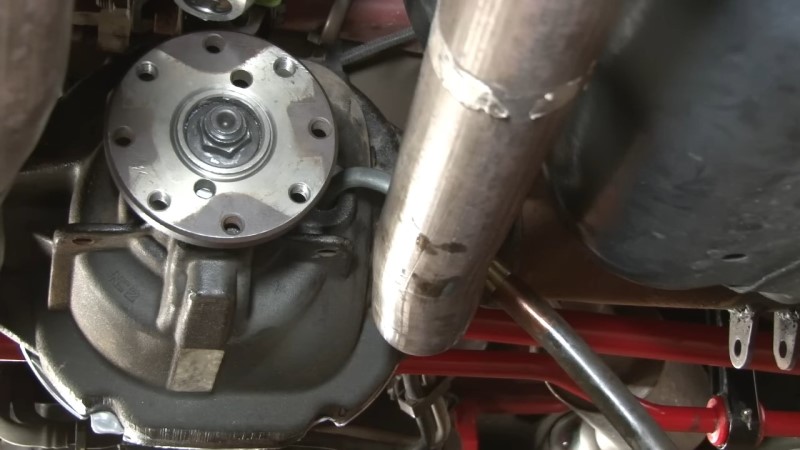
Step 6: Detach the Driveshaft
Mark the driveshaft and pinion flange to ensure proper alignment during reassembly. Use a 12-point, 12mm socket to remove the driveshaft bolts, then tie the driveshaft up and out of the way. Make sure not to remove the driveshaft to avoid any fluid leakage from the transmission.
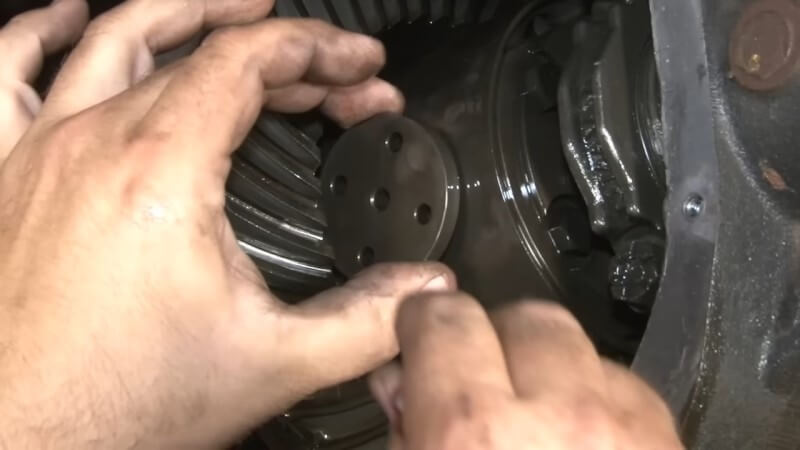
Step 7: Remove Differential Plate
For vehicles without a Detroit Truetrac, remove the bolt on the side of the assembly next to the plate, then remove the crosspin before removing the axles. For our install, we had to detach the snap ring with a pair of snap ring pliers, then remove the differential plate from the assembly.
Step 8: Detach ABS Sensor
Remove the bolt connecting the ABS sensor to the axle assembly. Push the sensor through from the opposite side behind the brake rotors to detach it. Make sure to perform this step cautiously, as the ABS sensor can easily break on older models.
Step 9: Remove the Axles
Push the axles inward to expose the C-clips, then use a magnet to remove the C-clips. Carefully pull the axles out, ensuring you don't damage the axle seals with the splines.
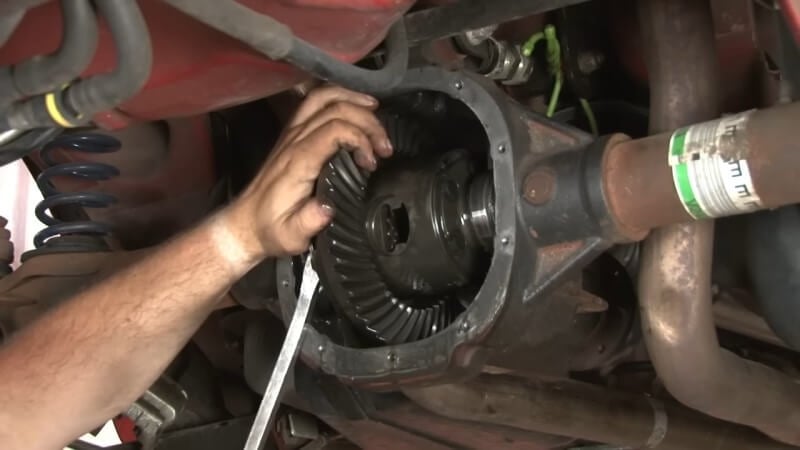
Step 10: Remove the Carrier
Remove the carrier end caps by removing the bolts on both sides of the carrier. Then, remove the entire carrier assembly from the housing.
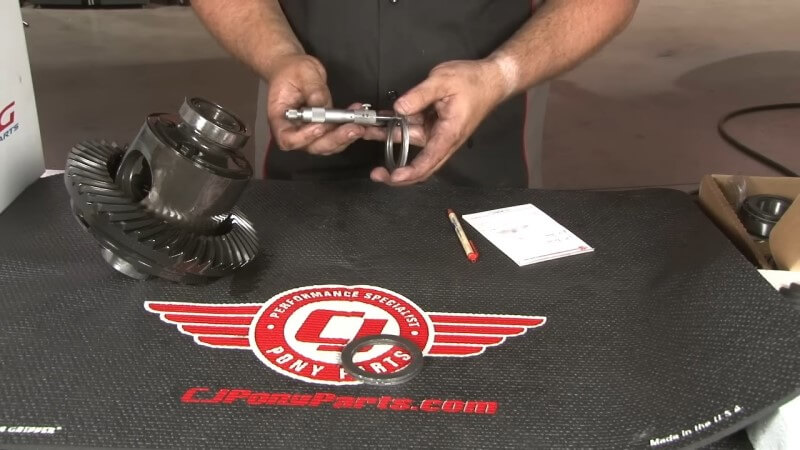
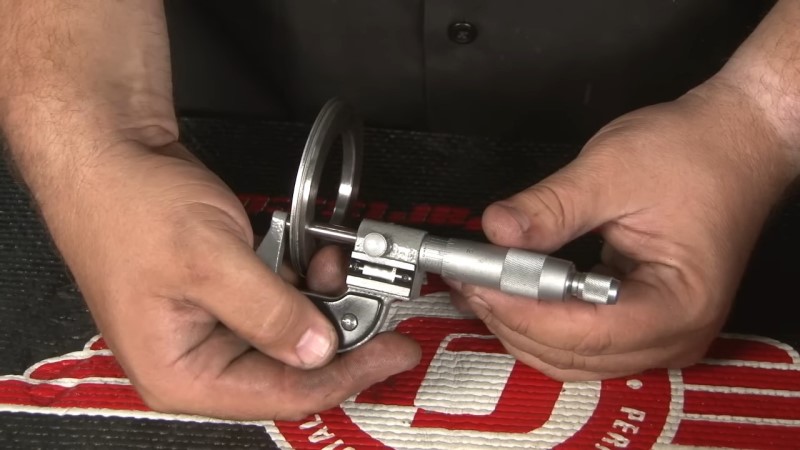
Step 11: Measure Carrier Shims
Detach the shims from the carrier and use a micrometer to measure the width of the shims on each side.
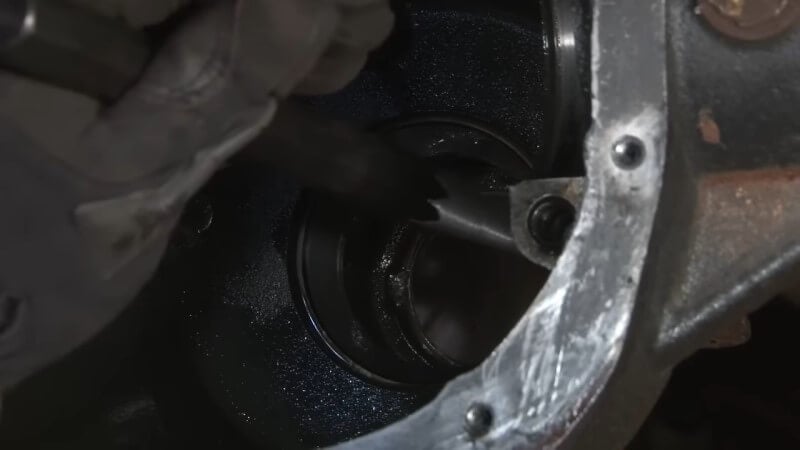
Step 12: Remove the Pinion
Remove the pinion nut on the back side of the pinion assembly. Then, head back to the carrier housing to remove the pinion. Tap the back section of the pinion with a hammer to loosen it and remove it from the housing.
With the pinion removed, use a pry bar to separate the pinion seal from the assembly. The pinion bearing should come out with the seal. Set the metal shim aside for reuse.
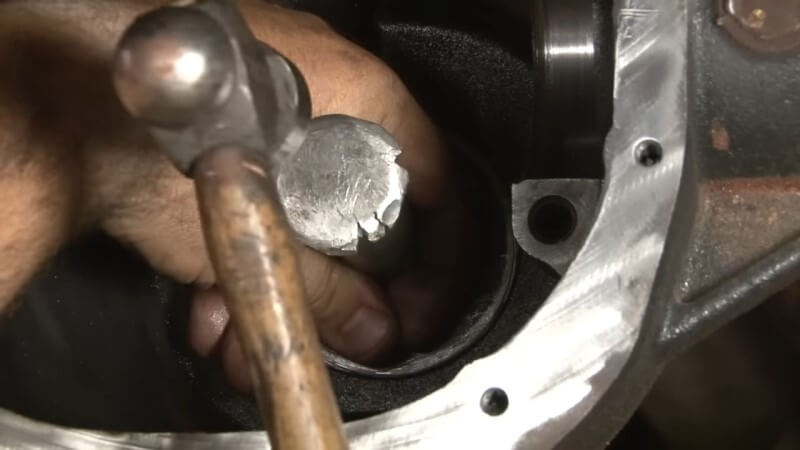
Step 13: Remove Bearing Races
Use a large punch and a hammer to knock the bearing races loose from the housing. Then, remove the bearing races and set them aside.
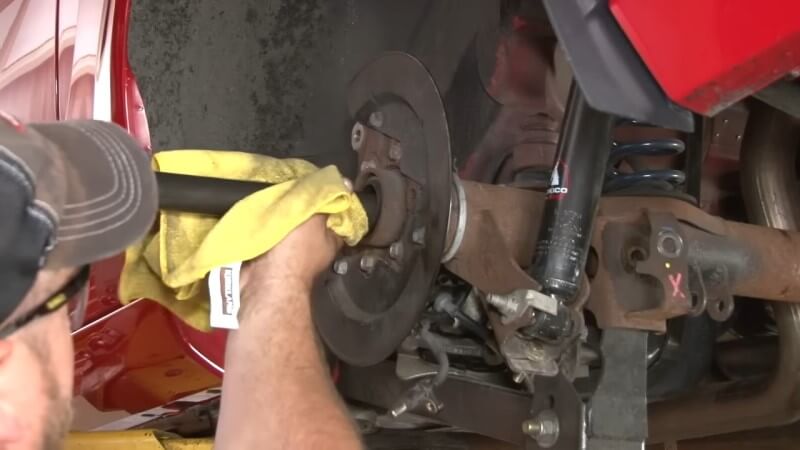
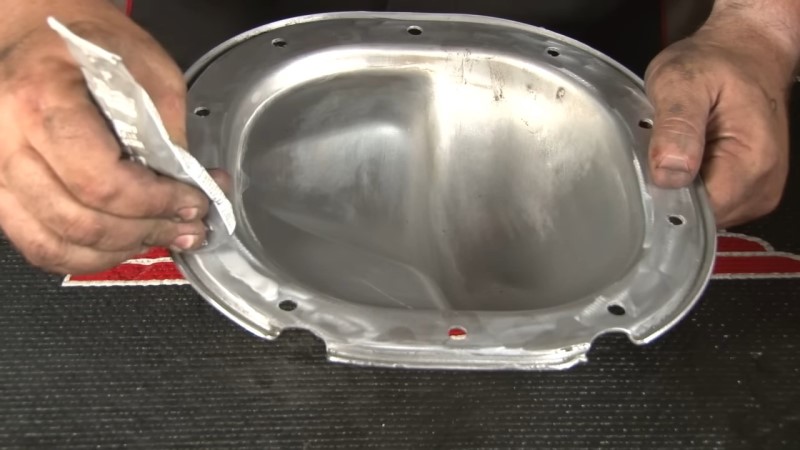
Step 14: Clean the Differential Housing
Thoroughly clean the differential housing with brake clean fluid and a rag. Removing all old gasket material with a scraping tool. Ensure the surface is smooth for a good seal when reassembling.
Step 15: Install New Bearings Races
Install the new bearing races into the differential housing using a bearing race installation kit. You will likely need to purchase this kit separately or rent it from a local auto parts store.
Seat the new bearing race as flat as possible in the factory location, then use the tool from the kit to hammer it into position.
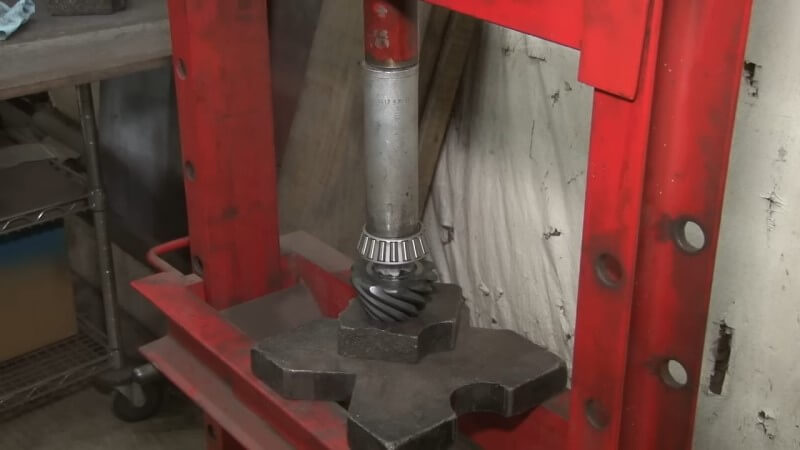
Step 16: Attach New Pinion Bearing
To attach the pinion bearing to the new pinion, you’ll need to remove the shim ring from the factory pinion. For this step, you will need a specialized press tool. Use the press to remove the bearing from the factory pinion. Remove the factory shim ring, measure it with a micrometer, and reinstall it onto the new pinion.
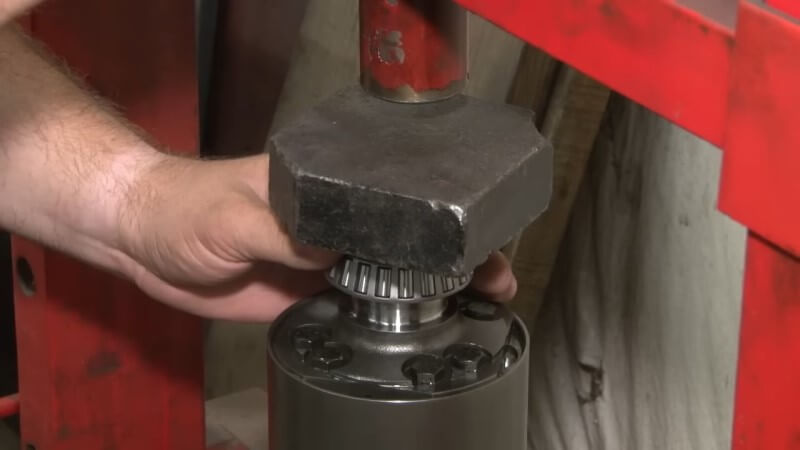
Next, apply an anti-seize compound to the new pinion. Then, insert the new pinion bearing onto the pinion and press the bearing into place using the same press tool.
Step 17: Install the New Pinion
Apply grease to the pinion bearings. Install the bearing in the factory location with the shim ring behind it. Place the seal over the bearing, then hammer it into place.
Prep the flange by putting some silicon on the splines. Install the crush sleeve over the pinion and slide the whole assembly through the housing. Attach the flange to the other end and begin tightening the pinion nut until there is no play. Torque the nut to 25 in-lbs using a torque wrench.
Step 18: Remove Old Carrier Ring Gear and Bearing
To prep the housing for reinstallation, remove the bolts connecting the factory ring gear to the housing. Use a hammer to knock the ring loose once the bolts are removed. Then use a specialized bearing pulling tool to separate the factory bearing from the housing.

Step 19: Install New Carrier Bearing
Place the new carrier bearing in the factory location, and use a press to slide it into position.
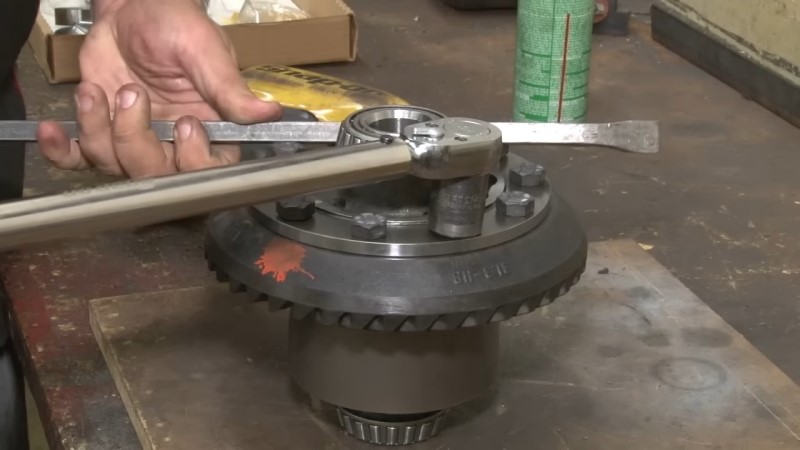
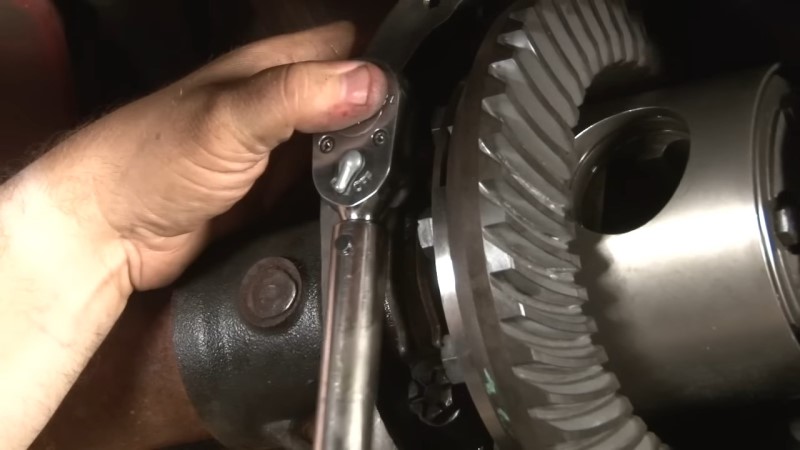
Step 20: Install New Carrier Gear Ring
Slide the new ring gear onto the housing, then install the supplied bolts. Torque down each of the bolts with a torque wrench. Use a pry bar to hold the carrier in place while you tighten the bolts.
Step 21: Assemble New Carrier Housing Shims
Use the measurements you took earlier to reassemble the carrier housing shims to the correct width. You can either reuse the factory shims or add new shims to the assembly.
Step 22: Reinstall the Carrier
Slide the new shims into place and hold them while a second person remounts the carrier into the housing. You may need to lightly tap the carrier with a rubber mallet to get it into position.

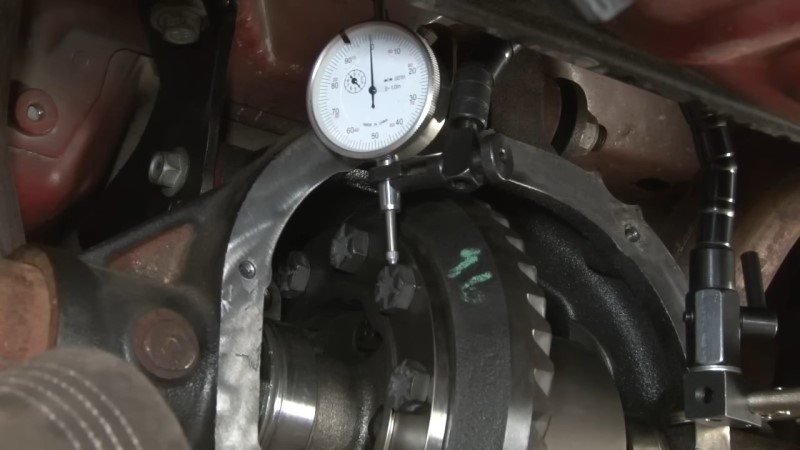
Step 23: Set Carrier Bearing Preload and Backlash
Use a dial indicator to check the backlash between the ring and pinion gears. Turn the pinion so the dial reads zero, then check the play of the gear ring. Adjust the shims as necessary to achieve a backlash reading between 0.009 and 0.011 inches.
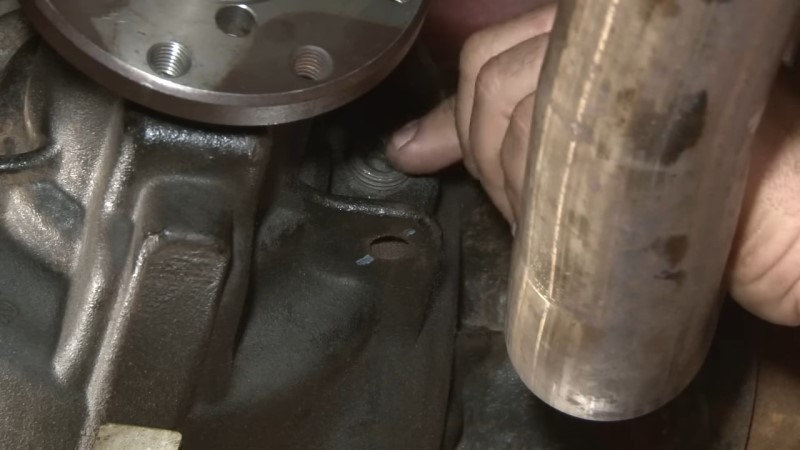
Step 24: Remove Fill Plug
Remove the fill plug below the flange on the back side of the housing.
Step 25: Reinstall End Caps
Reinstall the end caps in the factory location, by sliding them into position. Then, tighten down the end cap bolts with a torque wrench.
Step 26: Check Gear Tooth Contact Pattern
Apply marking compound to the ring gear teeth and rotate the gear to check the contact pattern. Adjust the shims if needed to ensure the pattern is centered on the teeth. This will help prevent noise and premature wear.
Step 27: Reinstall the Axle
Carefully slide the axles back into place, reinstall the C-clips, and secure the axles. Once the C-clip is in position, reinstall the factory spacer and plate.

Step 28: Reinstall Brake Components and ABS Sensor
Reattach the ABS sensor by tightening the factory bolt. Slide the rotor back onto the factory studs and reconnect the caliper.
Step 29: Install New Differential Gasket and Cover
Apply a new gasket or use high-quality silicone to seal the differential cover. Reattach the cover in the factory location and torque the bolts evenly.
Step 30: Reinstall Sway Bar and Panhard Bar
Slide the panhard bar back into the factory position, then reattach the factory bolts and tighten them down. Repeat this process for the factory sway bar.
Step 31: Refill Gear Oil
Refill the differential with the recommended gear oil. If using a synthetic oil, no additional additives are needed. Once the oil is refilled, reinstall the fill plug.
Step 32: Reinstall the Driveshaft and Wheels
Untie the driveshaft and reattach it using the alignment mark you made earlier. Tighten down the factory bolts. Then, reinstall the wheels and torque them to the manufacturer's specifications.
Step 33: Test Drive and Final Checks
Lower the vehicle and take it for a test drive. Listen for any unusual noises and ensure the gears are quiet. If everything sounds good, the installation is complete.
Complete Your Mustang’s Rear End Rebuild
With these step-by-step instructions for rebuilding your Mustang’s rear gears, you’ll have a better idea of the tools and skills required to get the job done. If you don’t have access to the necessary tools, don’t worry. It’s always possible to get a mechanic to help you with the install, or you could work towards restoring the rest of your Mustang’s rear end.
Improve your Mustang’s performance with new axles and bearings or a complete rear end assembly replacement. Shop a wide variety of aftermarket parts for your Mustang’s rear end and transform your ride with more responsive acceleration.


