

Mustang Valances

Protect Your Mustang with New Front and Rear Valances


Mustang Valances
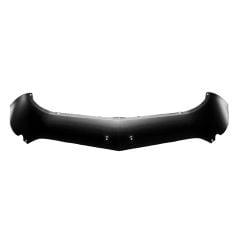
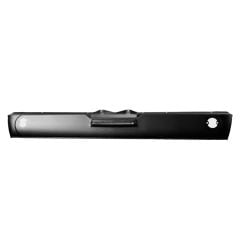
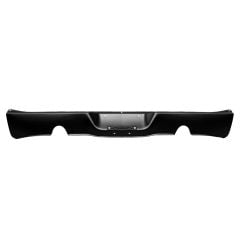
Mustang valances, also known as valance panels, add a layer of security to the lower portions of the front and rear of your car. Because of their location, they're at risk of damage from road debris, collisions, and the elements. In addition to protecting your vehicle, Mustang front and rear valances are a good way to add some unique style.
We carry replacement lower valances with single or dual exhaust options and with or without parking light cutouts. Add custom style with carbon fiber, fiberglass, steel, and painted or unpainted options. You'll find Mustang valances for 1964.5-1973 models, as well as 2010 and newer Mustangs. For more protection for your exterior, check out front bumper covers and rear bumper covers.
Related Resources


My Wish List
Last Added Items
You have no items in your wish list.
