

Mustang Sill Plates

Replace Your Mustang's Sill Plates for Style and Function


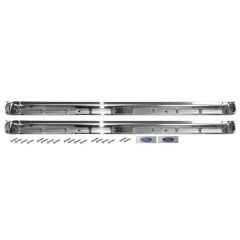


Sill Plates
Your Mustang's door sill plates take a lot of abuse. That's one of the reasons why in classic Mustangs the sill plates are among the parts most likely to have rusted. New Ford Mustang door sill plates can help protect your Mustang from rust and add a touch of style to your Mustang.
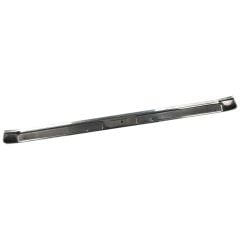
Sill plates protect your sill. But they also help create a first impression. When that door swings open, the Ford Mustang door sill plates will be one of the first things you see as you sit in the driver's seat. You want something that looks good, and that makes you excited to drive your car. A new lighted sill, or one featuring a favorite logo, can really add something special to your Mustang's look.
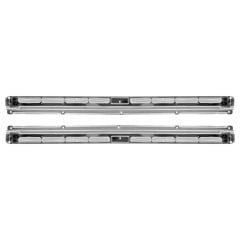
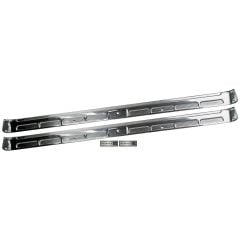
Some of our most popular door sill plates are the factory reproductions. If you have a classic and want to give it that factory-new look, then shiny sill plates are one of those details that makes an impact. Especially when coupled with new carpet and seats.
Many late-model Ford Mustangs have special sill plates available for special edition and performance Mustangs. If you've been adding power to your pony then maybe add some sill plates to match that. Or make sure your special edition reflects how special it is.
Heavy-duty sill plates are also available, if you'd like a modern option that will stand the test of time.
