

Mustang Dash Pads & Trim

Replace Your Mustang’s Dash Pad and Trim for an Interior Style Upgrade


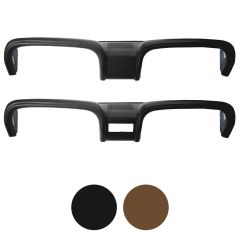


Dash Pads & Trim
Your Mustang's dash pad and its trim are subjected to countless hours of direct sunlight. This can lead to cracks and fading, especially around the center speaker. Replacing these damaged parts is easy, and immediately upgrades your appearance. If you have a newer Mustang with a dash that looks gorgeous, a dash cover can keep it looking great.
Dash pads and trim are available in the original interior colors and tooling of your Mustang. This makes installation a breeze. In addition to these updates, we also offer protective accessories like mats and covers. These items provide a stylish barrier to guard against the sun's harmful UV rays.
Protecting your Mustang's interior from the sun is a great way to keep it looking better longer. You may want to consider a sun shade, which will also keep your interior cool on a hot day. For a total sun-proof approach, try a car cover.

