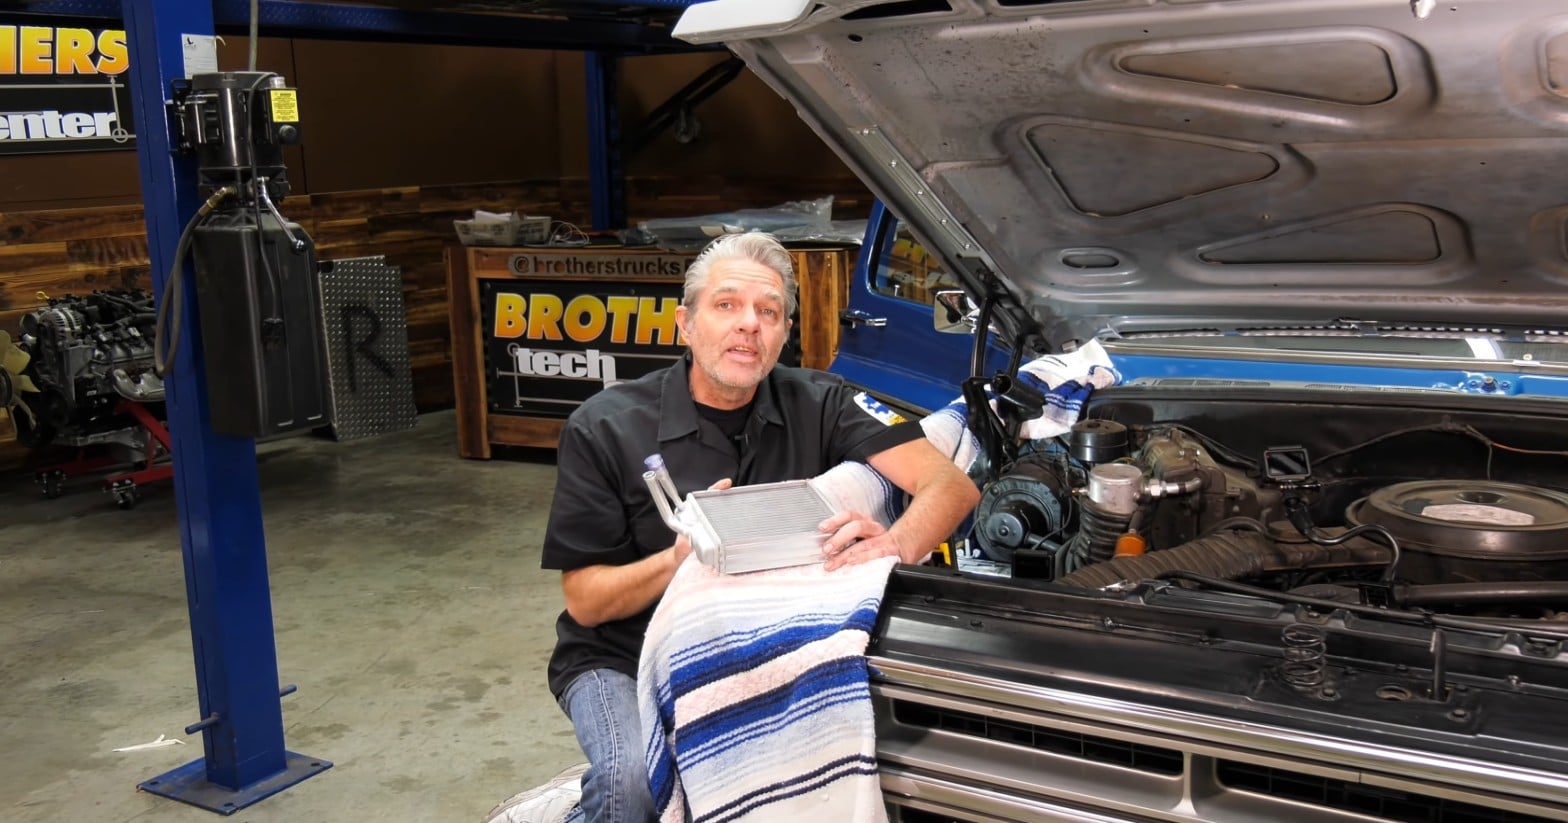
1973-1987 Chevy & GMC Square Body Truck Heater Core Replacement
Last Updated October 16, 2026 | Nate MoonisA leaking or clogged heater core can leave your 1973-1987 Chevy or GMC truck without reliable cabin heat and may eventually lead to coolant inside the cab. Replacing the heater core requires removing the interior heater box, but the job can be completed with common hand tools and some careful disassembly.
Before getting started, gather your replacement heater core, any worn hoses or seals you plan to replace, and all of the tools you'll need. Taking care of these components while the heater box is apart can save you from having to repeat the job later.
Check out the video below for a more in-depth installation breakdown.
How to Replace a 1973-1987 Chevy or GMC Truck Heater Core
This step-by-step guide will walk you through draining the cooling system, disconnecting the heater hoses, removing the heater box, replacing the heater core, and reassembling the system. The exact fastener sizes and heater box components can vary depending on previous repairs and if your truck is equipped with air conditioning.
Tools and Supplies Needed:
- Ratchet and socket set
- 7/16-inch socket
- 5/16-inch socket
- 1/4-inch socket
- Ratchet extensions
- Swivel socket adapter
- Pliers
- Marker
- Tape
- Replacement heater core
- Replacement foam weatherstrip or gasket material
- Coolant
- Distilled water
- Drain pan
1973-1987 Chevy and GMC Truck Heater Core Installation
Step 1: Drain The Cooling System
Place a drain pan beneath the truck and drain the coolant from the radiator.
Step 2: Disconnect The Battery
Disconnect the battery before beginning the heater core removal.
Step 3: Remove The Heater Hose Clamps
Remove the clamps securing the heater hoses to the heater core connections at the firewall.
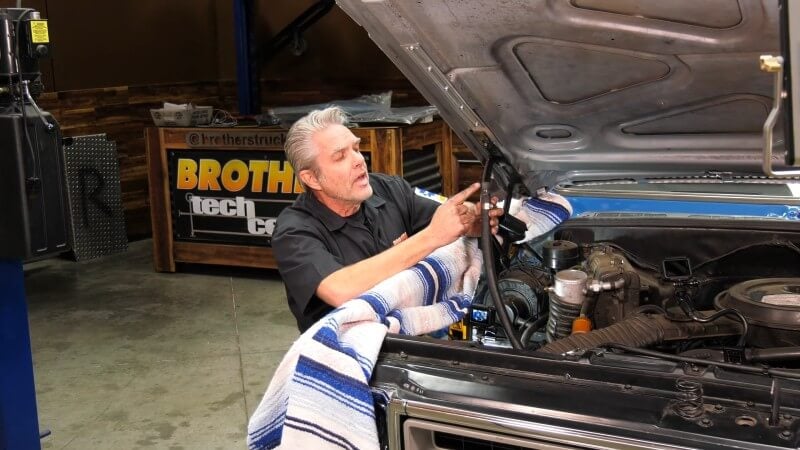
Important: Keep track of which hose connects to each heater core tube. The upper hose should typically have a 3/4-inch inside diameter and run toward the radiator, while the lower 5/8-inch hose generally runs toward the water pump or top of the engine.
Step 4: Disconnect The Heater Hoses
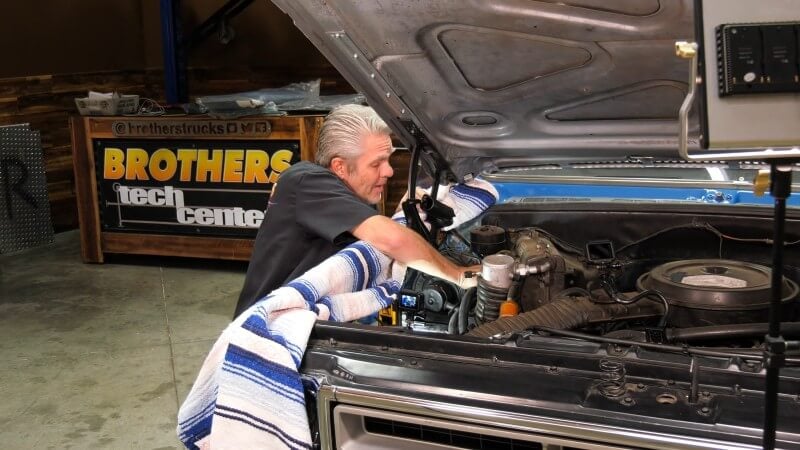
Gently twist each heater hose to break it loose from the heater core tube, then pull the hose free.
Pro Tip: Avoid pulling straight back on a stuck hose. If necessary, carefully twist it with pliers. As a last resort, cut a short slit into the end of the hose, peel it away from the tube, and trim off only the damaged section if the hose is still suitable for reuse.
Step 5: Remove The Lower Heater Box Nut
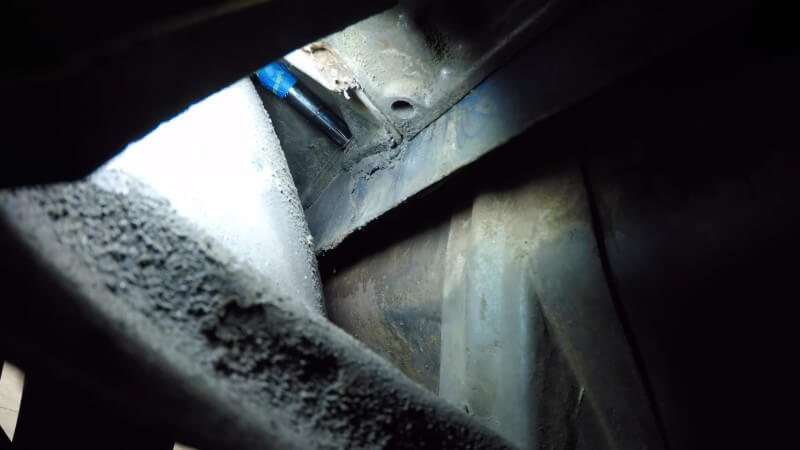
Use a 7/16-inch socket, several extensions, and a swivel adapter to reach and remove the difficult lower heater box nut between the inner fender and A/C case.
Pro Tip: Wrap a small amount of tape around the swivel adapter to keep it from flopping around as you guide the socket onto the nut.
Step 6: Remove The Remaining Firewall Nuts
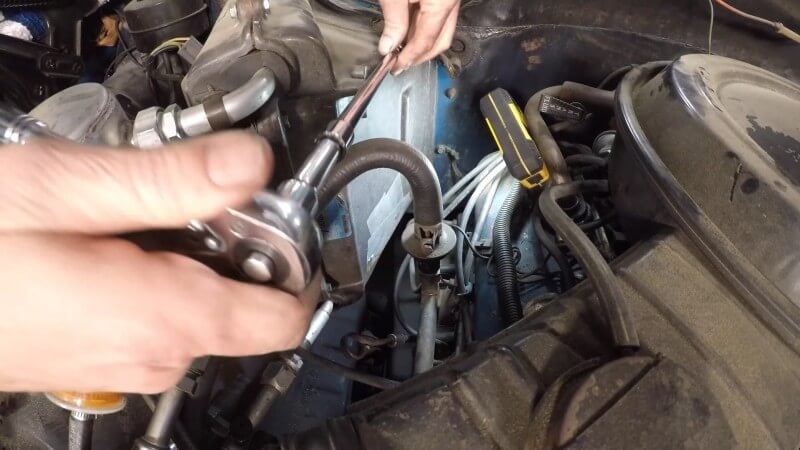
Remove the remaining heater box mounting nuts from the engine compartment. One is located toward the top of the box with another positioned below it.
Step 7: Remove The Glove Box
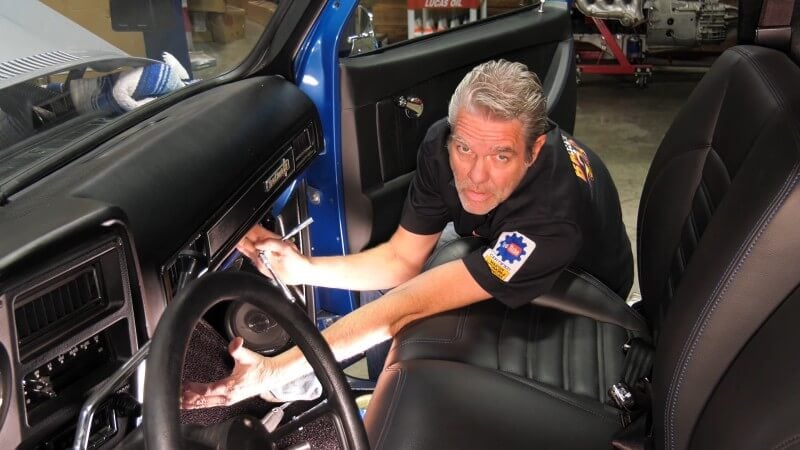
Move inside the cab and remove the screws along the bottom of the glove box, then remove the glove box to gain access to the heater assembly.
Step 8: Remove The Heater Box Fasteners
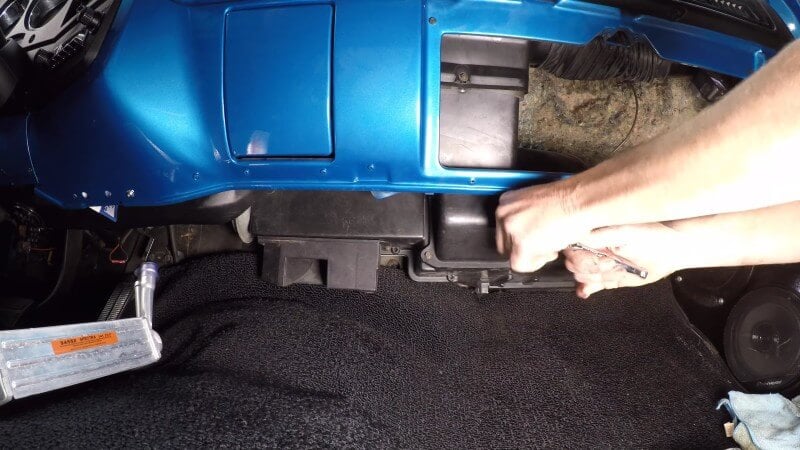
Remove the accessible screws securing the heater box and surrounding components. These fasteners are typically 5/16 inch, although previous repairs may have resulted in different hardware being used.
Step 9: Remove The Remaining Heater Box Mounting Bolt
With the surrounding pieces removed, locate and remove the remaining heater box mounting bolt.
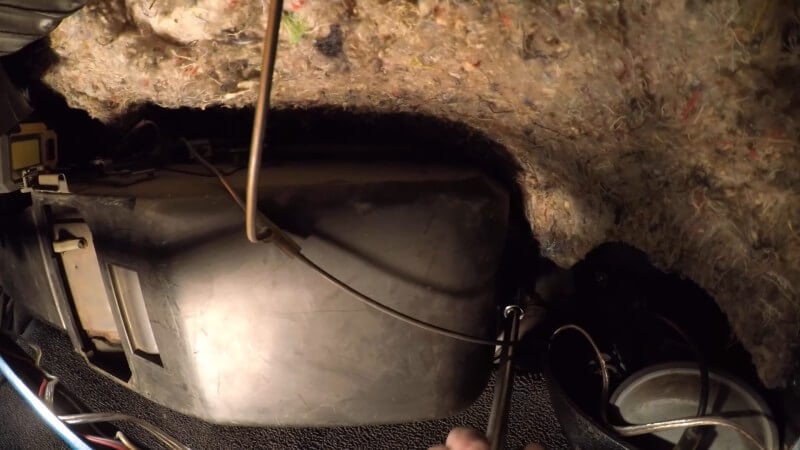
Step 10: Remove The A/C Components
If your truck is equipped with air conditioning, remove the additional A/C components and fasteners obstructing removal of the heater box.
Note: Trucks without factory air conditioning require less disassembly during this portion of the installation.
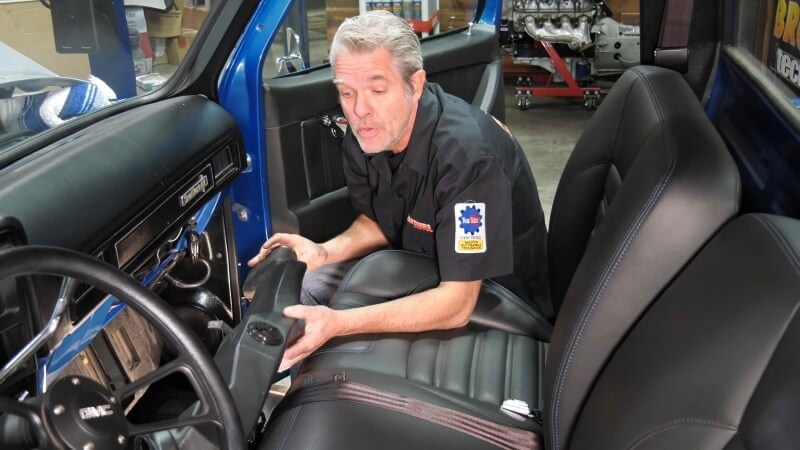
Step 11: Label The Vacuum Hoses And Control Cables
Label the vacuum hoses before disconnecting them so each hose can be returned to its original location. Mark the positions of the heater control cables with a marker before removing them.
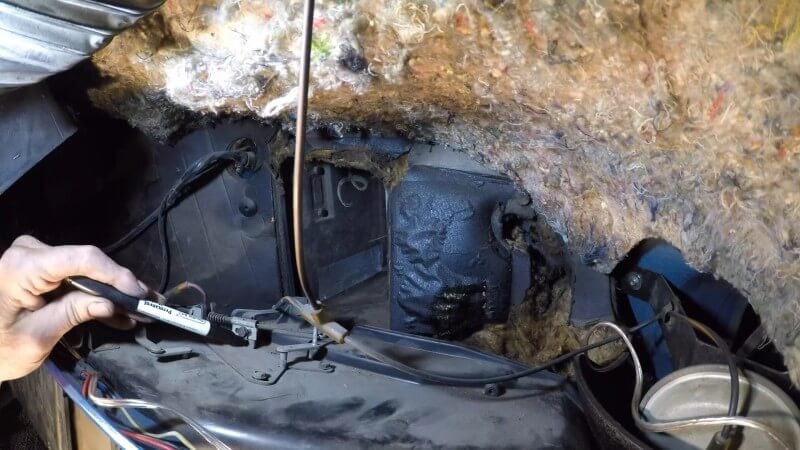
Step 12: Disconnect The Control Cables
Remove the small retaining clips securing the control cables and disconnect the cables from the heater box.
Important: Keep track of the small cable retaining clips during removal. They can be easily lost.
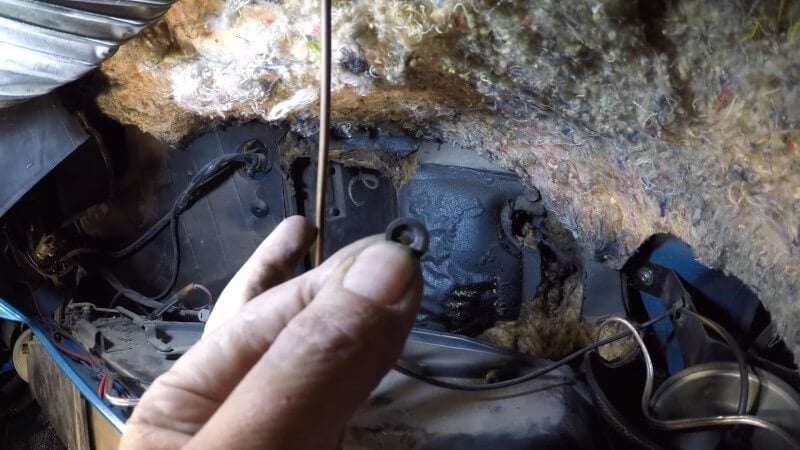
Step 13: Disconnect The Vacuum Hoses
Slide the retaining clip off the vacuum hose connections and carefully disconnect the vacuum hoses from the heater box.
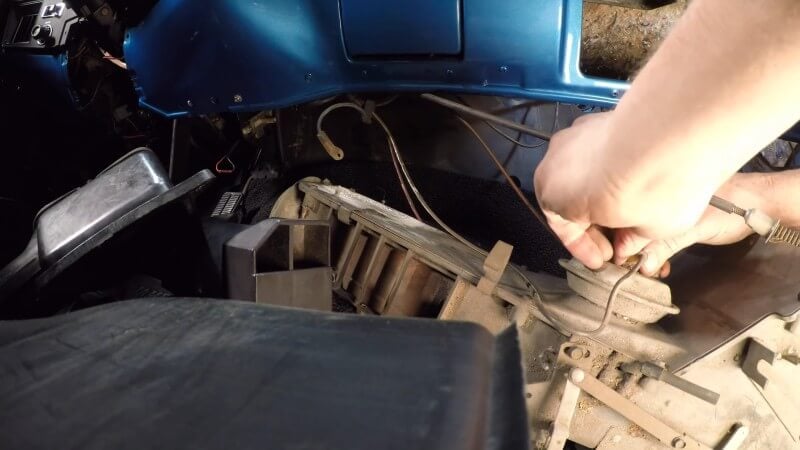
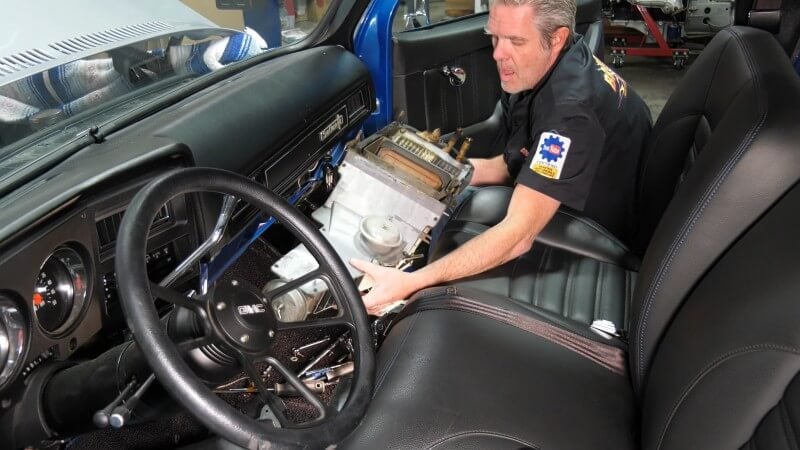
Step 14: Remove The Heater Box
Carefully pull the heater box away from the firewall and remove it from the truck.
Important: Inspect the heater box for rodent nests or droppings. If contamination is present, wear appropriate respiratory protection and thoroughly clean the heater box before continuing.
Step 15: Remove The Heater Box Cover
Remove the three upper screws and four corner screws securing the heater box cover, then separate the cover from the assembly.
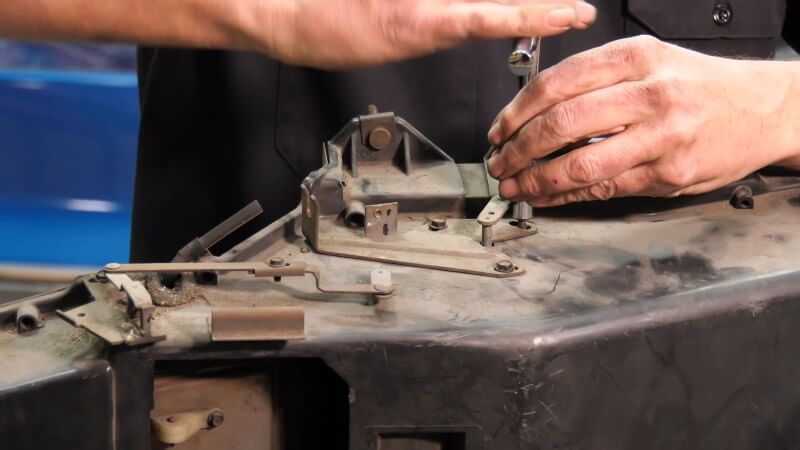
Step 16: Inspect The Heater Box Components
Inspect the vacuum actuator, internal door, rubber seals, and surrounding components while the heater box is apart. Make sure the door operates correctly and replace any damaged components before reassembly.
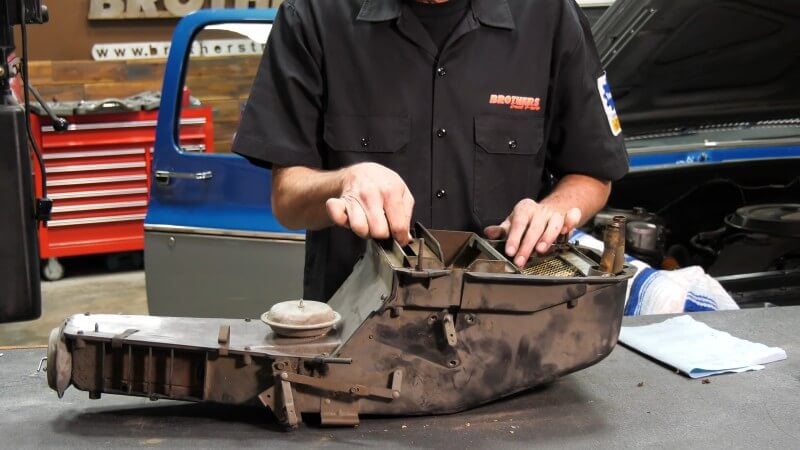
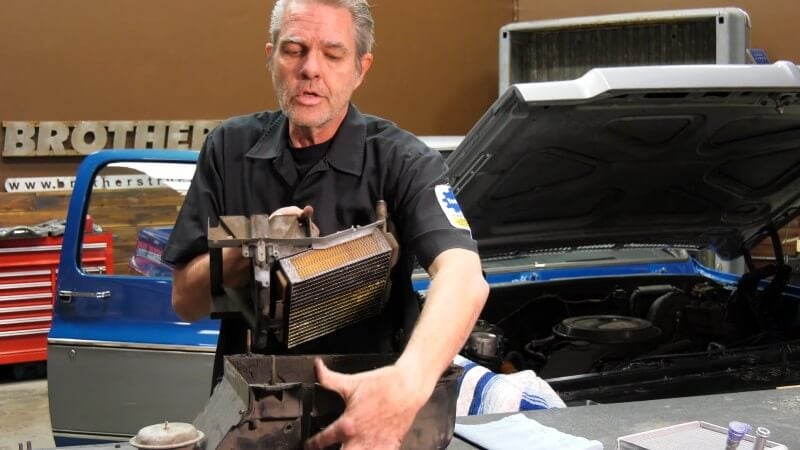
Step 17: Remove The Heater Core Assembly
Slide the heater core assembly out of the heater box through the opening in the housing.
Step 18: Remove The Heater Core Brackets
Remove the brackets securing the old heater core to the assembly. The demonstrated truck uses 5/16-inch and 1/4-inch fasteners.
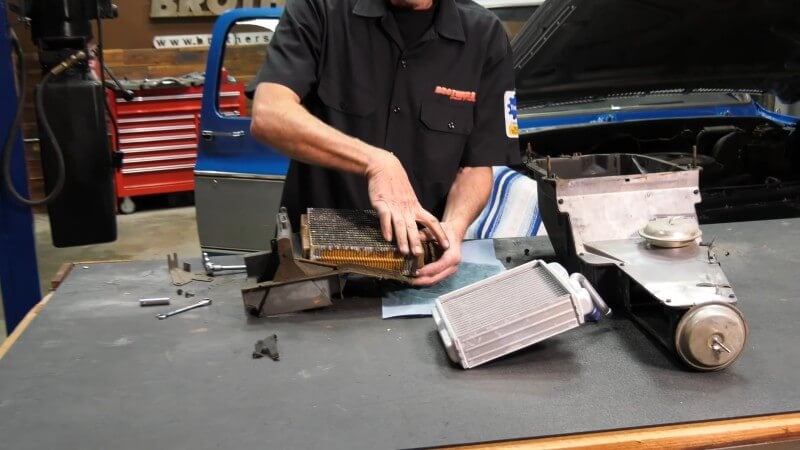
Step 19: Install The New Heater Core
Position the replacement heater core in the assembly and reinstall the mounting brackets to secure it.
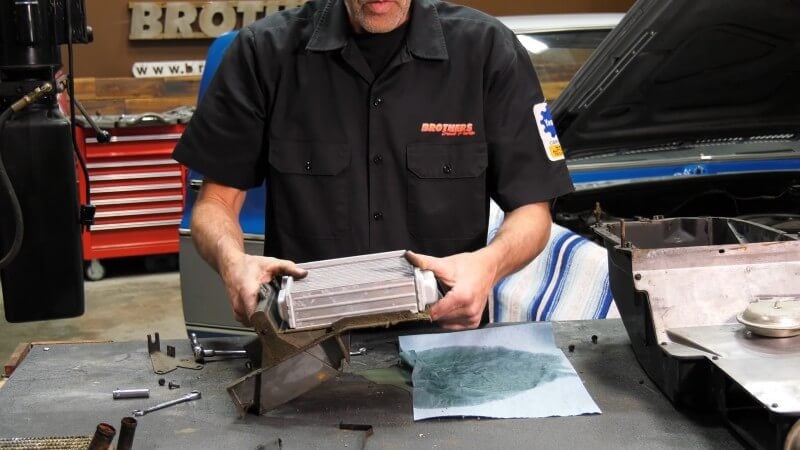
Step 20: Replace The Heater Box Gasket
Inspect the gasket separating the hot and cold air passages. If the original gasket has deteriorated, cut replacement foam weatherstrip to size and install it in the original location.
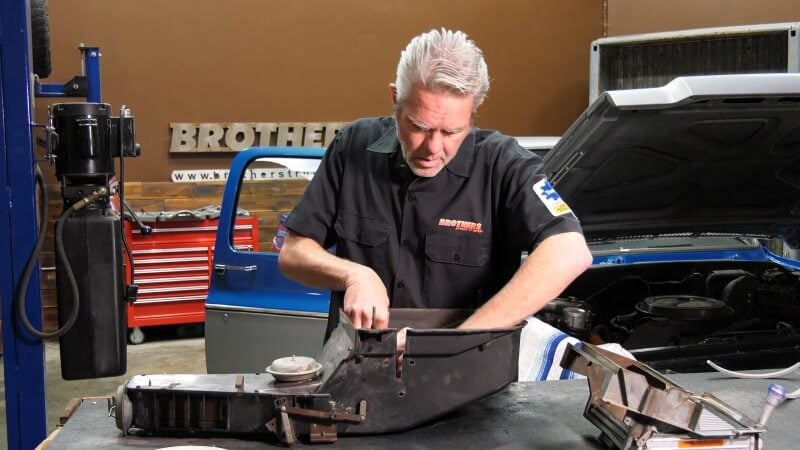
Step 21: Reinstall The Heater Core Assembly
Slide the heater core assembly back into the heater box and begin reinstalling the screws that secure the housing.
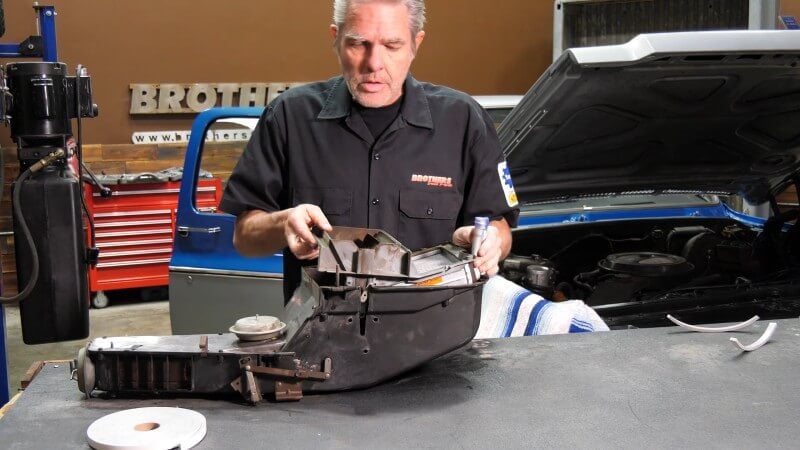
Step 22: Reinstall And Adjust The Control Cable Bracket
Reinstall the slotted control cable bracket in its original position using the marks made during disassembly as a guide.
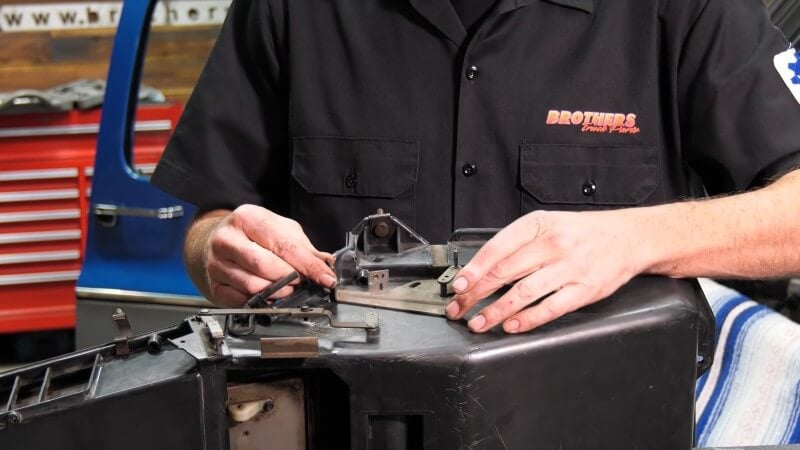
Step 23: Test The Heater Control Door
Reconnect the control cable and operate the HVAC controls to verify that the internal door opens and closes through its proper range.
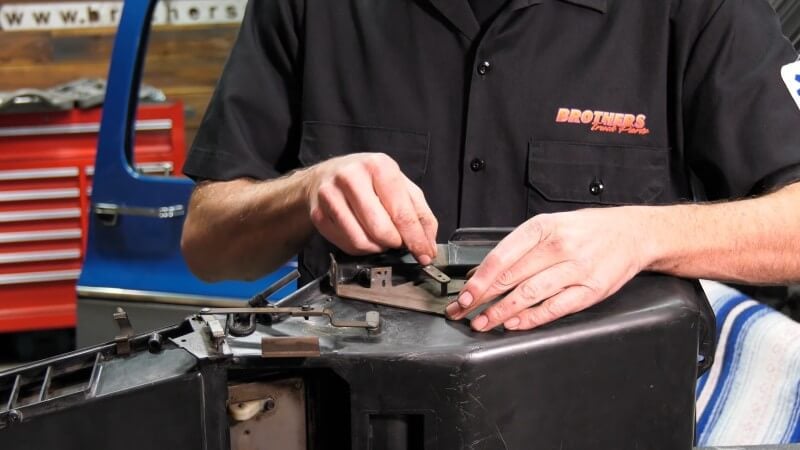
Step 24: Reconnect The Vacuum Lines And Cables
Reconnect the vacuum lines and control cables according to the labels and marks made during disassembly.
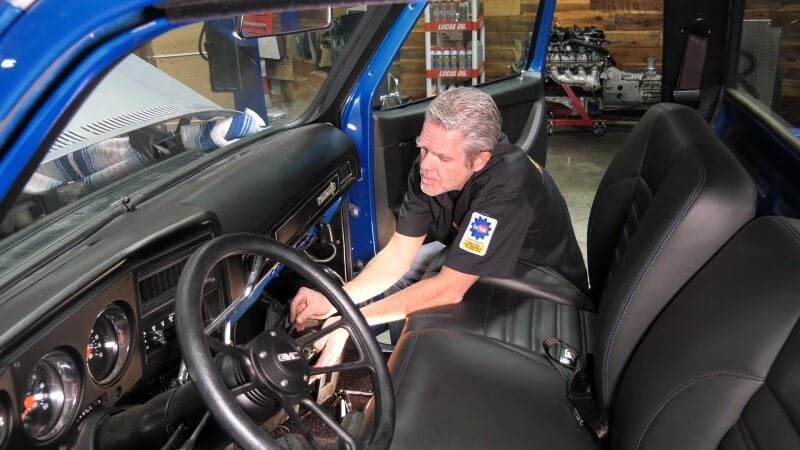
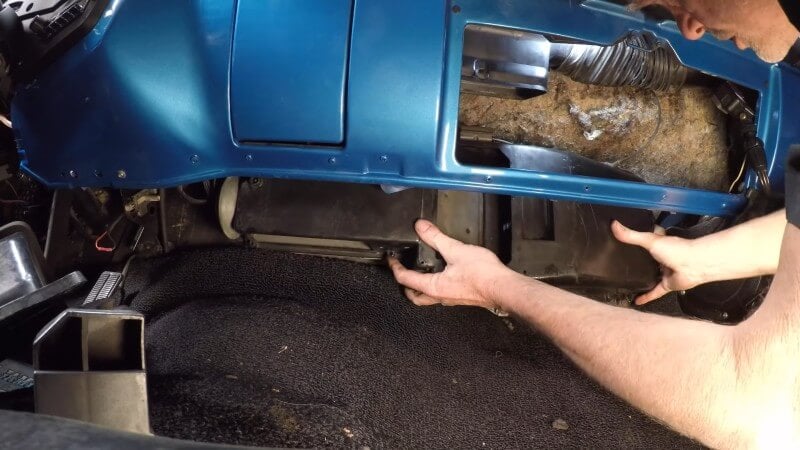
Step 25: Position The Heater Box Against The Firewall
Guide the heater box back into position against the firewall, making sure the cables, vacuum hoses, and electrical connections don't become trapped behind the housing.
Note: The firewall sound-deadening pad also helps seal the heater box against the firewall. If the pad is missing or damaged, the video recommends adding an appropriate gasket sealer to help seal this area.
Step 26: Secure The Heater Box
Align the heater box with the firewall mounting holes and start the upper mounting nut first. Align the remaining studs and fasteners, then tighten the heater box into place.
Pro Tip: For the difficult lower firewall nut, lightly tape the nut inside the socket so it doesn't fall out while you guide the extensions into position.
Step 27: Reinstall The A/C Components
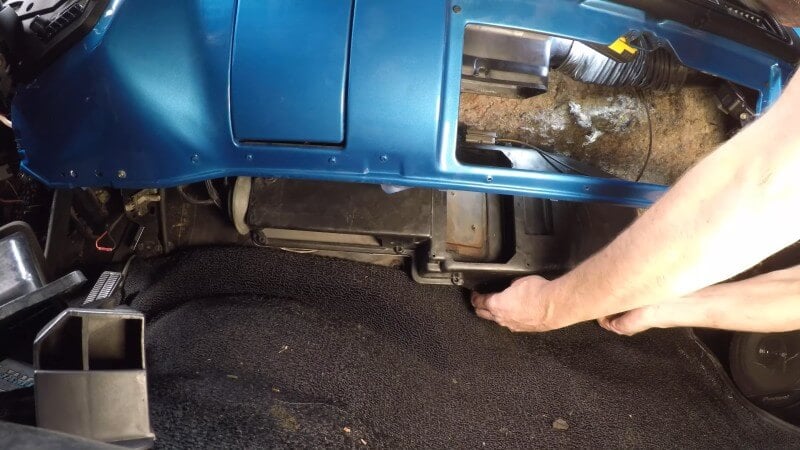
For A/C-equipped trucks, reinstall the previously removed air conditioning components and secure them with their original fasteners.
Step 28: Reconnect The Heater Hoses
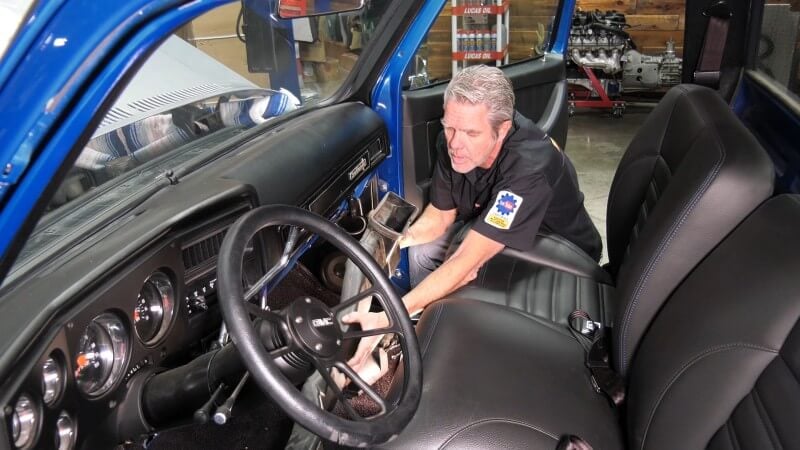
Reconnect the heater hoses to their original heater core tubes and reinstall the hose clamps.
Step 29: Refill The Cooling System
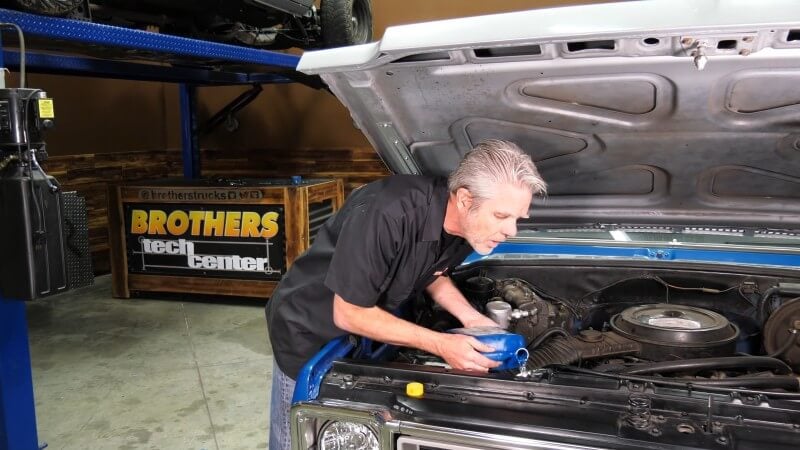
Refill the cooling system with the appropriate mixture of coolant and distilled water. The video recommends approximately a 50/50 coolant-to-water mixture.
Important: Use distilled water rather than tap water to help reduce mineral deposits and corrosion inside the cooling system.
Step 30: Bleed The Cooling System
Reconnect the battery, start the engine, and turn the heater on. Allow the engine to reach operating temperature so the thermostat opens and coolant circulates through the radiator and heater core. Continue checking the coolant level as trapped air works its way out of the system.
Pro Tip: After driving the truck for about a day, allow the engine to cool completely and check the coolant level again. Additional trapped air may have worked its way out of the system.
Congratulations, you're all done!
Restore The Heat In Your 1973-1987 Chevy or GMC Truck
A fresh heater core can get your classic Chevy or GMC truck's heating system working properly again while giving you an opportunity to inspect the hoses, seals, vacuum components, and heater controls hidden inside the HVAC system. Taking care of worn components while everything is apart can also help prevent another round of disassembly later.
Keep your classic truck comfortable year-round with replacement heating and cooling components from CJ Pony Parts.