
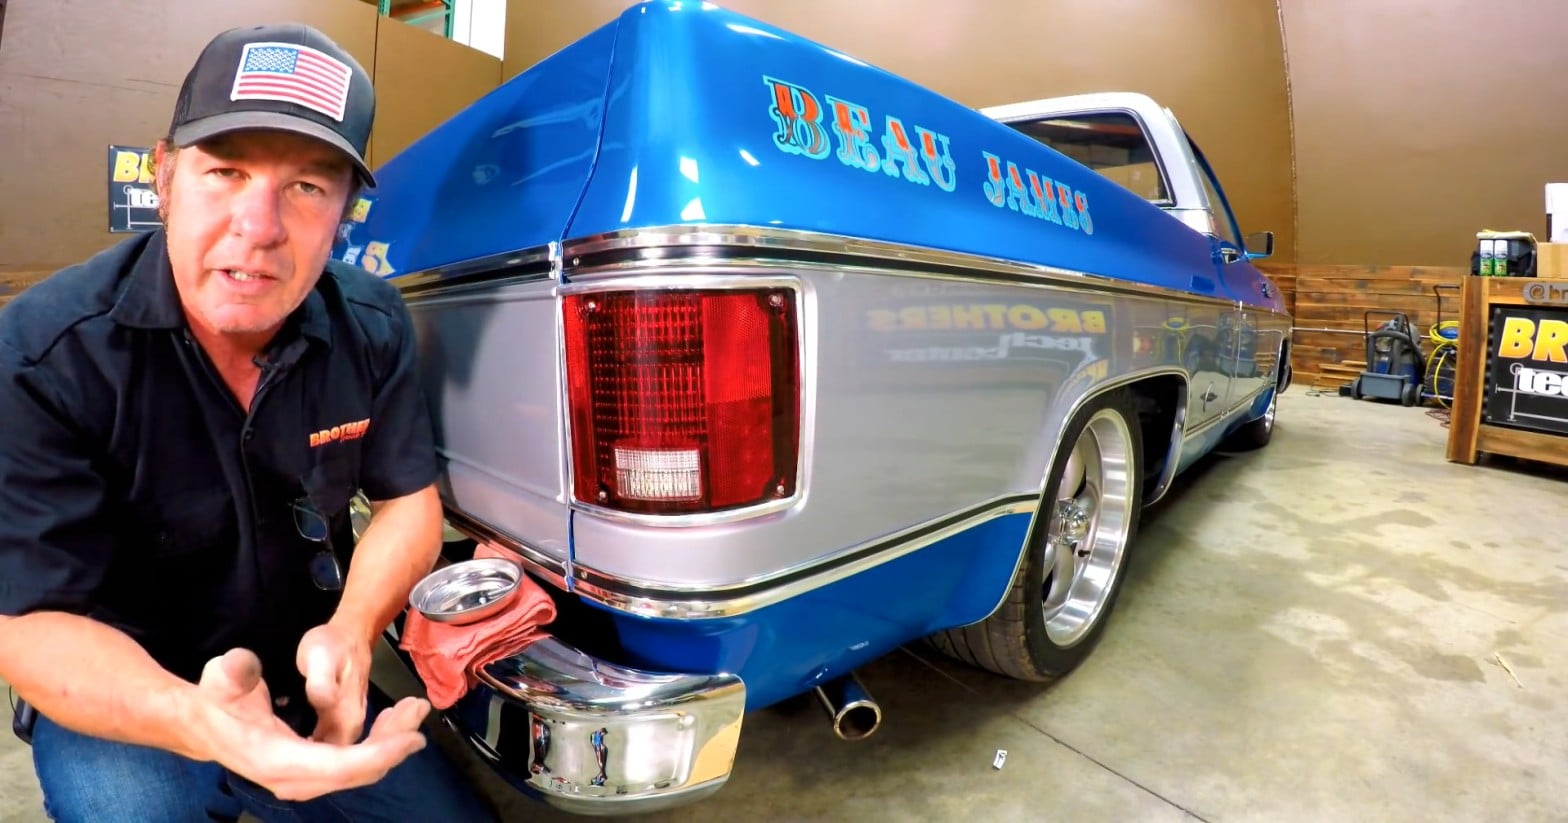
How to Convert Your 1973-1987 Chevy/GMC Truck to LED Taillights
Last Updated September 11, 2026 | Nate MoonisThe factory incandescent taillights on a 1973-1987 Chevy or GMC truck can leave a lot to be desired compared to modern lighting. They aren't particularly bright, draw more power than LEDs, and eventually burn out. Converting your classic truck's taillights to LEDs is a straightforward way to improve rear visibility while adding modern lighting technology without complicated wiring.
Check out the video below for a more in-depth installation breakdown.
How to Convert 1973-1987 Chevy and GMC Truck Taillights to LEDs
This step-by-step installation guide will walk you through removing the factory incandescent taillights and replacing them with LED taillight assemblies. The conversion plugs directly into the factory bulb sockets, so you won't need to cut or modify your truck's wiring.
Tools and Supplies Needed:
- Phillips head screwdriver
- Flathead screwdriver
- Spray adhesive or glue
- Piece of cardboard
- Magnetic parts tray
- Towel
1973-1987 Chevy and GMC Truck LED Taillight Installation
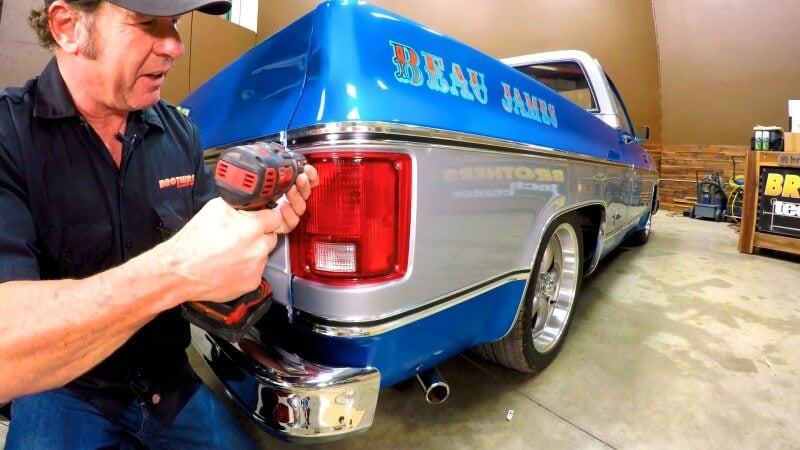
Step 1: Remove The Factory Taillight Lens
Remove the screws securing the factory taillight lens with a Phillips head screwdriver.
Step 2: Remove The Factory Taillight Bulbs
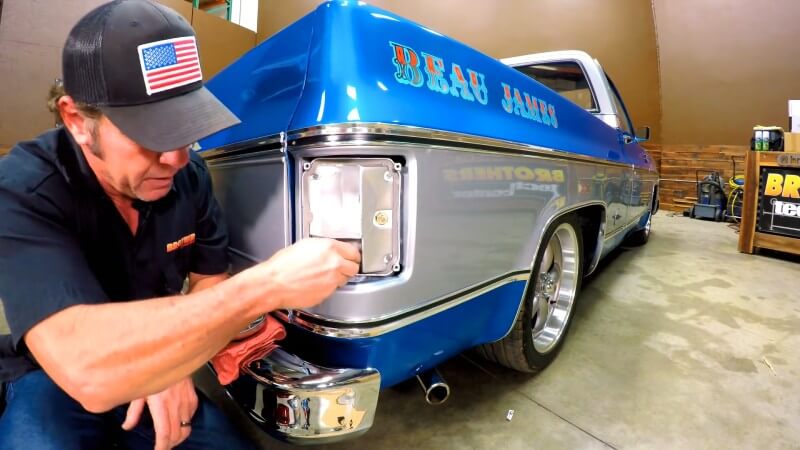
Pull the factory incandescent bulbs out of their sockets.
Step 3: Position The New Taillight Gasket
Place the new gasket on a piece of cardboard in the correct orientation, making sure you identify the top and bottom.
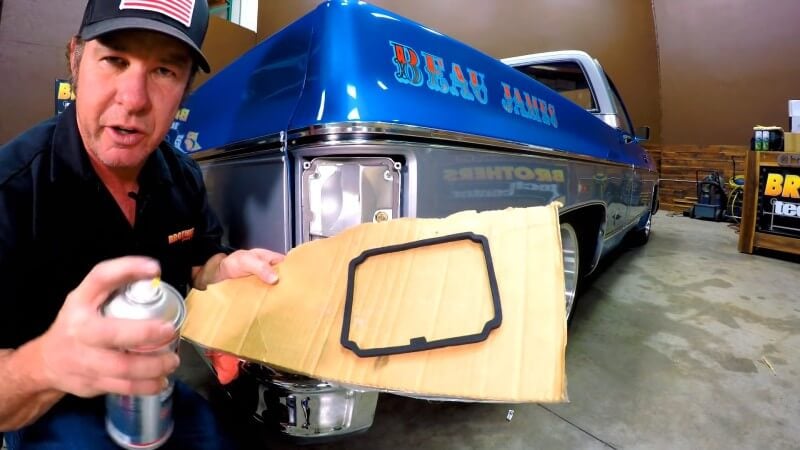
Step 4: Apply Adhesive To The Gasket
Apply a small amount of spray adhesive or glue to the gasket to help hold it in place during installation.
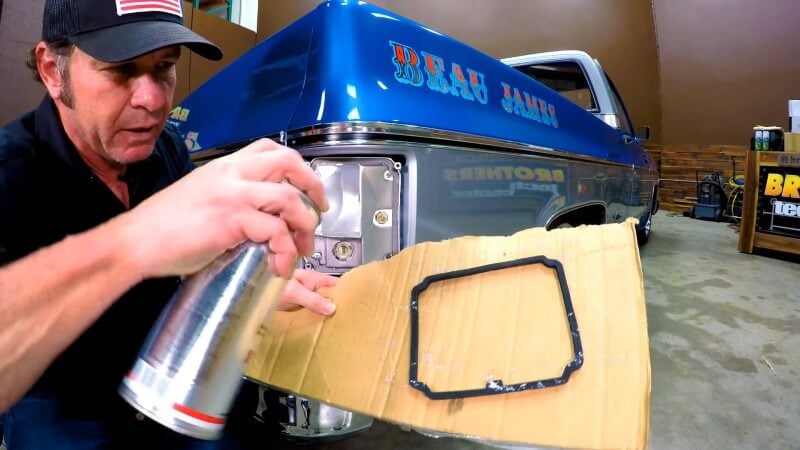
Step 5: Install The Gasket
Set the gasket into the new taillight housing and press it into place.
Pro Tip: Attaching the gasket to the housing beforehand keeps it from falling out while you're installing the new taillight assembly.
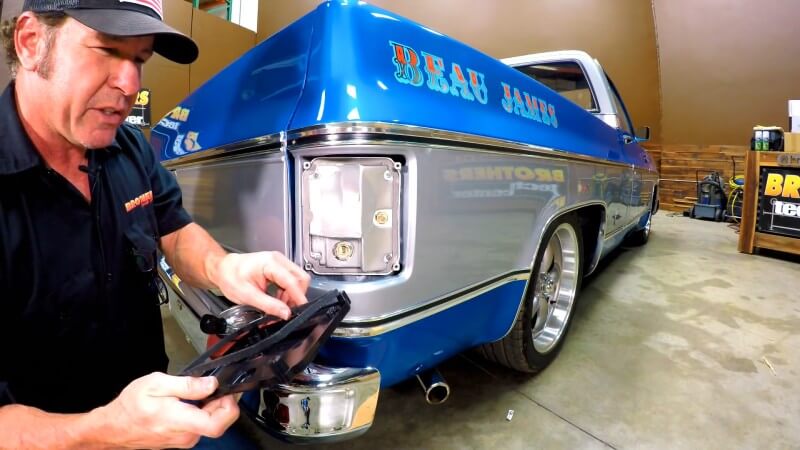
Step 6: Remove The Factory Taillight Housing
Remove the hardware securing the factory taillight housing and pull the housing away from the truck.
Important: Keep the original housing hardware nearby. You'll reuse it to secure the new housing to the truck.
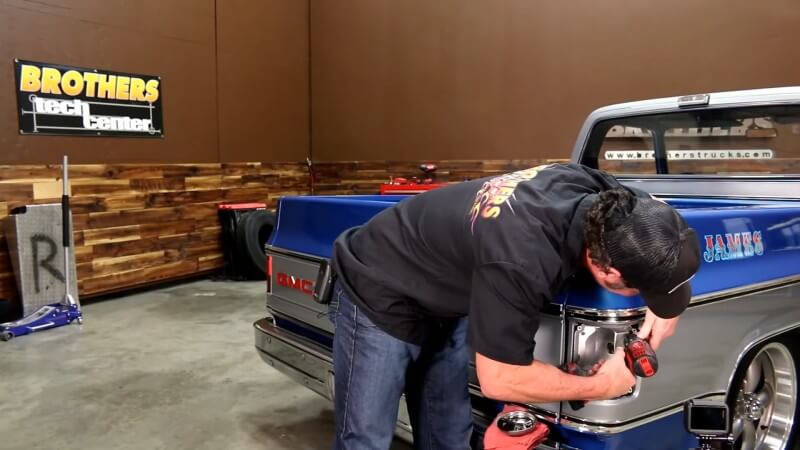
Step 7: Remove The Bulb Sockets
Twist the factory bulb sockets to release them from the original taillight housing.
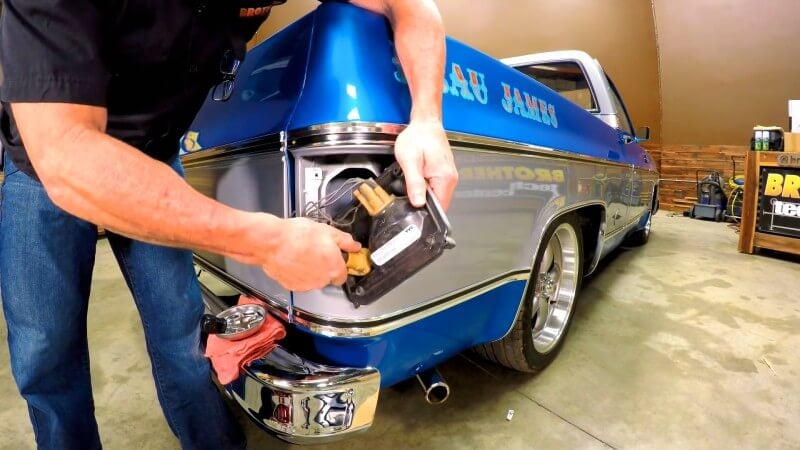
Step 8: Install The Sockets In The New Housing
Insert the factory bulb sockets into the openings in the new taillight housing and twist them into place.
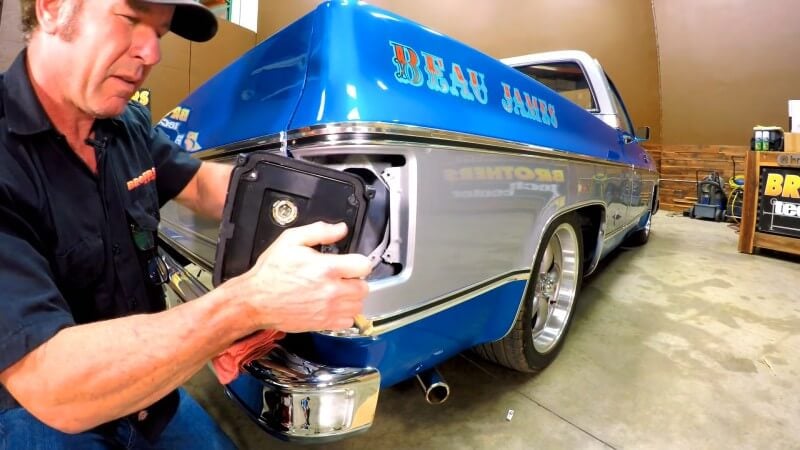
Step 9: Install The New Taillight Housing
Position the new housing in the factory location and secure it with the original mounting hardware.
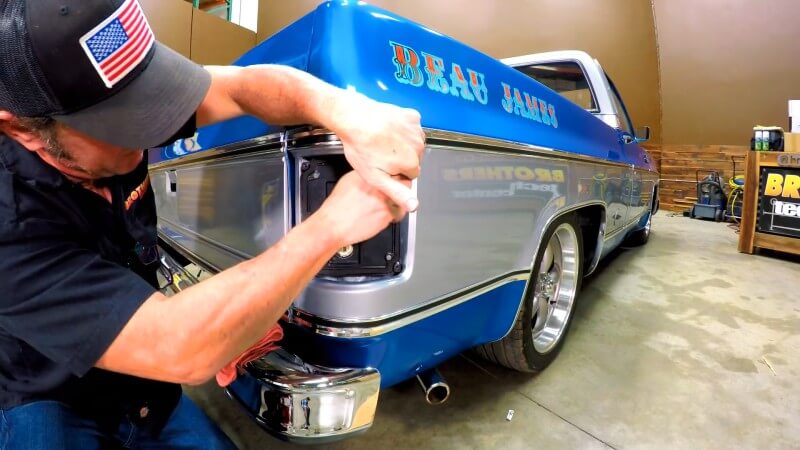
Step 10: Connect The LED Taillight Assembly
Insert the LED taillight assembly connectors into the factory bulb sockets.
Pro Tip: A flathead screwdriver can help rotate the sockets using the slots on the back. The 1157 socket is phased, so make sure the pins are properly aligned before inserting the connector.
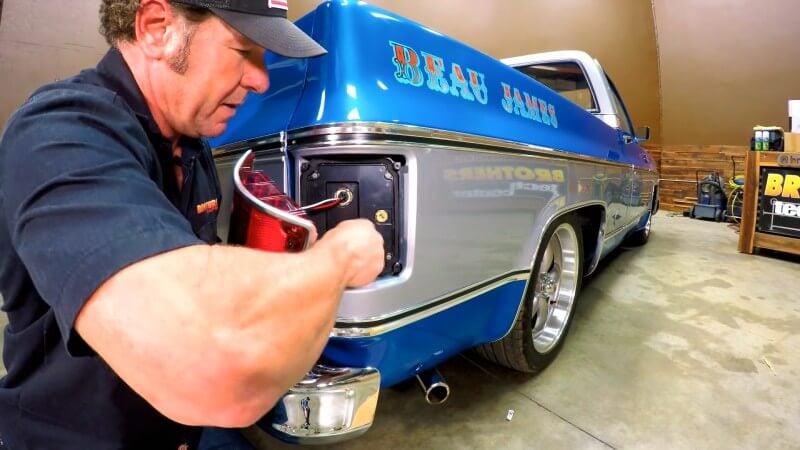
Step 11: Select The Turn Signal Mode
Use the switch on the back of the LED assembly to select either the sequential or standard turn signal setting.
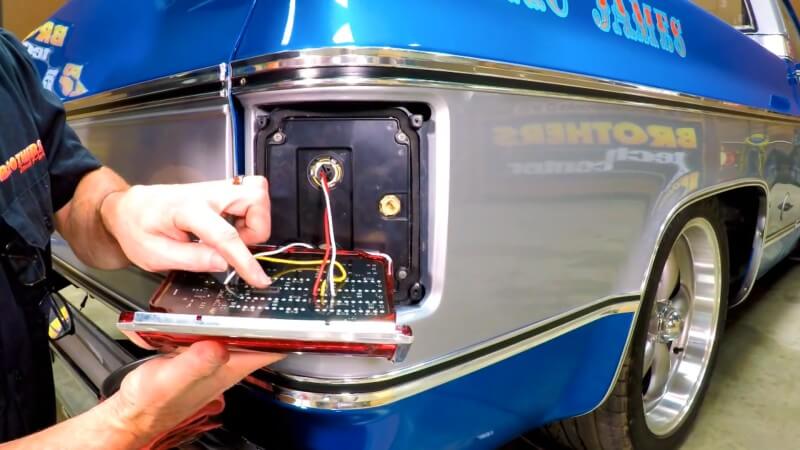
Step 12: Position The LED Taillight Assembly
Place the LED taillight and lens assembly into the new housing.
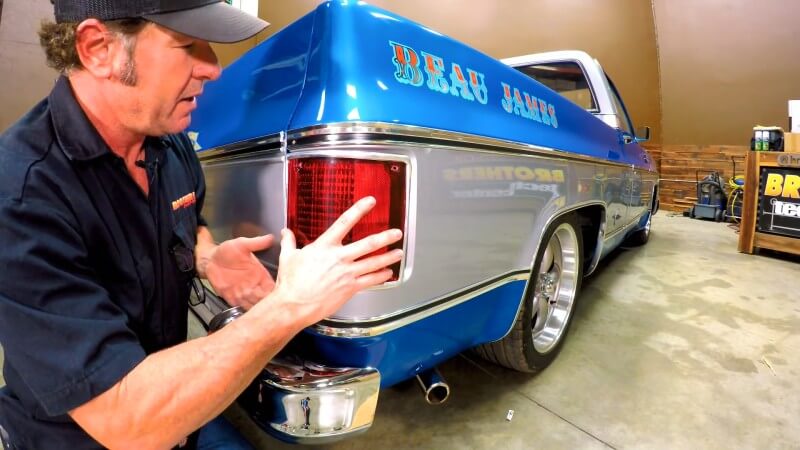
Step 13: Secure The New Taillight Lens
Install the supplied lens hardware and tighten the screws until the lens is secure.
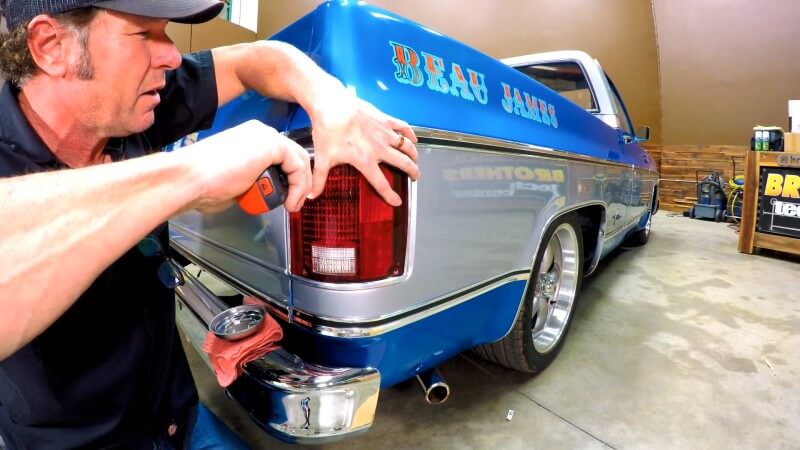
Step 14: Repeat The Installation On The Opposite Side
Repeat the same installation process to convert the taillight on the other side of the truck to LEDs.
Congratulations, you're all done!
Improve Your 1973-1987 Chevy or GMC Truck's Visibility With LED Taillights
Converting your 1973-1987 Chevy or GMC truck from incandescent bulbs to LED taillights gives your classic pickup brighter, more modern rear lighting without requiring complicated wiring modifications. LEDs also draw less power and offer a much longer service life than traditional incandescent bulbs, making this a practical upgrade in addition to improving the look of your truck.
With your new LED taillights installed, you can continue updating your classic truck's lighting with additional Brothers Trucks lighting components from CJ Pony Parts.


