1965-1966 Ford Mustang Gas Cap Installation Guide
Last Updated May 29, 2026 | Nate MoonisIf the original gas cap on your 1965-1966 Mustang is faded, scratched, or missing its shine, replacing it is a quick way to improve the appearance of your classic 1965-1966 Ford Mustang. This simple installation only requires basic hand tools and can be completed in just a few minutes.
Check out the video below for a more in-depth installation breakdown.
How to Install a New Gas Cap on a 1965-1966 Ford Mustang
This step-by-step installation guide will walk you through the removal of the stock gas cap and the installation of the new one. In the video above, we installed a replica 1965 Mustang gas cap to keep our car looking OEM.

Tools and Supplies Needed:
- Ratchet
- Extension
- 10mm socket
- 11mm socket
1965-1966 Mustang Gas Cap Installation
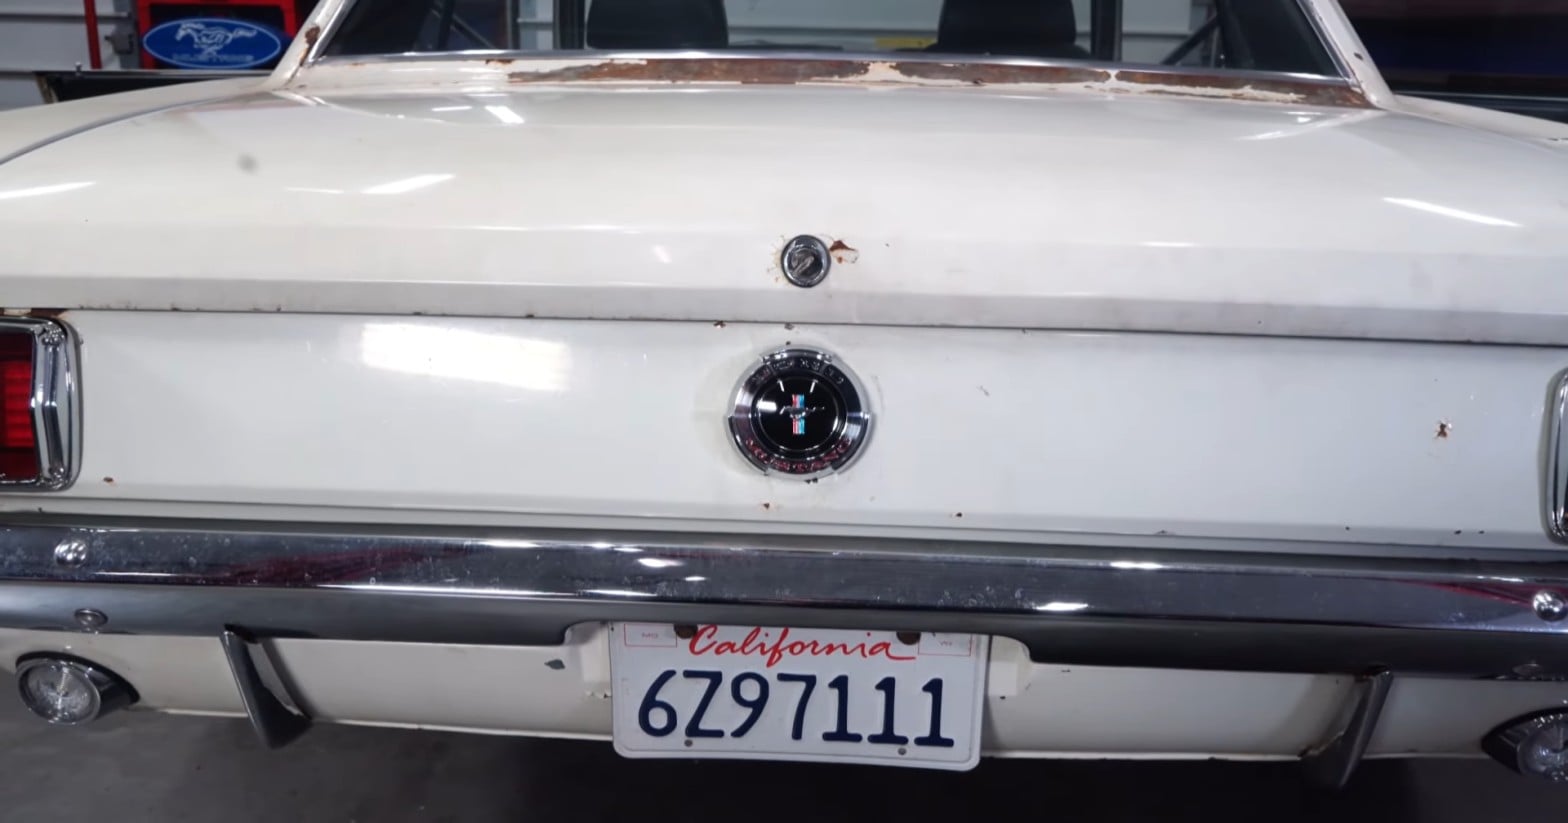
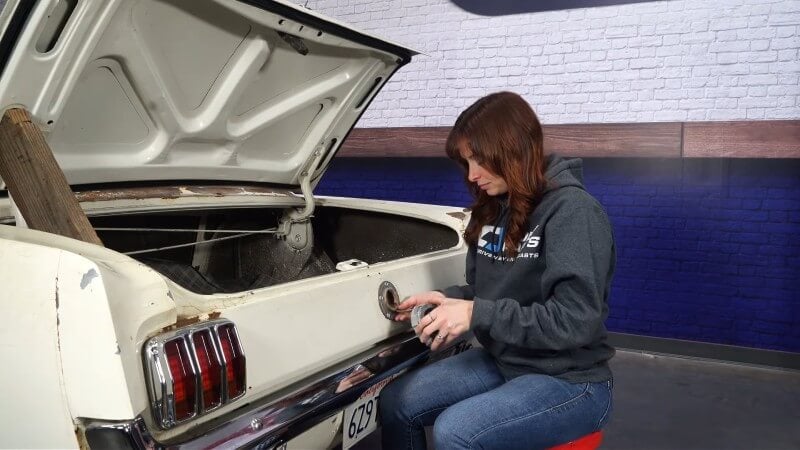
Step 1: Open The Gas Cap
Open the existing gas cap to access the retaining cord and mounting hardware.
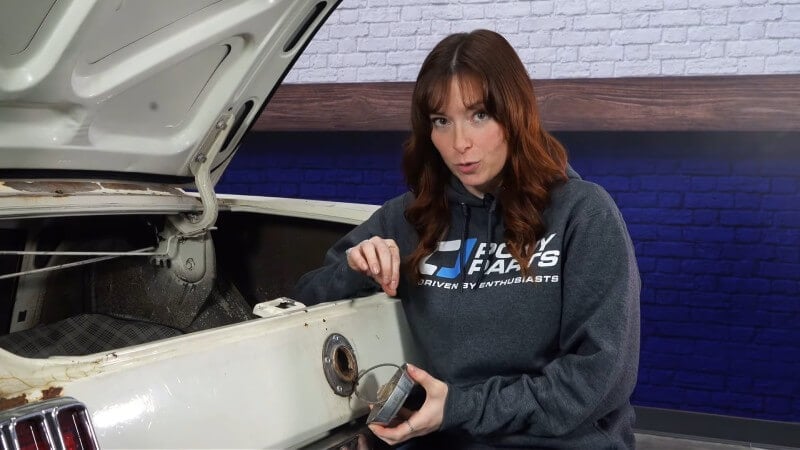
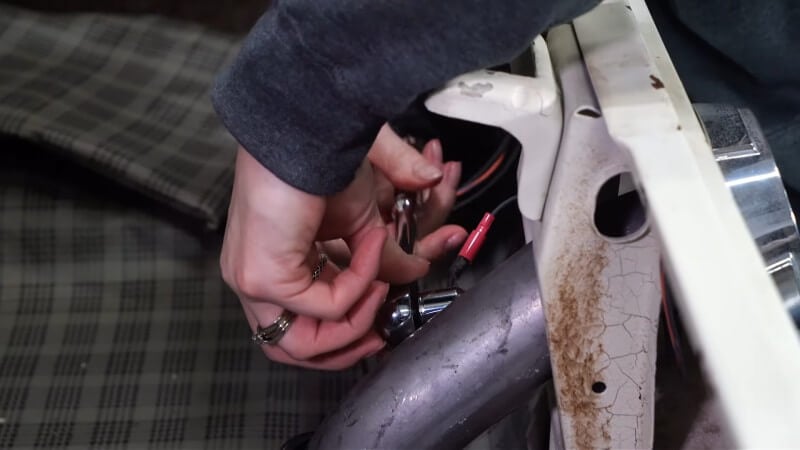
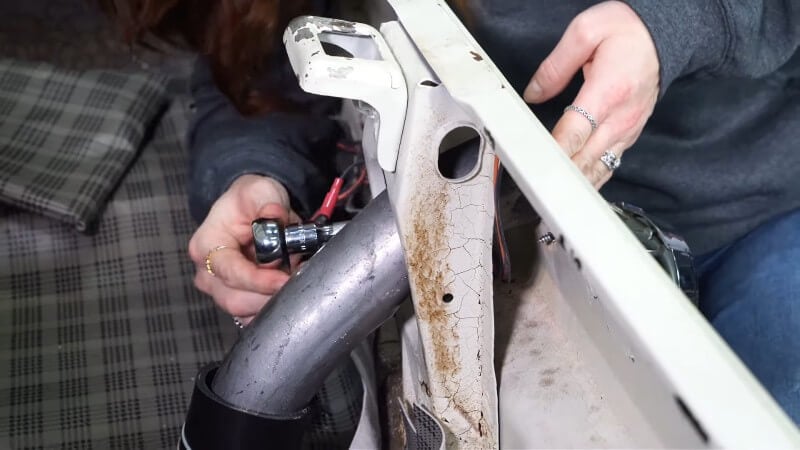
Step 2: Locate The Retaining Nut
Find the retaining nut attached to the braided retention cord inside the filler neck area.
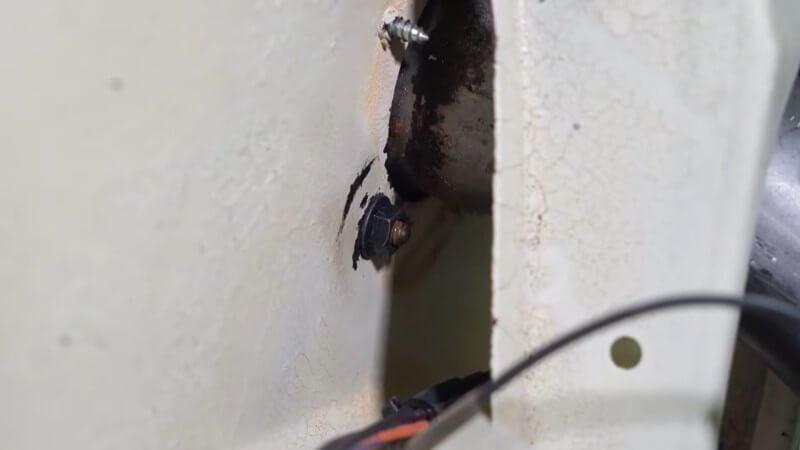
Step 3: Loosen The Retaining Nut
Use a 10mm socket with a ratchet and extension to loosen and remove the retaining nut.
Step 4: Remove The Original Gas Cap
Pull the original gas cap and braided cord assembly away from the vehicle.
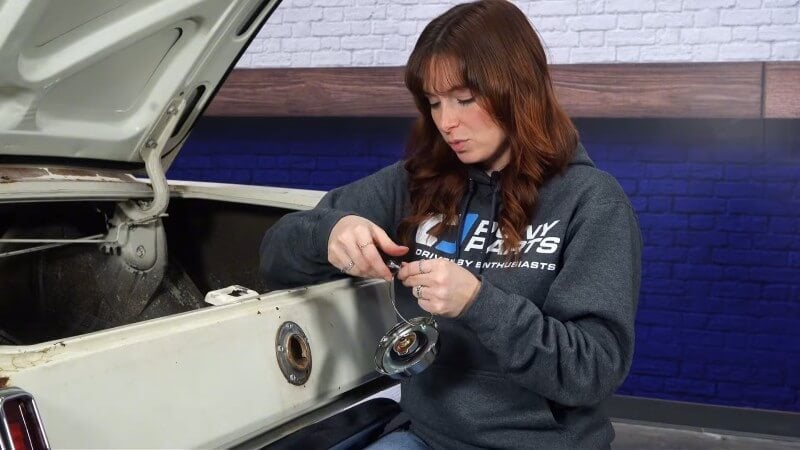
Step 5: Remove The New Retaining Nut
Remove the 11mm retaining nut from the new gas cap assembly and set it aside.
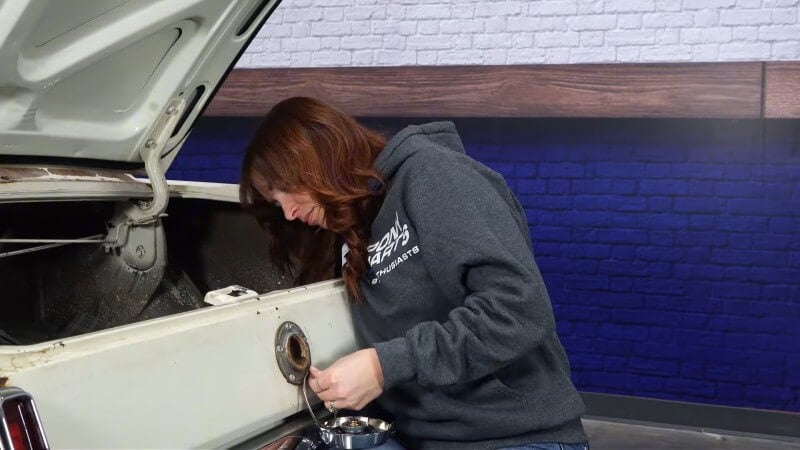
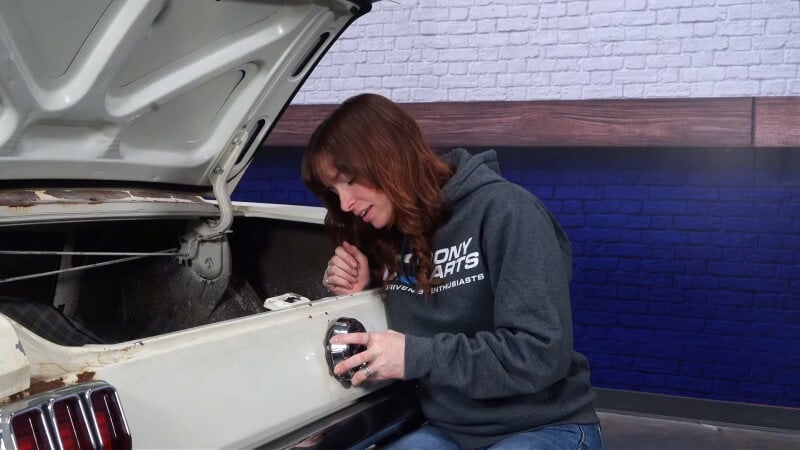
Step 6: Install The New Gas Cap
Insert the new gas cap assembly into the vehicle and thread the new retaining nut into place by hand.
Step 7: Tighten The Retaining Hardware
Use an 11mm socket with a ratchet and extension to tighten the hardware until snug.
Step 8: Screw The New Gas Cap Into Place
Screw the new gas cap onto the filler neck once you've tightened the retaining nut.
Congratulations, you're all done!
Clean Up Your 1965-1966 Mustang's Trunk With a New Gas Cap
Replacing the gas cap on your 1965-1966 Mustang is a quick exterior upgrade that can make a noticeable difference in the look of your ride's rear end. Want to upgrade your classic Mustang's rear end further? Check out our large selection of hatch and trunk parts to match your new gas cap.