Mustang Restoration Chapter 8: Body Repair and Restoration
Last Updated November 25, 2025 | Meghan DrummondBodywork makes a huge impact on a restoration. With your engine, transmission, suspension, and brakes fully operational, it's time to make sure your Mustang looks as good as it runs.
Returning your Mustang to its original form is one of the areas where it pays to be patient. If you have serious chassis damage, we'd recommend you enlist a seasoned body specialist. While anyone with enough free time can repair minor dents and dings, anything involving welding is going to be outside the scope of this book.
Ultimately, the goal of body repair is to return your Mustang to a clean slate. In addition to repairing normal dents and dings, you'll also be repairing damage due to age. Though it may be tempting to throw on a layer of paint to “cover it up,” paint has a way of making damage look worse rather than better.
Covered In This Chapter:
- Dealing with Rust - Removing rust by any means necessary
- Glass Removal - How to carefully remove your glass to prep for paint
- Fixing Dents and Dings - Repairing minor body damage
Dealing With Rust
One issue that affects your Mustang's lifespan, ability to be painted, and overall look is rust. Rust forms when iron and oxygen meet. When paint chips, it creates the opportunity for that bond to begin. As soon as rust starts to form on a car, though, it can keep growing, even underneath the paint. You've likely seen the result: Paint that looks like it's boiling, often with a small visible spot of rust.

Unfortunately, painting over rust won't fix the issue. You need to actually remove it.
There are several ways to remove rust. Which one will work best for you depends on how severe the rust is.
Rust Remover
Minor rust can be addressed with a rust remover. This is an appropriate measure when the rust is so light you can scrape it away with a fingernail. You'll most likely find rust of this nature around the base of an antenna or in a small divot.
There are a lot of rust removers available. Some are items you'll likely find around your house, like WD-40 or vinegar. There are also plenty of rust treatment products designed for cars and difficult-to-reach places. Follow the instructions on your selected rust remover for application.

There are many rust removers that are non-acidic. These are a great choice, especially if you're trying to preserve your paint. Regardless of the active ingredients used in your chosen rust remover, you should clean the area thoroughly once completed.
Sanding
If you have a large area of rust, sanding is a great option. You can sand by hand, but most people agree that your arm may give out before the rust does. An orbital sander, a Dremel, or other automated sanding device is your best option.

Test out your sander on a non-Mustang-related surface first. Get a feel for each of the different settings and what effect they'll have on metal. While some settings are designed for buffing, others will practically bore a hole through your sheet metal. You'll obviously want something between the two.
Create a protective perimeter around the rust spot with painter's tape.
Sand down the area that's visibly rusted, but also sand the area around it. This will help ensure that you've removed all the rust.
Media Blasting
Sometimes an entire Mustang is covered in a layer of rust. If the rust is too severe for rust remover, then media blasting is a solution.
Media blasting on this scale should really only be done by a professional. It requires a lot of equipment, and there's a lot of technique involved. Your best bet is to find a shop that's familiar with the needs of vehicle restoration. They'll be able to walk you through which media you should select for your blasting.

Sand blasting can be pricey, but it's a fast and thorough way to deal with a large amount of rust.
Patching
If a single area has gotten particularly bad, you may need to cut away some of your sheet metal and create a patch. This is pretty advanced work, and if you're working towards a show restoration, you should get some expert body shop advice.
Sheet metal patches range in size from tiny to huge. Entire body panels can be replaced if need be. But making sure your patch looks factory-perfect is no small task.

Welding isn't for the faint of heart. Especially welding a classic Mustang. Mustangs have a unibody design, which means that serious damage to any part could cause structural issues. Fortunately, with a good body shop and welder, there's little reason to be afraid of that.
Regardless of which method you use to remove the rust, you'll also need to chemically alter the area. This will keep the rust from coming back.
Most people recommend adding a coat of rust converter to the area. This goes on top of the bare metal and is then primed and painted as normal.
Glass Removal
While not strictly part of body repair, removing the glass from your Mustang makes work a lot easier.
Banging out dents and dings is less stressful when you don't have to worry about breaking your windshield. Interior installations, particularly the headliner, will be less complicated with your windshield out of the way. It's also a lot easier to paint a Mustang that's already had its glass removed.
Preparing the Glass for Removal
To remove your Mustang's windshield and backlite (the rear windshield), first remove all trim. This includes the exterior and interior moldings. You'll also have to remove window louvers if you have them.
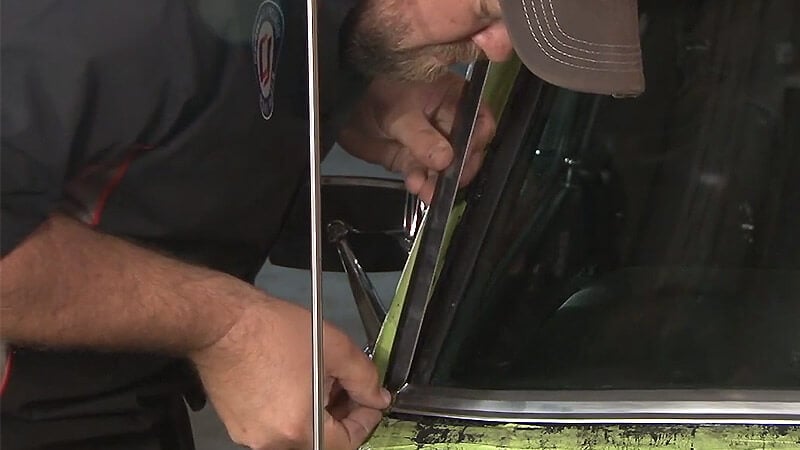
There's no real trick to removing a classic Mustang's glass trim. There are a lot of Phillips head screws. Carefully remove each one and place it in a labeled container. Be careful to always use the right size screwdriver to avoid stripping.
Use a razor to cut through the windshield seal.
Lifting the Glass
The tricky part comes once the glass is ready to be lifted out of position. It goes without saying, but glass is fragile. This particular glass is also going to be heavy and hard to get a good grip on.
A pair of gloves can help make sure that you don't lose your grip. Even so, lifting the glass isn't a one-person job.
The best way to do it is to have one person gently push the windshield from the inside while two people grip the sides. If the windshield feels stuck, stop and look for any hidden molding or screws. Do not try to pry the windshield up, since it will likely crack.

If the windshield doesn't come up immediately, it's usually because the seal hasn't been completely cut through.
The backlite can be removed in exactly the same way.
Storing and Caring for Your Mustang's Glass
Secure your windshield, backlite, and any other glass you remove in a safe location. If possible, glass should be stored upright instead of flat on your garage floor.
For additional protection, wrapping the edges in cardboard or foam is a good safety measure.
Give these pieces a good cleaning while they're free.
Fixing Dents and Dings
For major structural damage or replacing large slabs of sheet metal, a body shop is likely necessary. But minor dents and dings can be handled at home if you're willing to put in the time. To repair your dents and dings, you'll want to follow these basic steps:
- Reverse the Damage
- Prepare the Surface
- Fill Remaining Spots
- Sand and Prep for Paint
Reversing the Damage
For sheet metal repair, you'll need a dolly and body hammer set. This is a toolset you can borrow from another enthusiast. With any luck, you won't need to use them often.

The “dolly” is a metal block designed to follow the curve of your Mustang's body.
Though a dolly and hammer are the most correct tools for Mustang sheet metal repair, they aren't the only ones. Enthusiasts have corrected minor dents and dings with everything from suction cups to magnets.
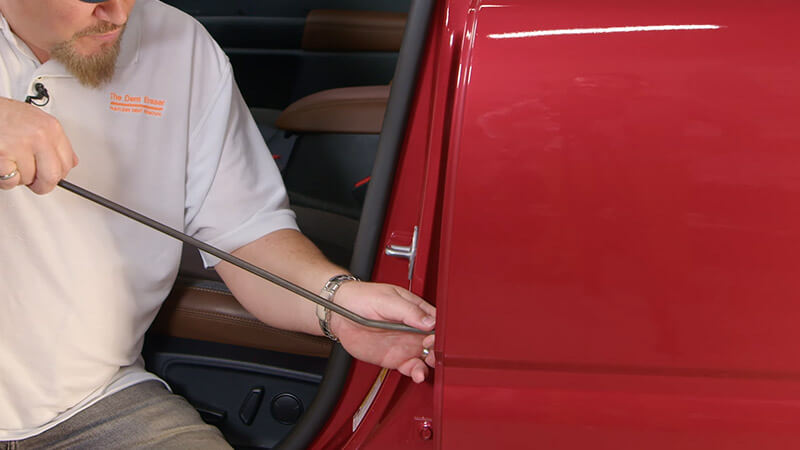
The trick to fixing dents is assessing the damage and reversing it. If you have a dent causing a ridge, then pulling the dent out in the correct direction could also remove the ridge.
Most body repair specialists advise working from last to first. This means starting at the damage furthest away from the point of impact. By doing your repairs in this manner, you'll avoid overstretching the metal, which can contribute to weak points.
Preparing the Metal for Filler
To make sure the filler correctly binds to the surface, you'll want it to be completely stripped, degreased, and dry. Stripping away any wax and degreasing your Mustang can be done with any household degreaser. Simple Green is a popular choice.
Once dry, you'll want to scuff up the surface slightly to give the filler better adhesion. A 220 grit sandpaper should be fine enough not to leave nasty scratches but tough enough to create texture for the filler to grip.
After sanding, clear away any sanding dust with a microfiber cloth. If you have a compressed air blower, that's even better for clearing the area.
Filling In Dents
Once you have your dents and dings down to the smallest possible point, you'll need to fill them. For this most people use Bondo, or another sandable, paintable, body filler. You'll want to look for a filler that's non-shrinking and can accept any paint.
Lead vs Plastic Filler
Some Mustang enthusiasts recommend a lead-based filler over a plastic-based one. While plastic fillers have a bad reputation, that's due to overuse and improper use.
If you're using plastic filler correctly, then you'll have a solid and long-lasting repair. The same is true of lead. If you use lead filler correctly, then you'll have a good repair.
Where lead and plastic fillers differ is how things turn out if they go wrong. Lead is poisonous. We stopped using lead in paint because it's very poisonous. We stopped using lead in gasoline because even in small particles in the air, it's still very poisonous.
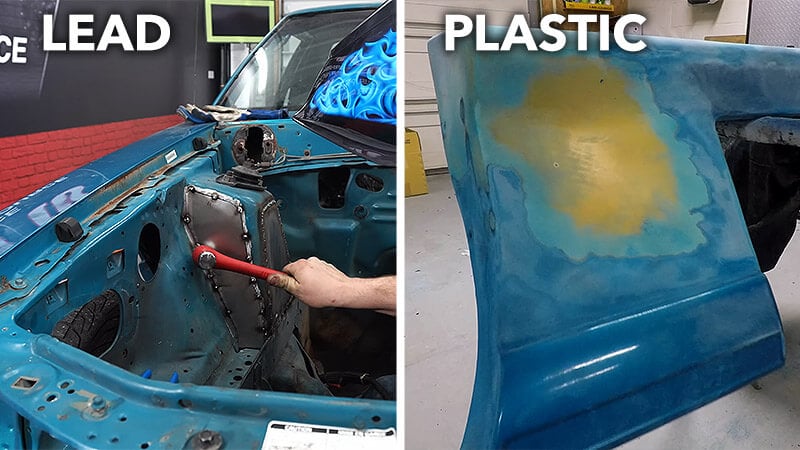
If you're the type of person who sets things down and can't remember where they are, or who doesn't hesitate to scratch your nose when it itches, then you should avoid lead filler. You could seriously hurt yourself or a loved one.
Plastic filler is a great alternative.
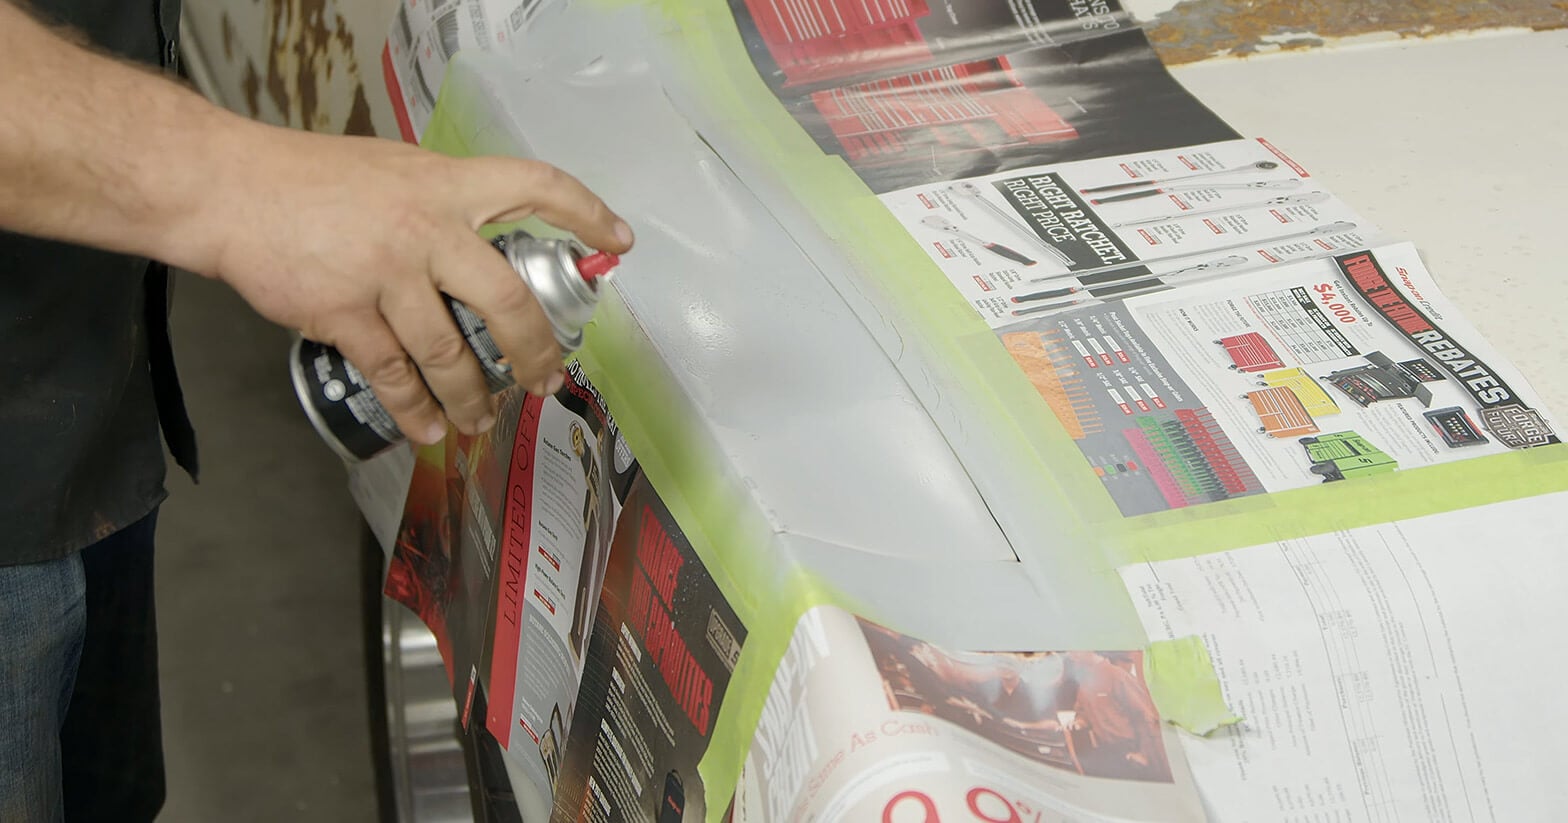
Applying Filler to the Body
Plastic filler is mixed with hardener. This means that you'll need to be prepared to apply as soon as it's mixed.
To mix plastic filler and hardener, use short, deliberate movements. When mixing a cake, you want to whip it to incorporate air into the batter, which makes it fluffy. You want to do the opposite of that with Bondo. The less air you're able to get into it, the better.
Once mixed so that the hardener is fully integrated into the filler, it's time to apply. A metal scraper is the best option, but a putty knife will also work.
Spread the filler across the surface. Push to encourage the filler to fill any crevices. Then wipe smooth. Repeat once or twice. You'll want the filler to be smooth on top, but you'll also want to leave extra.
Prepping Your Patches for Paint
Depending on the temperature of your garage, it should take about half an hour for your filler to fully cure. If you live in a colder climate, then you may need to use a heat lamp if the filler is still tacky after that time.
As soon as it's cured, you can sand it down with a fine-grit sandpaper. 120 grit would be a good place to start. You want the surface to be as smooth as possible before moving on to the next step: Painting.
Check out our full Classic Mustang restoration guide to learn everything you need to tackle your next project.


