

Mustang Body Kits

Totally Transform Your Ride's Appearance with Mustang Body Kits


Mustang Body Kits
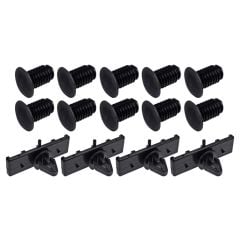
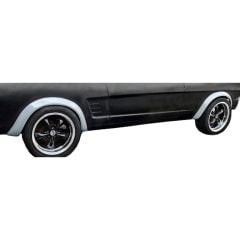
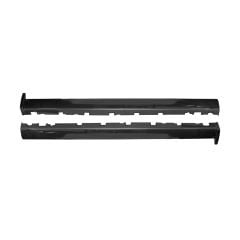
Instantly transform the look of your ride with Mustang body kits. With a wide range of options available, you can choose different panel shapes and designs to achieve a brand-new look. Mustang body kits include all the necessary panels for a complete makeover.
You'll find body kits designed specifically to fit your Mustang's year, make, and model, from 1964.5 up to today. Most body kits are unpainted, so you can color-match to your Mustang's paint. These body kits not only enhance aesthetics but also maintain the aerodynamic performance of your vehicle and can help make room for larger tires.
Related Resources


My Wish List
Last Added Items
You have no items in your wish list.
