1963-1972 Chevy/GMC Truck Longbed to Shortbed Conversion
Last Updated September 28, 2026 | Nate MoonisConverting a 1963-1972 Chevy or GMC truck from a long bed to a short bed is a great way to completely change the proportions and appearance of your classic pickup. While shortening a truck frame may sound intimidating, the right conversion kit, tools, and careful measurements can make the process much more manageable.
This long bed to short bed conversion typically takes around six to eight hours, although the total time can vary depending on your experience and the condition of your truck. Because you'll be cutting and modifying the frame, take your time throughout the project and double-check your measurements before drilling or cutting.
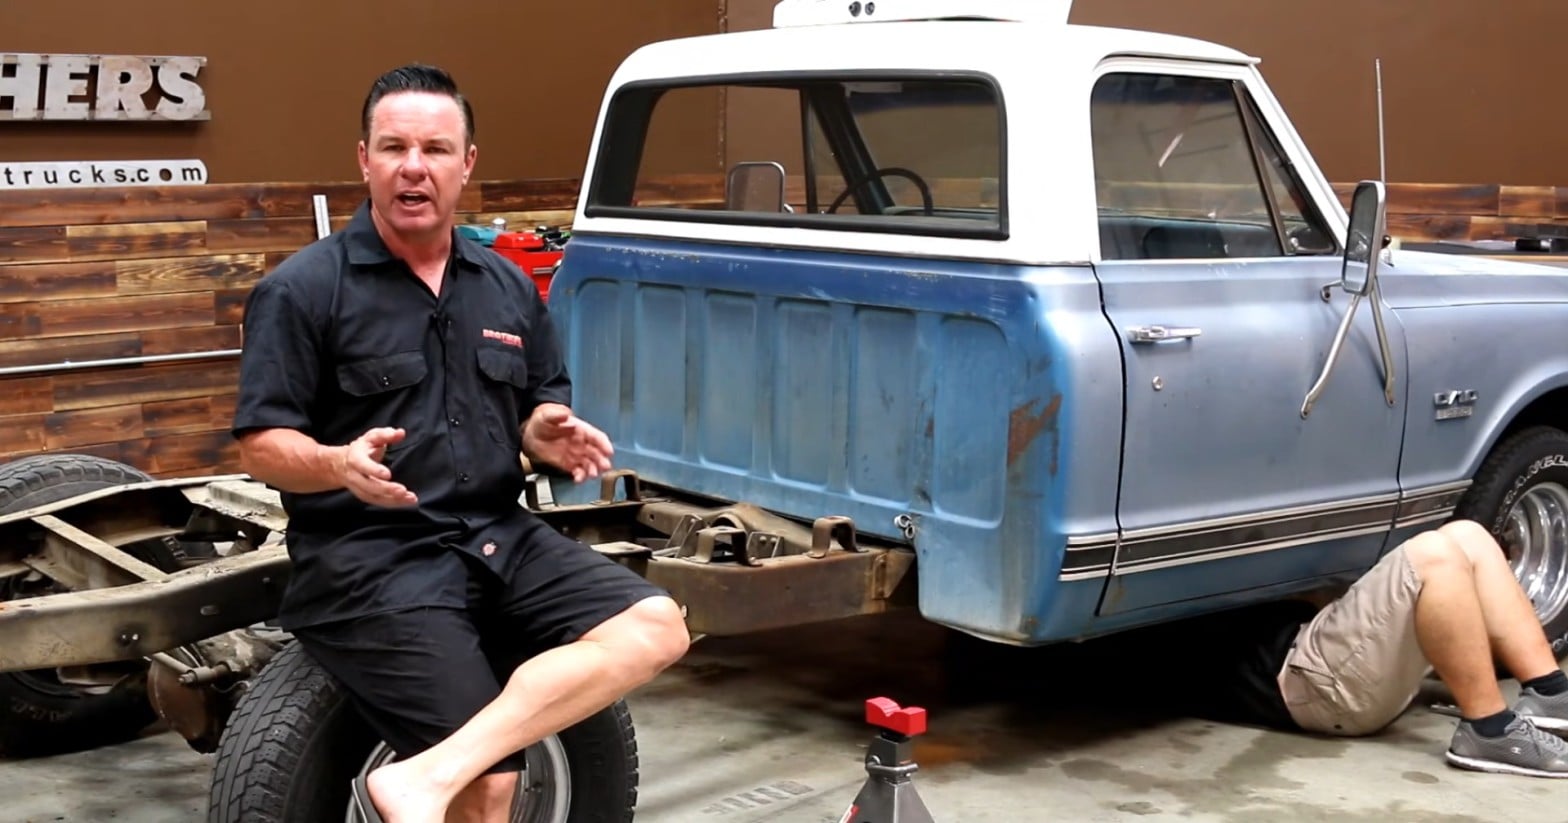
Check out the video below for a more in-depth installation breakdown.
How to Convert a 1963-1972 Chevy or GMC Truck From a Long Bed to a Short Bed
This step-by-step installation guide will walk you through shortening the frame of your 1963-1972 Chevy or GMC truck, relocating the rear cab mounts, modifying the rear frame, and preparing the chassis for a short bed. Use these instructions alongside the printed manual included with your conversion kit, as each resource may contain details that are easier to see in one format than the other.
Tools and Supplies Needed:
- Six jack stands
- Floor jack
- Jack stand shims
- Reciprocating saw
- Extra reciprocating saw blades
- 1/8-inch drill bits
- 3/8-inch drill bits
- 1/2-inch drill bit
- Drill
- Air chisel and punch
- Die grinder
- Square
- Scribe
- Vise grips
- Basic hand tools
1963-1972 Chevy and GMC Truck Long Bed to Short Bed Conversion
Step 1: Disconnect The Components Between The Front And Rear Of The Truck
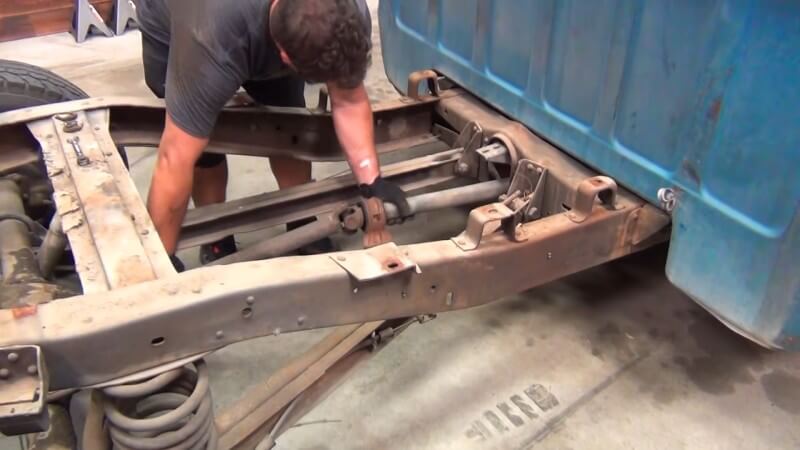
Disconnect any components running between the front and rear sections of the truck, including the exhaust, driveshaft, front-to-rear wiring harness, brake line, parking brake cables, fuel line, and any accessories added to the truck over the years.
Important: Be careful when disconnecting the fuel line. Pinch the line closed with vise grips or have a suitable plug ready to prevent fuel from spilling. Move the hard fuel line out of the way so it can be reconnected after the conversion.
Step 2: Raise The Rear Of The Cab
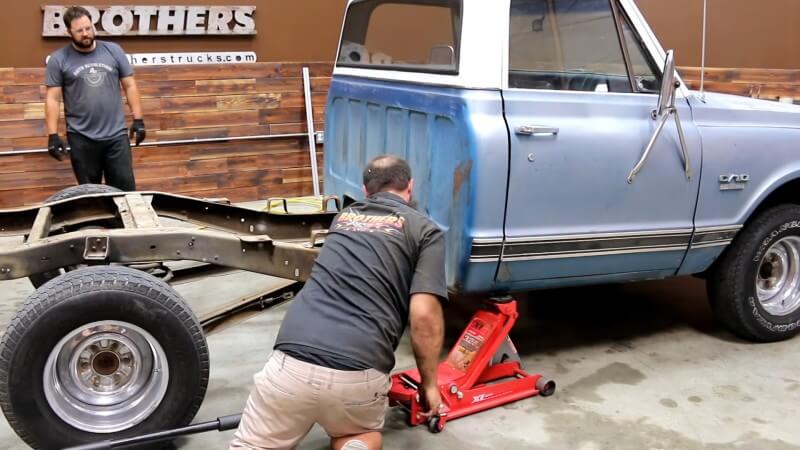
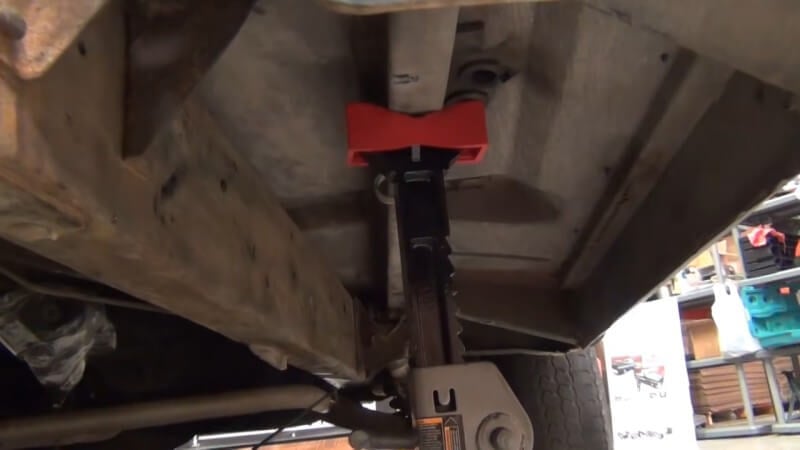
Lift the rear of the cab enough to provide clearance for the necessary jack stands.
Step 3: Support The Rear Of The Cab
Place jack stands underneath the outrigger panels to securely support the rear of the cab.
Step 4: Support The Frame
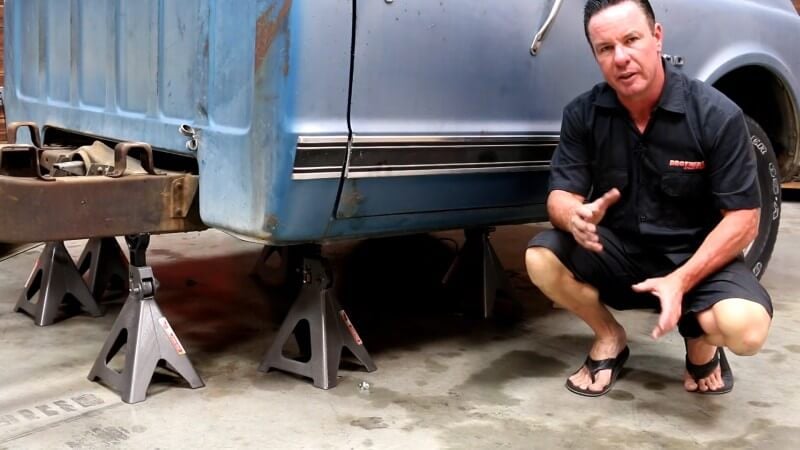
Position jack stands on each side of the frame beneath the front cab mount and forward-most bed mount. Shim the stands as needed so they sit snugly against the frame without raising or lowering it.
Important: The goal is to support the frame in its existing position. Proper support helps prevent the frame from dropping or springing upward when you make the first cuts.
Step 5: Position The Frame Template
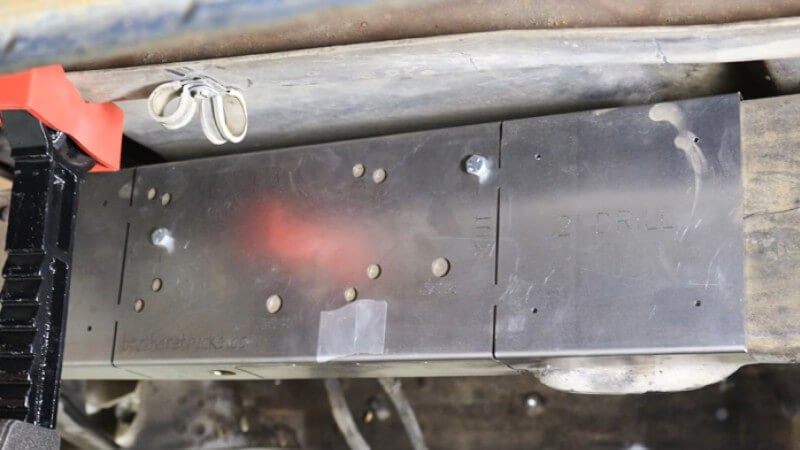
Position the supplied conversion template against the frame and make sure it sits completely flush.
Important: Frame variations may require minor modifications to the template or frame before the template will sit flush. These can include a spoon-shaped relief along the bottom of some frames or additional exhaust hangers. Make any necessary adjustments before drilling or cutting.
Step 6: Drill The Pilot Holes
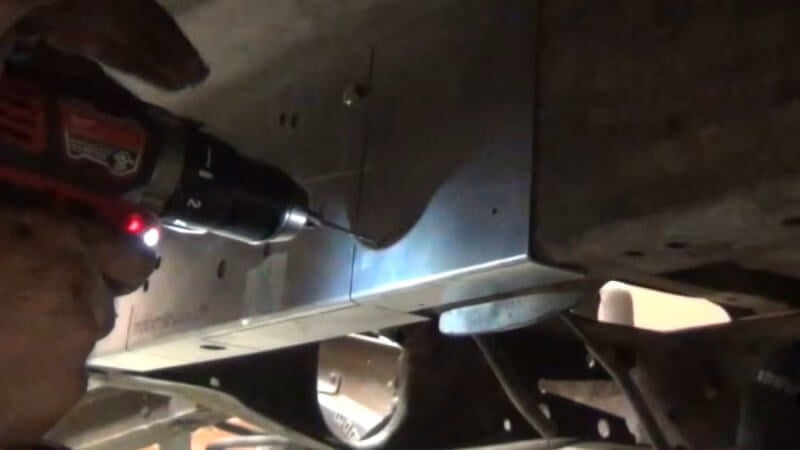
Use a 1/8-inch drill bit and the template to drill the required pilot holes into the frame.
Step 7: Make The First Frame Cuts
Use a reciprocating saw to cut through the frame along the locations indicated by the template.
Pro Tip: Keep several extra saw blades nearby. Multiple frame cuts are required during this conversion, and the blades can wear quickly.
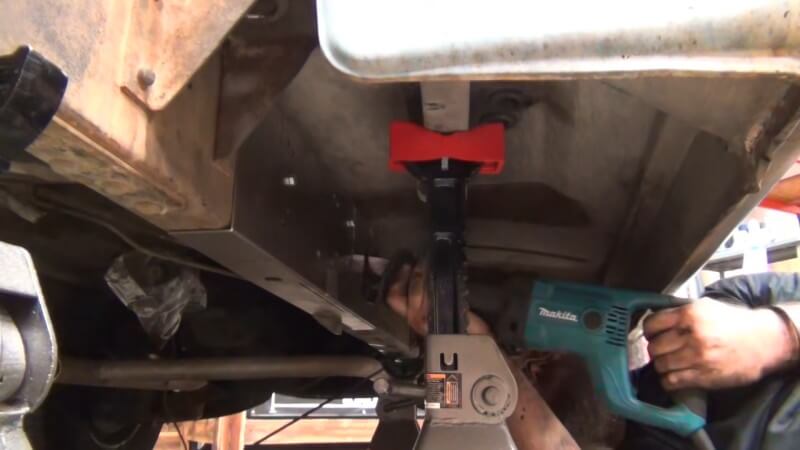
Step 8: Support The Rear Frame Section
Position a floor jack directly beneath the crossmember and raise it enough to support the rear section of the frame.
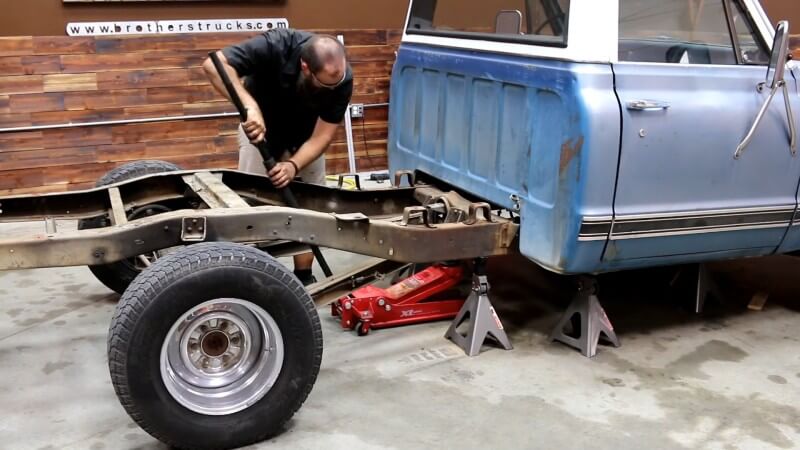
Step 9: Move The Rear Frame Section
Remove the rear jack stands and roll the rear half of the frame away from the front section with the template still attached.
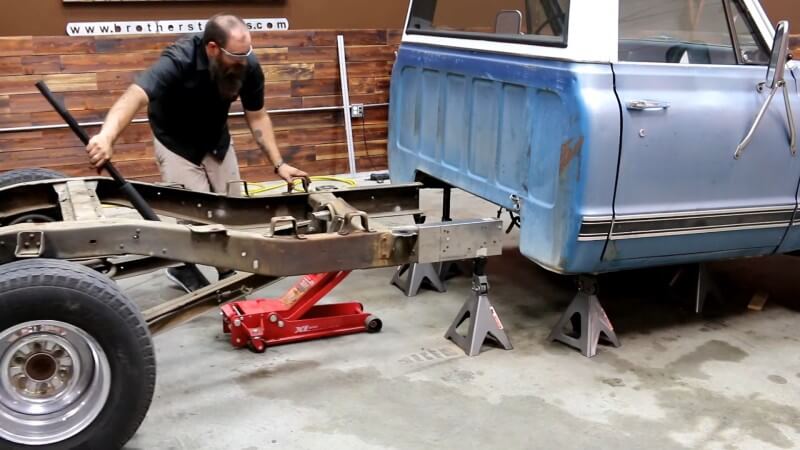
Step 10: Drill The Template Holes
Drill the four indicated holes in the rear frame section using the conversion template as your guide.
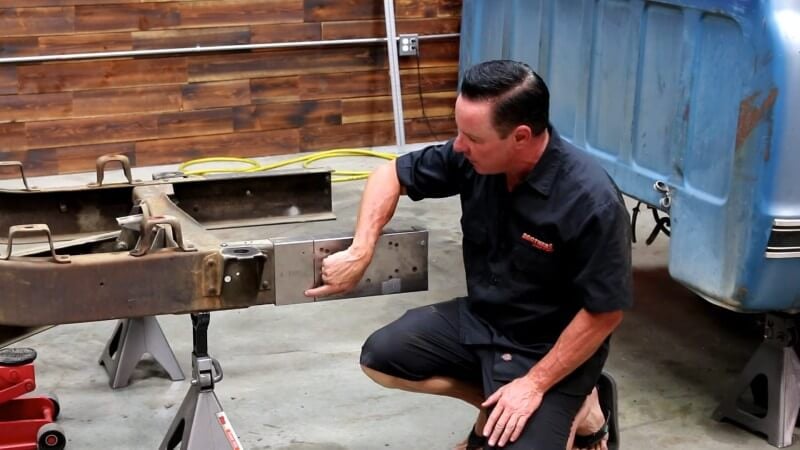
Step 11: Remove The Excess Frame Length
Make the second set of frame cuts along the template to remove the unwanted frame length.

Step 12: Remove The Forward Bed Mount
Remove the forward-most bed mount from the frame.
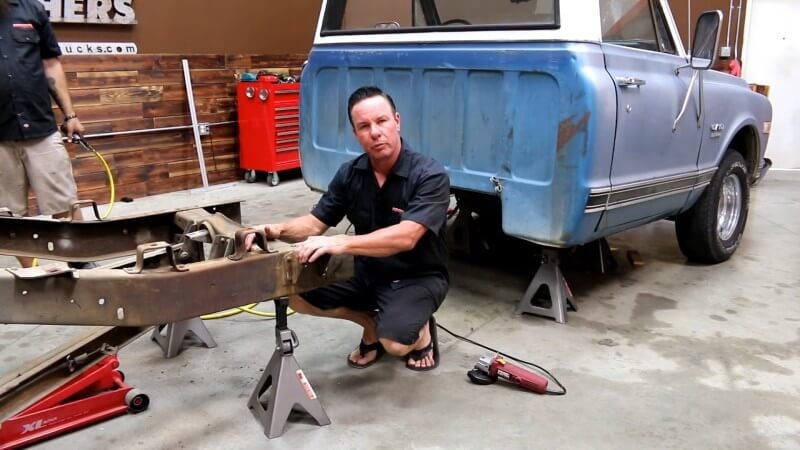
Step 13: Remove The Rear Cab Mount
Remove the rear cab mount by cutting the heads from the factory rivets and punching the rivets out of the frame.
Pro Tip: Cutting a small relief beneath the rivet head with a die grinder can make it easier to get an air chisel underneath. An air punch also makes removing the factory pressed-in rivets considerably easier.
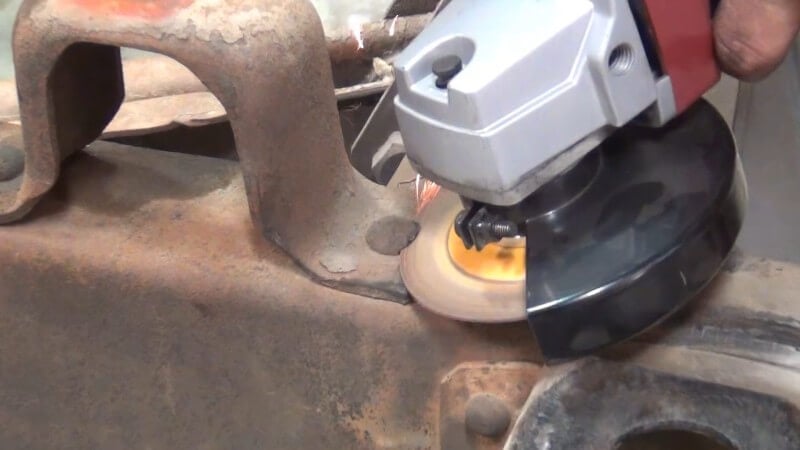
Step 14: Modify The Conversion Template
Cut out the indicated relief section in the center of the conversion template so it clears the rivets on the underside of the crossmember.
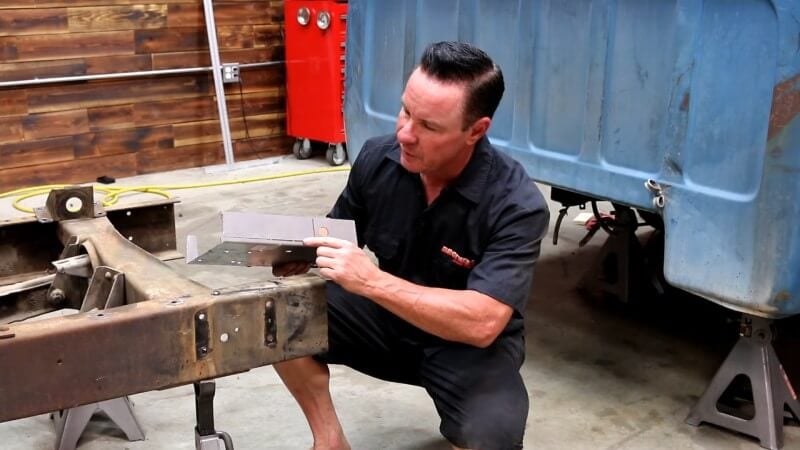
Step 15: Position The Template For The Cab Mount
Align the template's holes marked for the appropriate application with the rear-most holes left by the original cab mount and bolt the template to the frame.
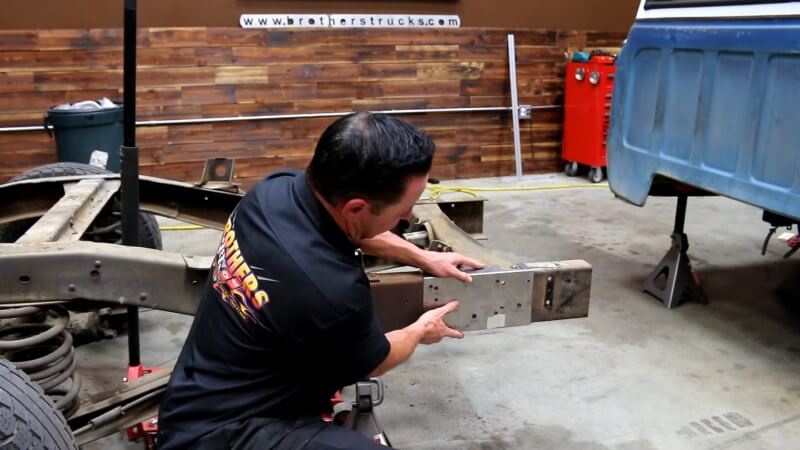
Step 16: Drill The New Cab Mount Holes
Drill the indicated holes through the template to establish the new position for the rear cab mount.
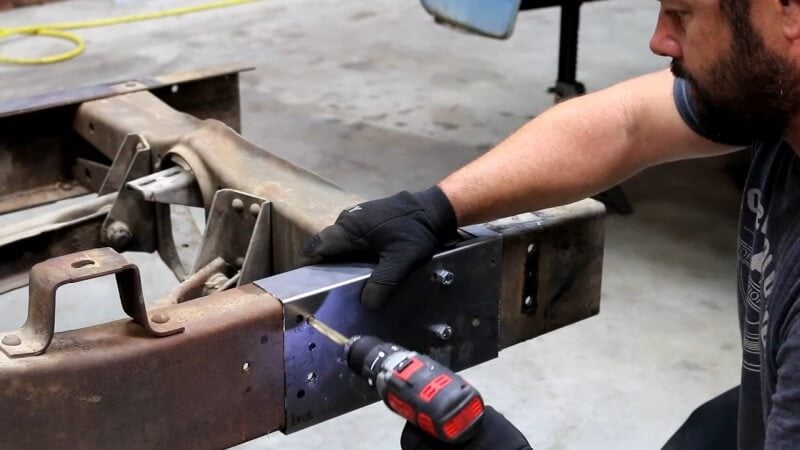
Step 17: Relocate The Rear Cab Mount
Position the rear cab mount at its new location and bolt it to the frame using the supplied hardware.

Step 18: Enlarge The Pilot Holes
Use a 3/8-inch drill bit to enlarge the previously drilled 1/8-inch pilot holes so the supplied hardware will fit through the frame.

Step 19: Square The Frame Cuts
Check each cut with a square and remove any excess material with a die grinder until the mating frame surfaces are straight and square.
Important: Excess material along the cut can prevent the two frame sections from sliding together properly.
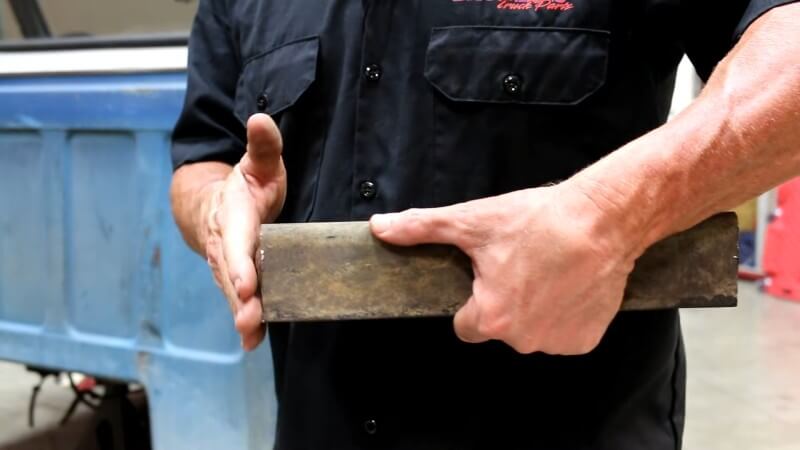
Step 20: Install The C-Channels
Install the supplied C-channels inside the frame using the original cab mount holes to locate them in the correct position.
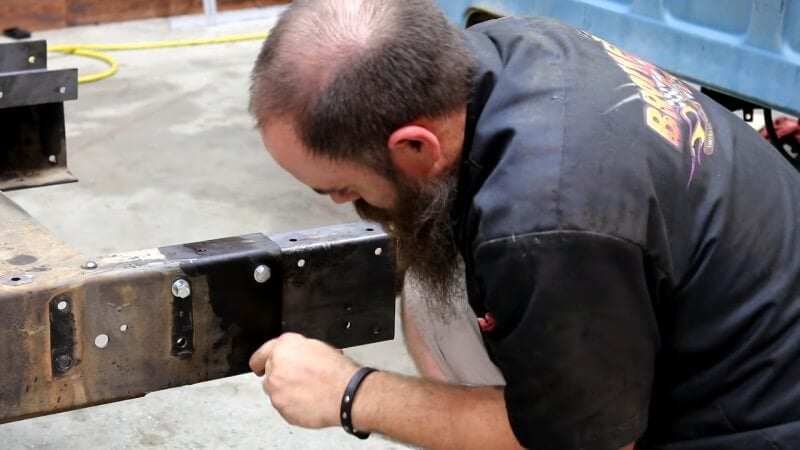
Step 21: Move The Rear Frame Section Forward
Use the floor jack to guide the rear half of the chassis underneath the cab and toward the front frame section.
Pro Tip: The frame may contact the rear edge of the cab as you move it forward. Lower the rear section enough to clear the cab, then raise it again as the two frame sections approach each other.

Step 22: Join The Frame Sections
Align the front and rear frame rails with the C-channels and slide the two frame sections together.
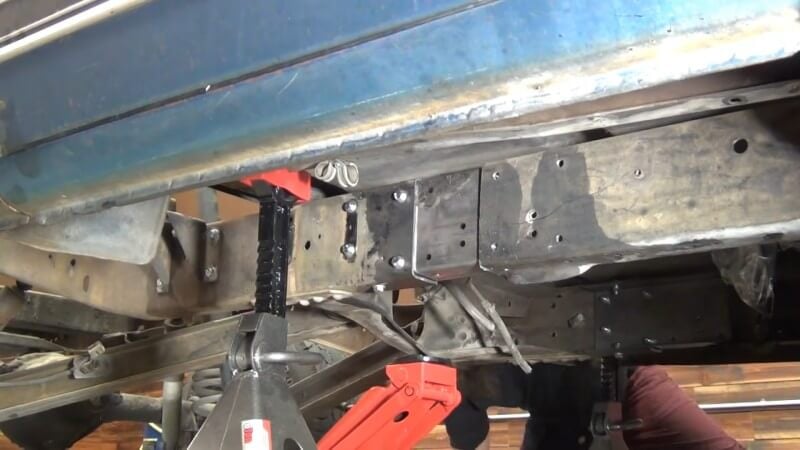
Step 23: Mark The Rear Frame Cut
Position the modified template against the rear edge of the frame and scribe the new cut line.
Pro Tip: Applying a small amount of paint to the frame before scribing can make the cut line easier to see.
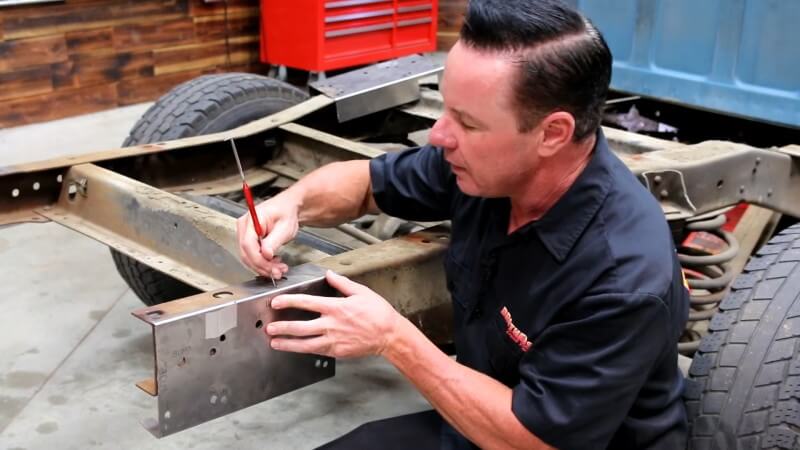
Step 24: Mark The Rear Bed Mount Hole
Use the template to scribe the location of the new rear bed mount hole onto the frame.
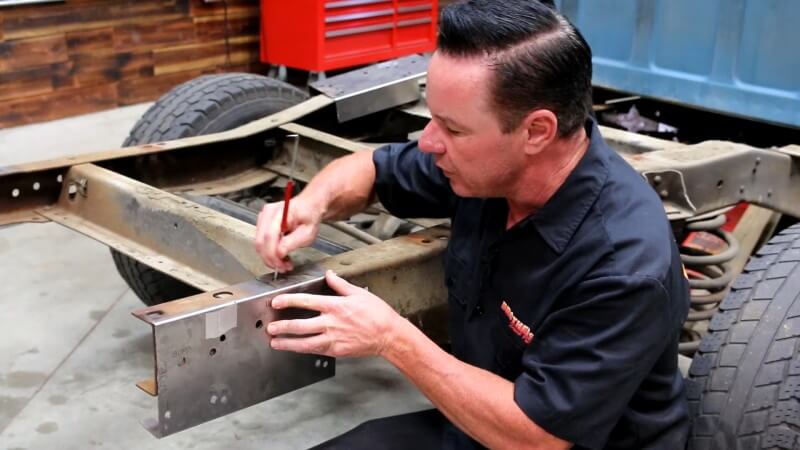
Step 25: Trim The Rear Frame
Use a square to extend the marked cut line and trim the excess material from the rear of the frame with a reciprocating saw.
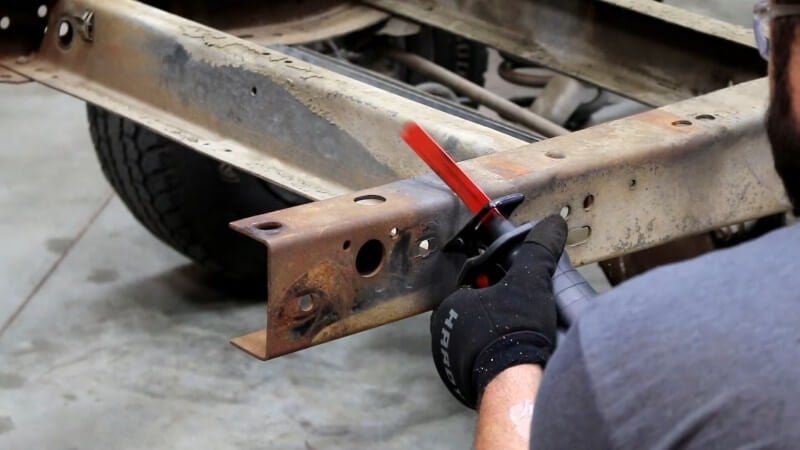
Step 26: Mark The New Bumper Mounting Holes
Align the template with the newly shortened rear frame and mark the new bumper mounting hole locations.
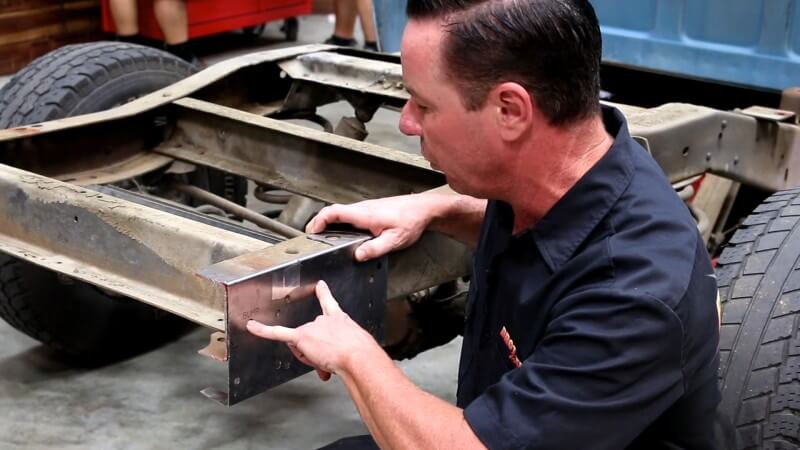
Step 27: Drill The Bumper Mounting Holes
Drill the marked bumper mounting locations to 1/2 inch.
Step 28: Shorten The Driveshaft
Have a professional driveshaft shop remove 12 inches from the front portion of the driveshaft.
Important: Driveshaft shortening requires specialized equipment and should be handled by a professional driveshaft shop rather than attempted in your driveway or garage.
Step 29: Weld The Modified Frame
Have the modified frame professionally welded to permanently reinforce the shortened chassis.
Important: Frame welding is a structural part of this conversion. If you don't have the proper welding experience and equipment, take the truck to a qualified professional to complete this portion of the job.
Step 30: Reassemble The Truck
Reconnect the components removed during disassembly and complete the installation of your short bed components.
Congratulations, you're all done!
Give Your 1963-1972 Chevy or GMC Truck The Short Bed Look
Converting your 1963-1972 Chevy or GMC truck from a long bed to a short bed completely changes the profile of your classic pickup. Careful frame preparation, accurate cuts, and proper alignment are key to getting the chassis shortened correctly and ready for your new short bed.
Once the conversion is complete, you can continue your build with Brothers Trucks parts from CJ Pony Parts to finish your classic Chevy or GMC pickup.