Mustang Restoration Chapter 4: Beginning Restoration
Last Updated November 25, 2025 | Meghan DrummondYour restoration vision is the destination. But to get there, you need to plan out your route.
When you bought your project Mustang, you did your due diligence with regards to inspection. You probably already have a list of items that you're excited to get started on. Now it's time to make sure that list is thorough and set your priorities.
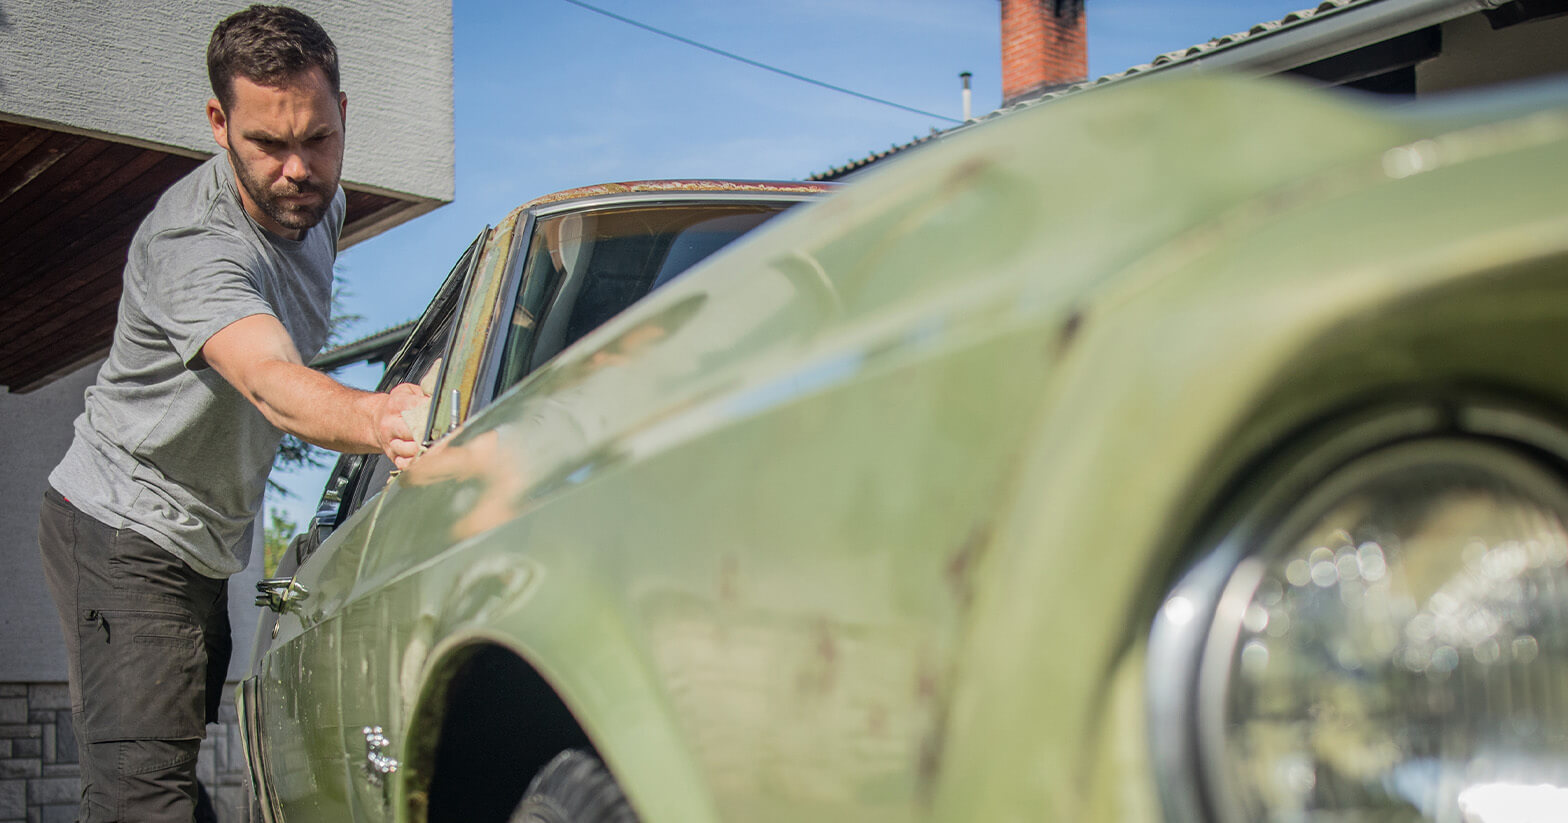
During this more thorough inspection, it's good to have microfiber cloths, rags, and hot water at the ready. By cleaning as you go, you'll be able to get a much better feel for what items need to be replaced and which can be restored.
As you go through your in-depth inspection, categorize parts into three lists:
- Great Shape - Items that are good as-is.
- Some Damage - Parts you'll most likely be able to repair easily.
- Replace/Major Repair - Parts that will need to be replaced or significantly repaired.
Note which repairs you feel confident doing, and which you'll need help with. If you already know you need an engine rebuilt, it's good to send it off early. Scheduling time-consuming tasks in advance eliminates bottlenecks and creates a more accurate timeline.
Covered In This Chapter
- Before You Get Started - Protecting yourself and your workspace
- Engine Evaluation - Establish whether you can restore, rebuild, or replace
- Draining Fluids - Reduce weight and mess while gathering valuable diagnostic information
- Starting Disassembly - Remove parts of your Mustang for a more detailed evaluation
Before You Get Started
There are a few steps you can take before you get under the hood that will make your restoration safer and easier.
Protect Yourself
Remove and store any jewelry you might wear. This is good practice for the safety of your valuables, but it's also important when you're working around wires.
Though the odds of a short occurring because of a piece of jewelry are low, there's no reason to risk it. If you're sentimental and can't fathom working without your wedding ring, getting a silicone replacement or ring cover can add a layer of safety.
For added safety, a pair of gloves is a good way to protect your hands from cuts and burns.
And don't forget to dress for the occasion. Wearing close-toed shoes, pulling back long hair, and making sure you don't have loose clothing that can get caught on sharp edges are great preventative measures.
Drain the Refrigerant
If you have an original AC unit, drive your Mustang to the nearest shop equipped for refrigerant recovery. They'll be able to remove the refrigerant, and they may even pay you for it. Having your refrigerant professionally recovered is better for your health and the environment.
Disconnect the Battery
Before you start disassembling, you'll want to disconnect and remove your battery. It's a good idea to store your battery in a safe place away from your restoration operations.
Cover the Floor
If your workspace has a concrete floor, stretch a plastic tarp over where you'll be storing parts. Moisture can creep up through the floor and cause damage.
Get Ready to Photograph
Finally, get your camera or phone out and ready. Though you'll be labeling things as you go, there's no substitute for photos when you're trying to remember how wires connect and where bolts belong. We recommend naming each of your picture files with a location and any notes at the end of a session, even if you’re just breaking for lunch.
Engine Evaluation
You probably have a good idea if the engine that came in your Mustang can be restored or if it has to be replaced. Now it's time to find out exactly how well it's running.
The first, and easiest, step of engine evaluation is looking at several key fluids. These can give you a better understanding of what condition the engine is in and what issues it may have.
Check the Oil
You'll be doing an oil change soon, but first, you want to take a look at the oil that comes out on the dipstick. How does it look?
Oil should be a warm, chestnut brown. If it's darker than that, it will need to be changed and discarded. If the oil is lighter or milky, then you likely have a coolant leak. Though this isn't optimal, it's a very fixable problem.
What you're really looking for are metal shavings. These indicate that, somewhere in your engine, metal pieces are colliding and scraping. This is where significant engine damage can occur. If you have metal shavings, you'll need to contact an engine repair shop. Another place to check for metal shavings is inside the oil filter, which you'll change with your oil. Cutting the filter open can tell you a lot about what's being filtered out of your oil.
Depending on what you're seeing with the oil, you can collect a sample of the oil and send it off for analysis. This is relatively inexpensive and may be worth the investment. It's always better to be sure, and the test can provide you with valuable peace of mind.
Evaluate Buildup
Engines build up a lot of debris over time. Though you'll want to clean this “road crud” off in a moment, right now it can tell you valuable information. Are there areas where the buildup seems fresher? Do the gaskets show any signs of an oil leak?

The other place where buildup can indicate a problem is on the radiator. The radiator keeps your engine cool, which is crucial to its continued operation. If there's something not-quite-right with the engine or radiator, then you'll notice sludge or muddy-looking coolant.
Check the Belts and Hoses
Several rubber hoses connect the engine to its cooling systems. To evaluate these, you'll want to feel along each of them. Pay particular attention to the connection points. You'll also see belts responsible for operating the accessories on your Mustang.

The hoses and belts should feel firm, but not brittle. If it's warm outside or you've just been driving, it's normal for the hoses to have some extra give. Even with a little more give, they shouldn't fall into the “mushy” category.
Clean Off the Crud
Once you've learned what you can about your engine from its buildup, it's time to clean it away.
An engine degreaser doesn't need to be anything special. Even high-quality engine degreasers are inexpensive, so there's no reason to try to make your own. Good degreasers can strip the grease from under the hood without damaging anything.
Dilute the degreaser as instructed and always work in a well-ventilated workspace. Even the least toxic engine degreaser was still engineered to strip layers of greasy gunk off an engine. It's not going to do anything great for your airways.
Crank the Engine
From the moment you insert the key into the ignition, you should note everything. Did the engine start up easily on the first try? Were there any weird lights or noises?
Pay attention to sounds in particular. Without the distraction of road noise, you should be able to hear any clanging or pinging. The high-pitched whine of a worn-out fan belt sounds much clearer in a garage.
With the engine idling, take a look under the hood and around the car. You'll be able to see if the water pump gets too hot, if the radiator leaks, and where oil leaks. You'll also be able to see your Mustang's exhaust.
Exhaust gases can tell you a good deal about an engine. Black exhaust indicates your engine is running too rich. A fume of blue smoke says one of your engine's seals is leaking, causing oil to burn. Coolant leaking into the combustion chamber causes white smoke, which can mean a head gasket has blown.
Rebuilding or Replacing an Engine
If your engine leaves metal flakes in its oil, is firing white smoke out its tailpipe, and sounds like a percussion section, then you should decide if you want to rebuild the existing engine or start with a new crate engine. Both options have their merits.
If you want to rebuild, start looking for a custom machine shop. You'll need an experienced hand to truly rebuild your engine. Look for a shop that can do the boring, honing, polishing, and testing needed to restore your factory engine to like-new condition. Because machine shops take such care with each rebuild, it's important to talk to them early in the process. That conversation will have a serious impact on your timeline and your budget.
High-quality work is rarely cheap or fast, despite what you may have heard. Considering your engine is the beating heart of your rebuild, you want it to be high-quality.
If you're dead set on taking on the rebuild yourself, there are guides to help with each specific model of Ford engine. These guides are dense and long, but are an invaluable tool for engine rebuilds.
- Small-Block Ford Engine Rebuild Guide
- Big-Block Ford Engine Rebuild Guide
- Ford Inline Six Engine Rebuild/Modification Guide
- Ford FE Engine Rebuild Guide
- Ford 4.6L and 5.4L Engine Rebuild Guide
- Ford 429 and 460 Engine Rebuild Guide
If you've decided rebuilding an engine isn't for you, we cover some alternatives in the next chapter.
Draining Fluids
Draining fluids isn't just a practical maintenance step. For a classic vehicle like the Mustang, it can be a diagnostic practice.
If you plan to leave your Mustang in one place during the restoration, you can empty these fluids and not refill them. That way, you get the diagnostics you need without adding weight to parts you'll be moving around.
If you need to move it, you'll have to replace these fluids as you go. Draining them can still offer insight into potential mechanical issues.
These are the fluids you'll be focusing on:
- Oil
- Coolant
- Transmission Fluid
- Power Steering Fluid
- Brake Fluid
- Washer Fluid
- Gasoline
Oil
Oil is more viscous and easier to drain while the engine is warm. You should run the engine for a few minutes and shut it off before you start.
Keep an eye on the color while it's draining. It should be a warm chestnut brown. If it's any darker than that, your Mustang was past due for an oil change. That could mean it's behind on other maintenance as well.
With the oil completely drained, you'll have another chance to check for signs of engine damage. Gently swish the oil in the drain pan like a prospector to check for metal shavings. If you find any, there could be issues with the engine that are causing grinding or other wear and tear.
Coolant
Coolant is typically a mix of antifreeze and distilled water. Antifreeze is incredibly toxic and tragically sweet. If you don't dispose of it properly, you might be guilty of killing your neighborhood's pets. Or worse.

If your radiator fluid is in good condition and you're planning on reusing it, store it in a clean, well-labeled container. Otherwise, you'll need to take the spent coolant to a proper disposal site. As long as it's contained, there's no need to rush.
Transmission Fluid
All transmissions use some form of fluid to keep their gears turning smoothly. Automatic transmissions use automatic transmission fluid, while manual transmissions have a little more variety. No matter what type of fluid your transmission uses, you'll want to check it and most likely replace it.

While the transmission fluid is draining, look to see if it's overly dark or smells burnt. These symptoms could indicate that your transmission is running too hot. If you notice either of these things, then your transmission may need special attention to be restored.
If you know the transmission fluid was changed recently, you can drain it into a clean, well-labeled container. After your restoration is complete, you can reuse the transmission fluid.
Power Steering Fluid
You may or may not have a power steering system in a classic Mustang. Though it was optional equipment in later years, it was an expensive extra at the time. Many drivers didn't see the need after going for so many years without it.
Changing the power steering fluid is straightforward, and it's unlikely you'll uncover any major issues during the process. If you know this fluid is new, it can be drained into a clean container and reused.
Brake Fluid
If you've only ever changed brake fluid on a modern car, you're in for a bit of a surprise. Modern cars have plastic reservoirs with a “full” line that's visible without removing the cap. Older cars, like your classic Mustang, have metal brake fluid containers.

Once you open your brake fluid reservoir, check the level. Brake fluid shouldn't be used up very quickly. If the fluid is running low, your brakes aren't operating at peak efficiency and will need to be examined and possibly repaired or replaced. Given how important brakes are, this is definitely something you'll want to address in your restoration plan.
Washer Fluid
There's nothing particularly special about washer fluid. Even though you can't learn much from it, it's still a good idea to drain it to prevent leaks during restoration. If you have a pre-1967 Mustang, your washer fluid will come in a bag, while the '67+ models have a washer fluid bottle.

Gasoline
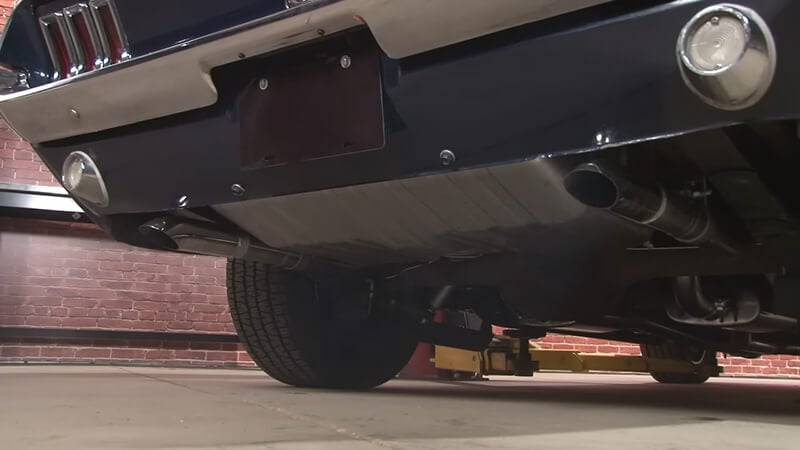
The Mustang's fuel tank is located in the trunk, under the carpet. Unfortunately, it's a part that often rusts and has to be professionally cleaned or replaced altogether.

Regardless, you'll need to drain the gasoline to establish what condition your fuel tank is in. A siphon works well, and if the gasoline is relatively new, there's no reason you can't save it and reuse it. Just be careful when storing gasoline or any other flammable liquid.
Starting the Disassembly Process
Once your fluids are drained and the under-hood area is clean and dry, you can start disassembling your Mustang.
There's no one true guide to disassembly. Depending on its condition, disassembling your car could cause more damage than it prevents. But for most projects, a little disassembly can ensure parts in relatively good condition stay that way.
If there are steps you think are unnecessary based on the state of your restoration vehicle, skip over them.
Remember to take tons of pictures during this process, and label everything. For smaller pieces, you may want to get containers for storage.
Trim Pieces
If your trim pieces are in good shape and you don't think you'll need to do any body or paintwork, then leave it in place. For most people though, trim piece removal is one of the most time-consuming parts of a classic car restoration.
Trim includes not just obvious parts, like bumpers, but also the smaller pieces, like badging and rocker panels. These small pieces can be difficult to replace, and because of their location, they're often substantially degraded. This makes removing them tedious. Many Mustang trim pieces will also require special trim removal tools.
For most of the trim, a plastic pry bar and patience are your two best friends through this process. You'll also want a microfiber towel and a mild detergent so you can carefully polish each piece as you remove it. That way you can see what you can recover or what you'll need to replace.
One of the best pieces of advice is to start with the front and rear bumpers. These large trim pieces are the easiest to remove, and once they're out of the way, you'll have a much easier time removing other parts.

The bolts on the bumpers are easy to spot and straightforward to remove.
During the trim removal process, take great care to protect the trim itself. But if the bolts and nuts are in shoddy condition, then don't worry about preserving them. It's better to lose the bolt than damage the bumper. Bolts are inexpensive and easy to replace.
How to Deal with Chrome Pitting
Many of the original trim pieces on a classic Mustang are chrome. If you see what appear to be small bubbles or dimples in your chrome, then your chrome has pitting. Though chrome items came with a clear coat to prevent this, over time, the clear coat can dissolve. Once chrome is exposed to air, it begins pitting.

Here's how to deal with chrome pitting you may come across during your restoration:
- Clean the chrome. Wash the affected area with dish soap and warm water.
- Try steel wool. If the pitting is minor enough that your nail doesn't catch it, use fine steel wool to remove it. Start with dry 0000 steel wool and rub lightly in a circular pattern. Once you can't see the pitting, wipe the item down. Then, wet the steel wool and rub again.
- For severe pitting, start with sandpaper. If steel wool won't cut it on the first pass, start with fine sandpaper. A 1000 grit or 800 grit should do depending on how severe the pitting is. Then use steel wool as described above.
- Apply a fresh coat of clear. Your last step in all scenarios will be applying a light coat of clear lacquer to protect the chrome.
What If These Steps Don't Work?
If the pitting is beyond repair, your options are basically to re-chrome or replace the part. Re-chroming is an incredibly expensive option, due to the environmental impacts of chromium. In many instances, it's less expensive to buy a replacement part if the pitting is so severe it can't be sanded away.

Hood Removal
You don't necessarily need to remove the hood, but it's not a bad idea. Removing the hood ensures it won't be damaged by any later steps. Getting the hood out of the way also improves visibility.
For this step, it would be best to get a friend so that you can remove the hood without damaging it. Though hoods aren't particularly heavy or difficult to remove, they are bulky. Managing them is easier with a second set of hands.
Before removing the hood, check to see if there are any hood-mounted courtesy lights or turn signals. Remove the leads for these and label them using a strip of masking tape and a marker.
Then remove the bolts and lift and move the hood away from the Mustang.
If you have a couple of saw horses or a portable workstation, that's the ideal place to lay your hood. Propping it up safely is also fine, as long as it's not exposed to moisture.
Fender Removal
If you'll be doing a lot of work under the hood, it's worthwhile to remove the fenders. Otherwise, all that bending over the hood could cause small scratches or dings you'll have to fix later.
Removing the fenders also makes it easier to access the suspension, doors, and all the major mechanical components.
Remove Exterior Trim
First, remove the iconic running horse and plastic trim from the front of your grille. You'll find several screws securing the bottom of the grille that need to be removed. From there, persistent and patient work with a trim removal tool will ensure these pieces are carefully removed.
Remove Headlights
Your headlight surrounds are secured with several screws. Because the headlight surrounds are made of cast metal, a short drop could break them. Work carefully and safely to remove these.

Once the surround is out of the way, you'll see more screws securing the headlight retaining ring. These screws don't need to be removed, merely loosened. Then you'll be able to rotate the headlight until it comes loose from its setting.
Disconnect the electrical connectors, and the headlights are ready for storage.
Remove the Front Valance
With the grille and headlights removed, you'll see some of the bolts securing the front valance panel. These bolts can be accessed from under the front bumper area.
Underneath, on each side of your Mustang, you'll find three bolts that need to be removed. One secures the fender to the splash panel, another secures the lower valance panel, and the third holds onto the bumper. Besides removing these, unscrew the bolts that hold the turn signal assembly in position, and disconnect the electrical connectors to those as well.

Remove the Fender Braces
Before you can remove the fenders, you'll have to unbolt the fender braces. You'll find them in both the front and the rear of the Mustang. You'll also find bolts attaching the fenders to the headlight buckets, rocker panels, cowl, and even inside the doors.
The exact location of these bolts varies from year to year. For exact locations, body and chassis guides produced by companies like Jim Osborn reproductions are incredibly helpful. If you don't have access to these guides, you can find most of the bolts by looking in the above locations.
Once the braces are out, you'll find the fenders themselves are very flexible and easily removed. You can store these in the same manner that you're storing your hood.
Radiator Removal
After you've drained your coolant, remove the upper and lower radiator hoses and the fan shroud mounting bolts. If your Mustang doesn't have a built-in AC system, you may or may not have a fan shroud.
At the site of the radiator drain cock, you'll see two transmission cooling lines extending from the radiator. Disconnect these.

A screwdriver can be used to loosen hose ends.
There are four mounting bolts holding the radiator in place. Remove these and carefully lift the radiator out of the Mustang.
There are two schools of thought with regards to your radiator. Many observe that after so many years of operation, it's unlikely that your radiator is in good condition. New radiators, even replicas, are pretty inexpensive. But if you're interested in keeping as many of your original parts as possible, you may want to save the radiator anyway.
Rear Bumper and Valance Removal
Though not as crucial as the front bumper and fenders, many also remove the rear bumper and valance. The steps are nearly identical as those above, with a few important distinctions.
Inspect and Drain Fuel Tank
The fuel filler cap is held to the car by a cable, and the tank is in the trunk, which surprises people who aren't used to classic cars.
There are many screws securing the fuel tank itself into the trunk of your Mustang. Removing it is really only important if it seems damaged, but you should always make sure that it's drained.
You don't want to be repairing the sheet metal and cause a spark with improperly stored gasoline a few feet away. Even after it's drained, treat the fuel tank with caution.
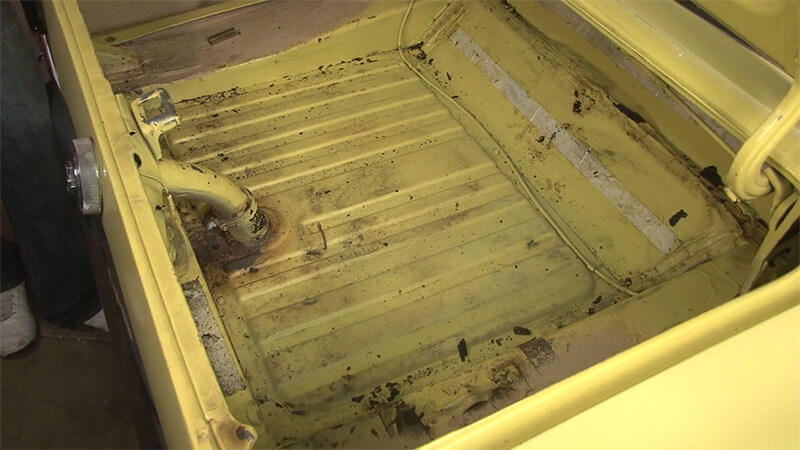
To remove the fuel tank, you'll need to disconnect the electrical connector from the fuel gauge sender. Once removed, you can take a good look at your fuel tank.

If the fuel tank is badly rusted, the safest thing to do is replace it. But if it's still in decent condition, you can take it to a radiator shop to get it cleaned and sealed. Then it'll be ready to supply fuel to your completed project car.
The taillights come out pretty much the same way the headlights did from the front valance. Removing the taillights allows you to get a good look at the trim that surrounds them, which typically needs to be restored or replaced.
Further Disassembly
Disassembling these basic components is helpful for almost any restoration project. As your restoration addresses separate systems, like the suspension or engine, you'll need to do further disassembly. It's also best to do some disassembly as it comes, so you don't end up with a disorganized garage full of parts and pieces.
During this process, you likely learned about some issues you'll need to address. For some of them, like substantial bodywork or engine rebuilding, you may need help from a pro. Schedule this work first so your restoration doesn't get held up by scheduling problems.
Check out our full Classic Mustang restoration guide to learn everything you need to tackle your next project.


