
2024+ Mustang Coilover Install Instructions
Last Updated November 21, 2024 | Nate MoonisUpgrading your S650 Mustang's suspension can dramatically enhance both its street performance and track capability. New performance coilovers can reduce body roll, improve steering response, and even enhance ride quality. In this guide, we’ll walk you through the steps necessary to install a set of coilovers on your ride. If you're looking for a more in-depth explanation of the installation, check out this awesome video.
How to Install Coilovers on a 2024+ Ford Mustang
This step-by-step installation guide will walk you through the removal of the old struts and springs and the construction and installation of new coilovers. In this article, we install a set of Ridetech HQ series coilovers. While this video and guide were made with the Ridetech HQ series coilovers in mind, the installation process is largely the same regardless of your coilovers.

Tools and Supplies Needed:
- Socket Set
- T10 Torx Bit or Screwdriver
- Drill
- Torque Wrench
- Basic Hand Tools
- Jack Stands
- Floor Jack
- Red Assembly Lube
Removing the Rear Shocks
Before installing your new coilovers, you have to remove the factory suspension components in the rear.
Step 1: Remove the Rear Shock
Start by removing the upper and lower shock bolts.
Then, once all of the bolts are removed, carefully remove the rear shock.
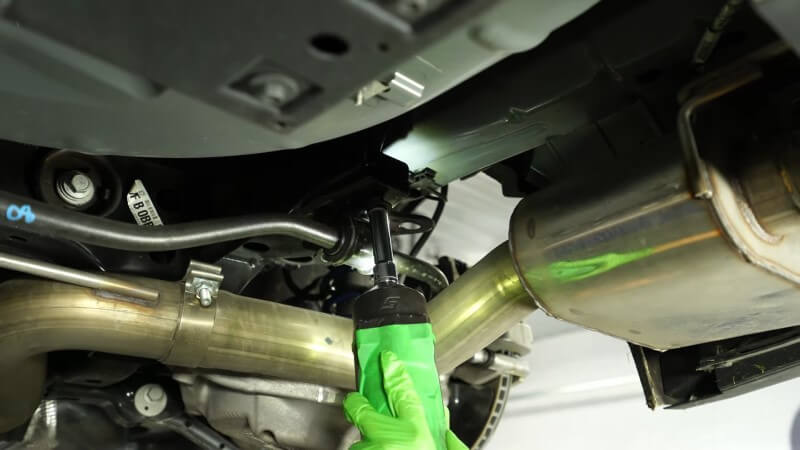
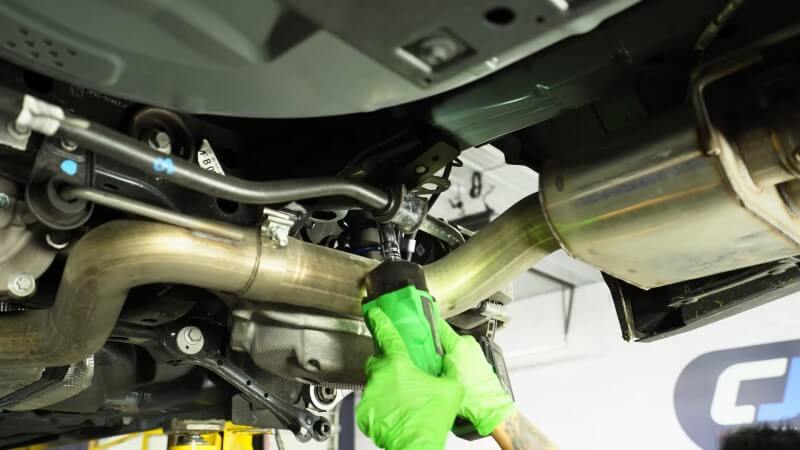
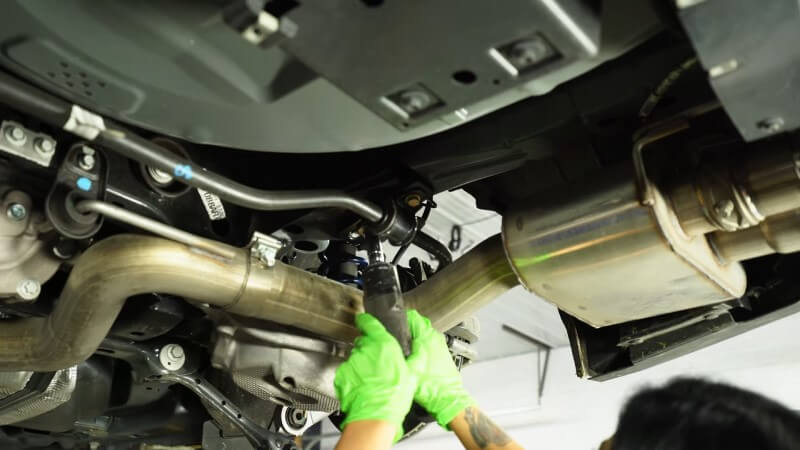
Step 2: Disconnect Rear Sway Bar End Link
Using an 18mm wrench and a drill with a 6mm Allen socket, tighten the lower rear sway bar end link bolt to push it out from the back and remove it.
Then, disconnect the top sway bar end link bolt and remove the rear sway bar end link.
Step 3: Remove Bolts Holding Spring in Place
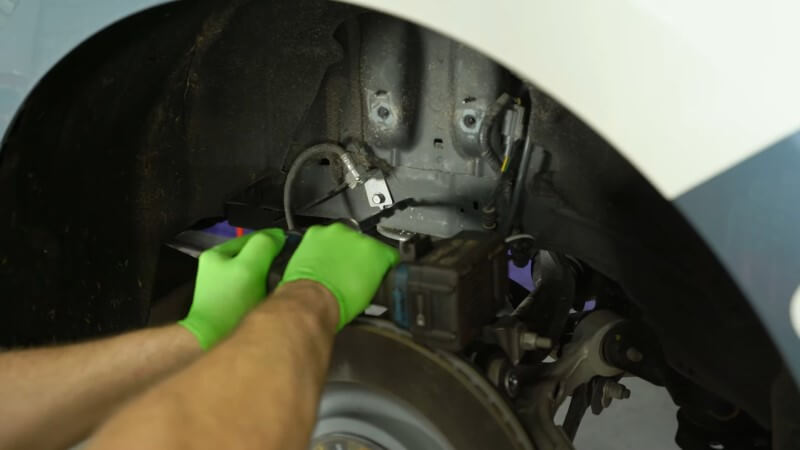
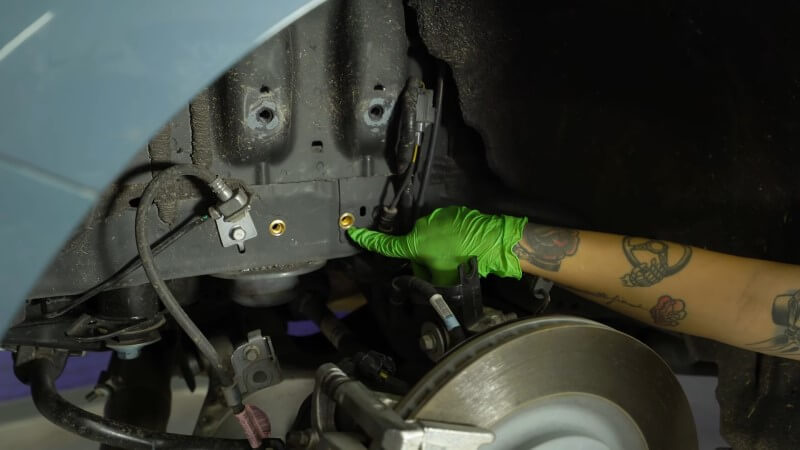
With the sway bar end link out of the way, remove two bolts (pictured below) and pop the brake line out of its mounting bracket.
Then, carefully remove the rear spring.
Step 4: Drill Upper Shock Mount Holes
Align the new upper shock mount with the factory mounting holes and hand tighten the original bolts in place.
Then, drill out the designated holes on the shock mount using a pilot bit and expand the holes using the bit supplied in the coilover kit.
Use the provided tool to tighten the riv nuts firmly into place until they're secured. This will allow you to mount the lower portion of the coilover later.
After you've secured the riv nuts, remove the upper shock mount.
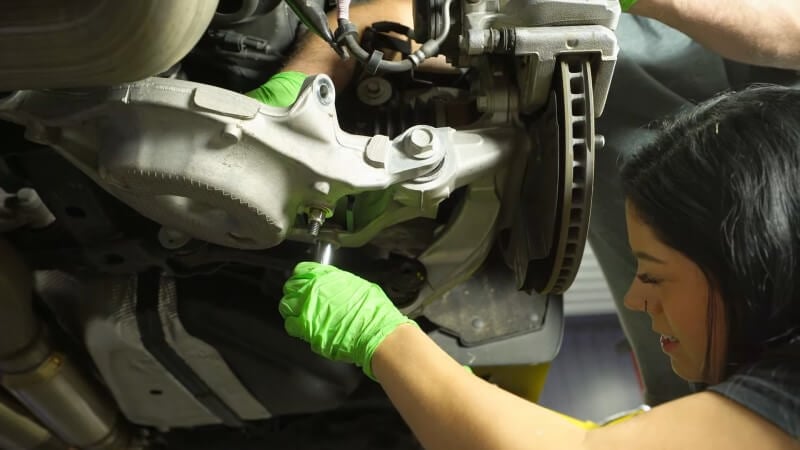
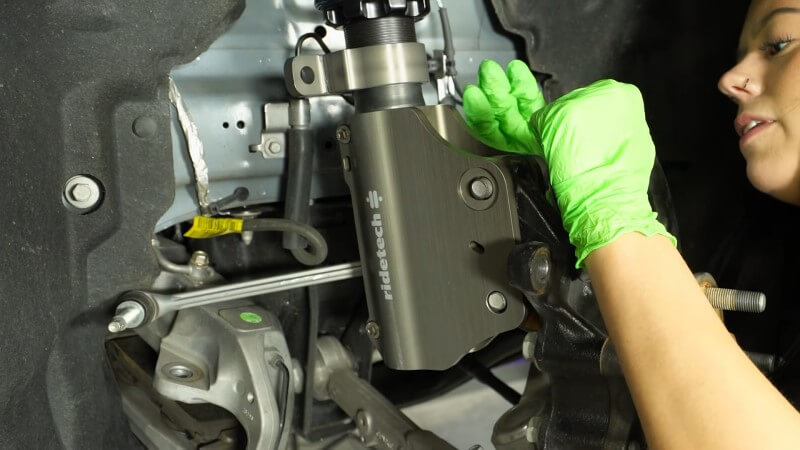
Step 5: Connect Lower Shock Mount and Lower Control Arm
Bolt the lower shock mount into the lower control arm. Then, torque those bolts to 25 ft-lbs.
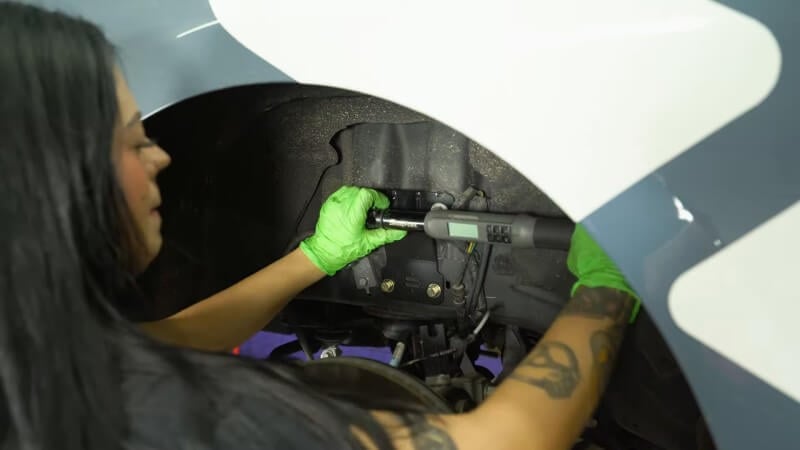
Step 6: Install Upper Shock Mount
Reinstall the upper shock mount and use the factory bolts for the top while securing the bottom with the supplied bolts. Torque the top bolts to 65 ft-lbs and the lower bolts to 25 ft-lbs.
Assembling Rear Coilovers (OPTIONAL)
If you're installing the same set of Ridetech HQ series coilovers as we are, the next few steps will show you how to assemble the rear coilovers. If you're not, feel free to skip this section.
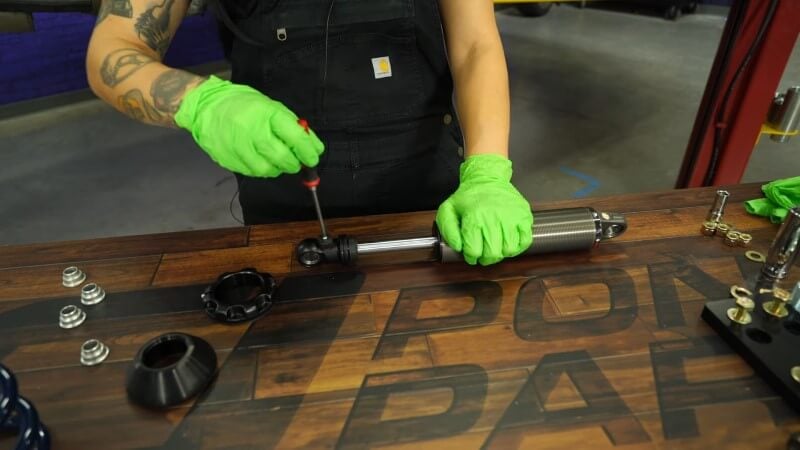
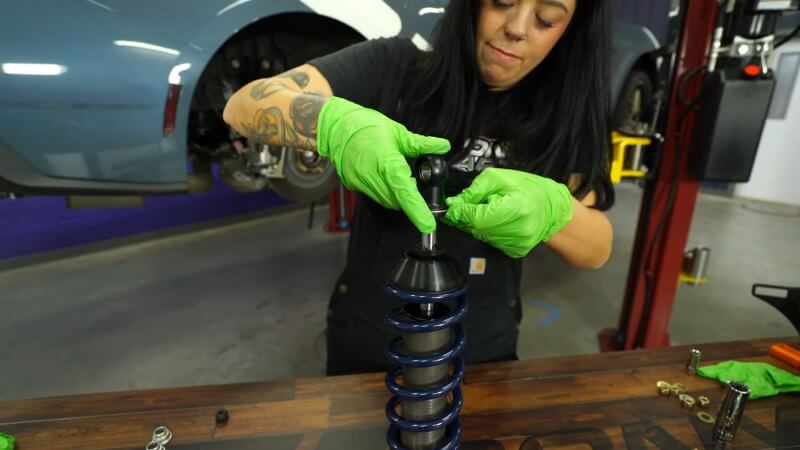
Step 7: Set Adjustment Knob
Turn the knob at the top of the coilover all 24 clicks in. Then, using a T10 Torx screwdriver or bit, remove the screw holding the knob in place.
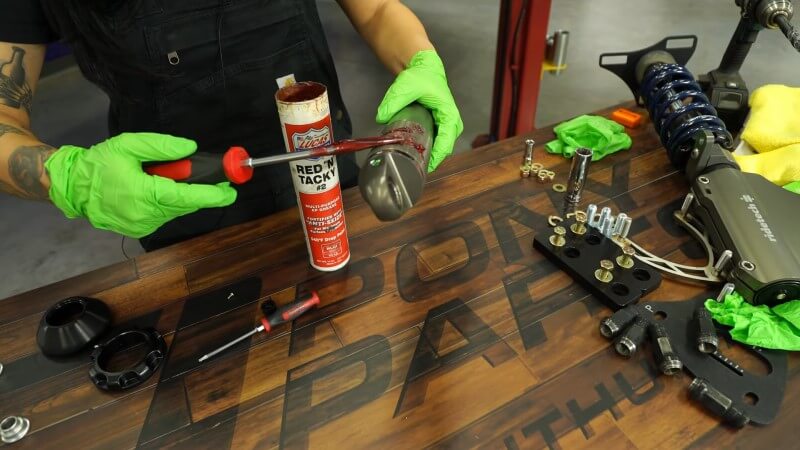
Step 8: Grease Coilover
Evenly spread red assembly lube on the body of the shock until it's completely coated.
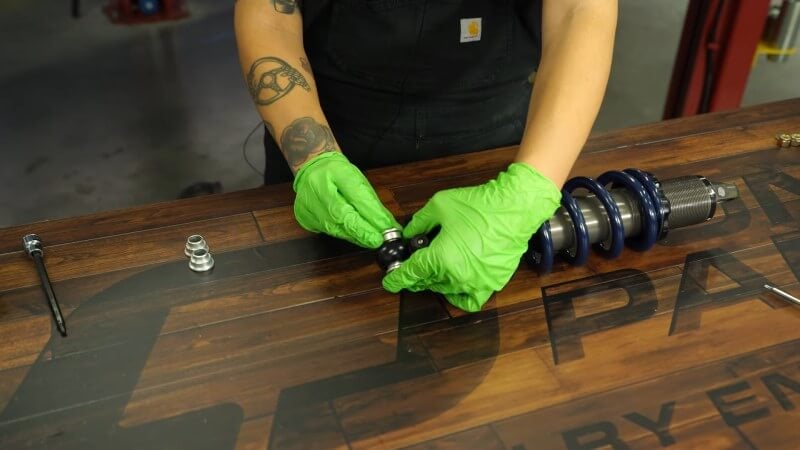
Step 9: Install Lock Collar and Bushing
First, twist the lock collar into place on the bottom of the shock. Then, slide the first delrin bushing into place over the top of the shock.
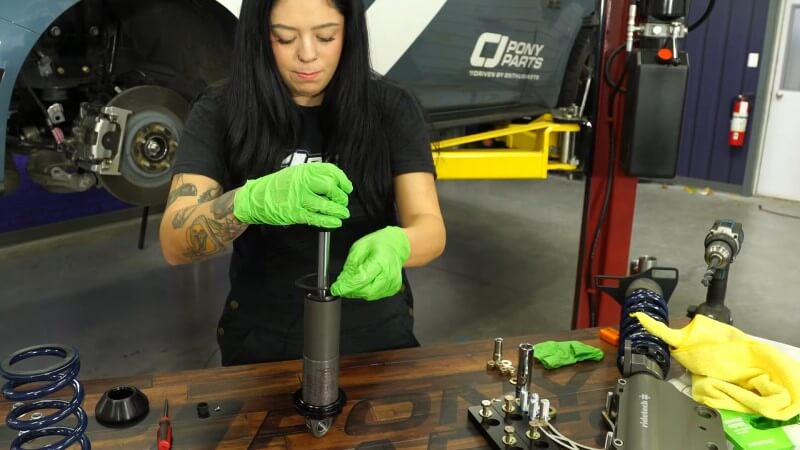
Step 10: Seat Coil Spring
Slide the new coil spring into place over the top of the shock. Then, slide the second delrin bushing into place on top of the coil spring. After the bushing is in place, place the black top hat over the coil spring.
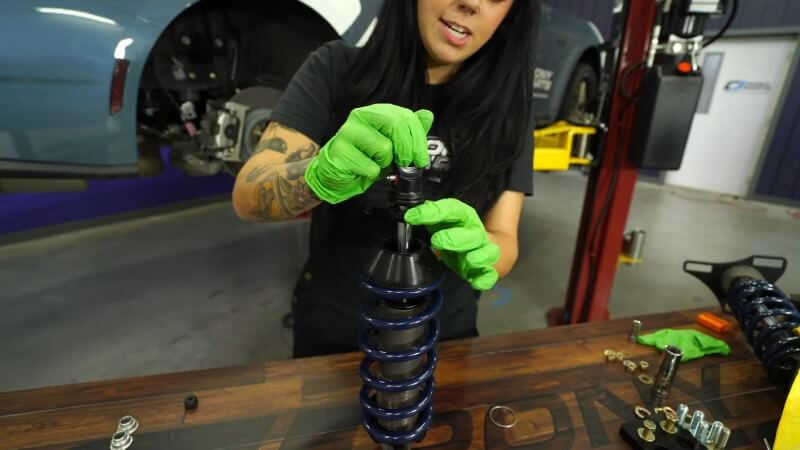
Step 11: Install Metal Ring
Stretch the metal ring onto the top of the shock and then clip it into place.
Step 12: Tighten Lock Collar
Turn the lock collar clockwise until it presses the spring up against the black top hat. Once there is no play left in the spring, remove the white spacer on the lock collar and tighten the provided bolt into its place.

Step 13: Reinstall Adjustment Knob
Place the adjustment knob onto the coilover and tighten it down with the same T10 Torx screwdriver or bit you used earlier.

Step 14: Install Spacers
Push the supplied spacers into place on either side of the openings at the top and bottom of the coilover. There should be four spacers per coilover.
Installing Rear Coilovers
If you aren't installing the HQ series coilover kit from Ridetech, continue the installation from here.
Step 15: Insert New Coilover
Slide the new, fully assembled coilover into place in the rear. Then, insert the factory bolt through the hole in the bottom of the coilover and into the lower control arm.

After that, lift the coilover and brake rotor up together until the top of the coilover aligns with the opening on the upper shock mount. Once that's done, slide the factory bolt into place.
Step 16: Install Mounting Hardware
Slide the supplied washers and nuts into place on the top and bottom coilover mounting bolts. Then, tighten the nuts and torque the bolts down to 75 ft-lbs.

Relocate Rear Sway Bar (OPTIONAL)
If you're installing the HQ series coilover kit from Ridetech, you'll need to relocate the rear sway bar. If you're not installing that kit, disregard this next section.
Step 17: Remove Factory Mounting Bracket
Unscrew the two bolts on the sway bar mounting bracket. Then, remove the bracket. Repeat this on the other side.
Step 18: Install Mounting Plate
Slide the new Ridetech mounting plate into place and then tighten it down with the supplied hardware. Repeat this on the other side.
Step 19: Reinstall Factory Mounting Bracket
After you've installed the new relocation plate, align the rear sway bar with the new holes on the mounting plate and reinstall the factory mounting brackets with the factory hardware.
Installing Rear Coilover Cont.
The rear coilover installation continues from this section on.
Step 20: Reinstall Sway Bar End Link
Slide the rear sway bar end link into place and then tighten down the factory hardware with an 18mm wrench and a drill with a 6mm Allen socket.
Step 21: Reinstall Lower Control Arm Bolt
Insert the factory lower control arm bolt into place and then tighten it down.
After you've done everything up until this point, repeat steps 1 to 21 on the opposite side.
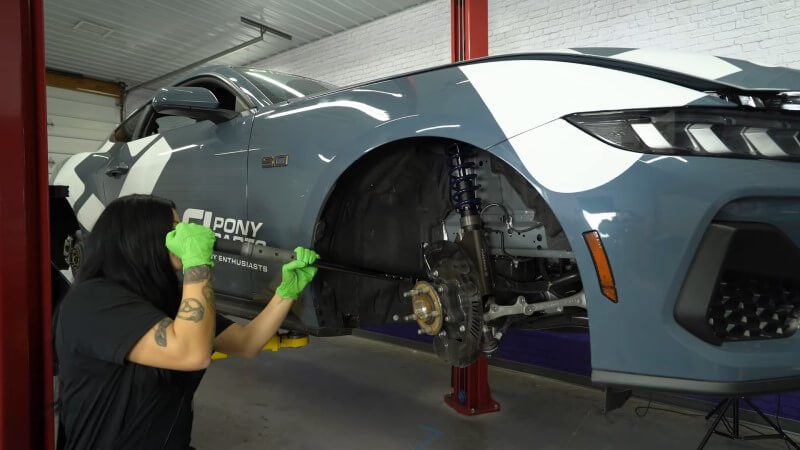
Removing Front Strut
Now that we've fully installed the rear coilovers, it's time to move to the front. The first thing we need to do is remove the front strut.
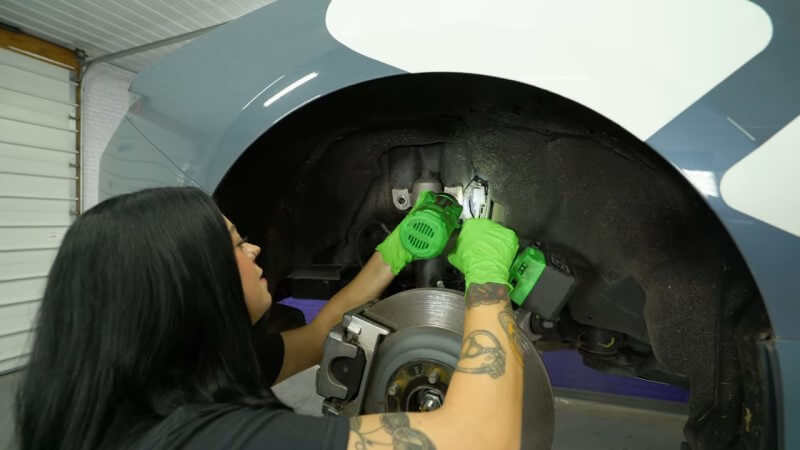
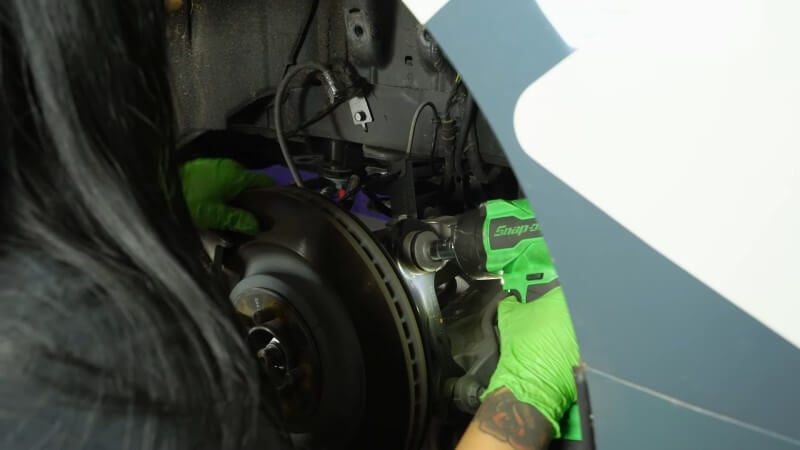
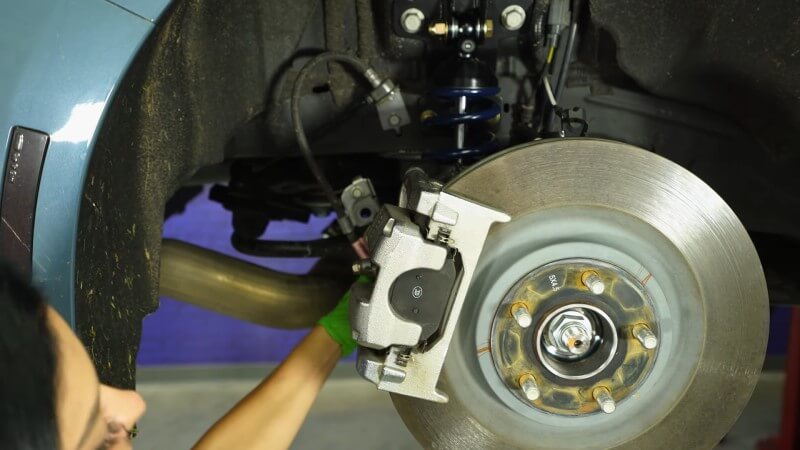
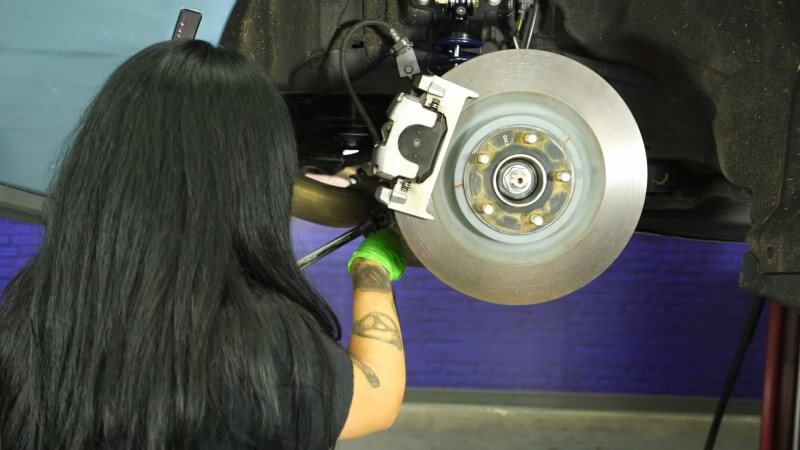
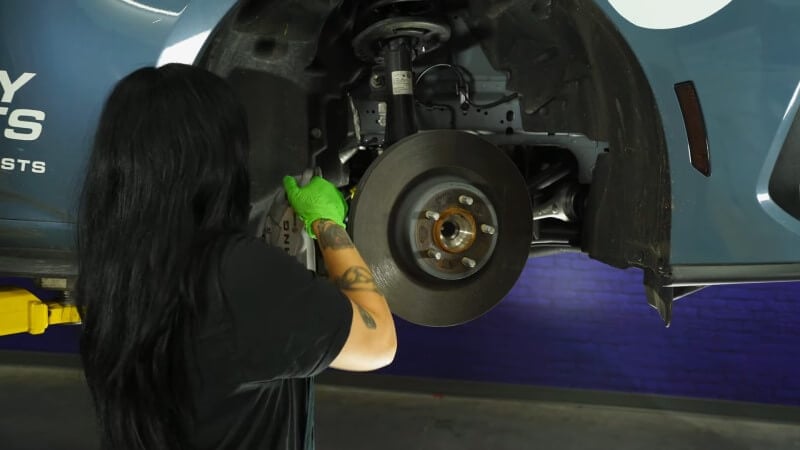
Step 22: Move Brake Caliper
Remove the bolts on the back side of the caliper. The caliper should be lose and able to be moved around.
Then, tuck the caliper down and away for easy access to the rotor and control arms.
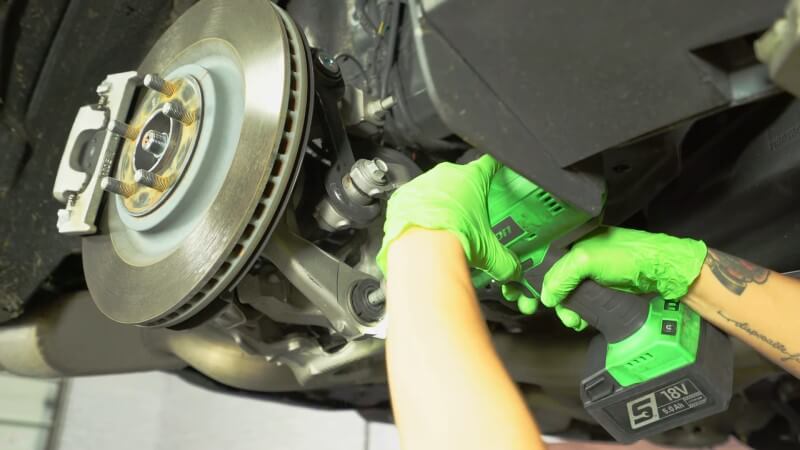
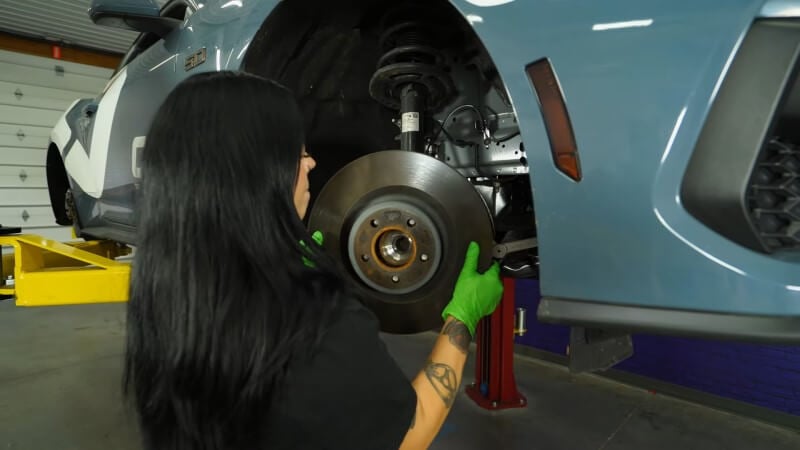
Step 23: Remove Brake Rotor
Gently slide the brake rotor off of the studs and set it aside.
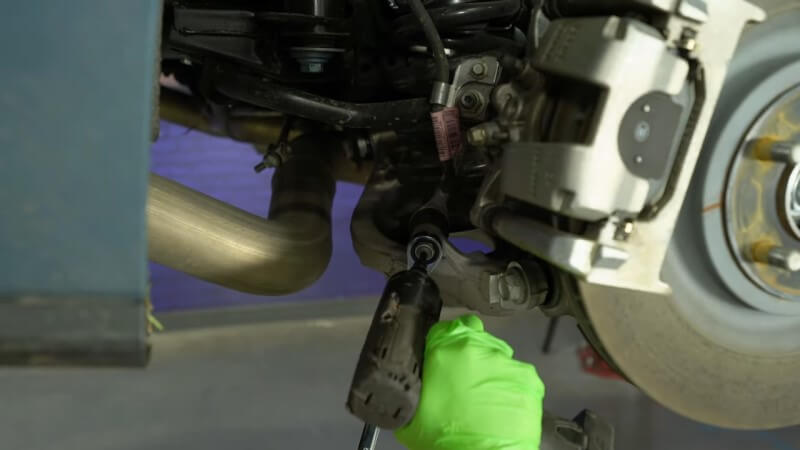
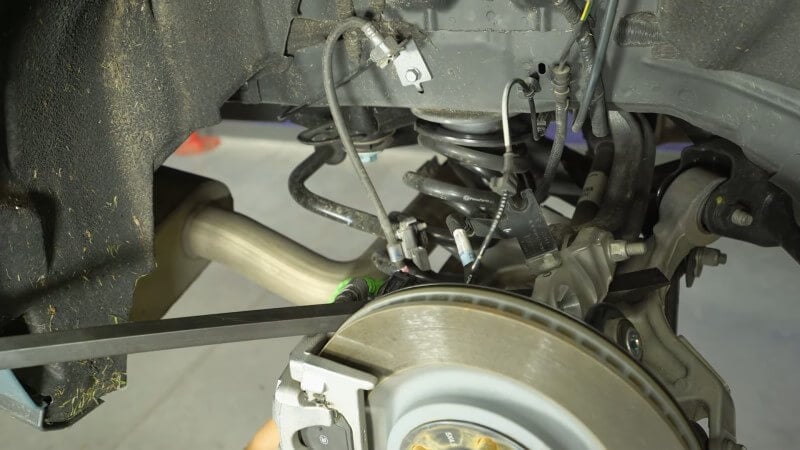
Step 24: Remove Sway Bar Link
Using the same wrench and drill method we mentioned earlier, loosen and remove the top sway bar link nut. Then, move the sway bar link out of the way.
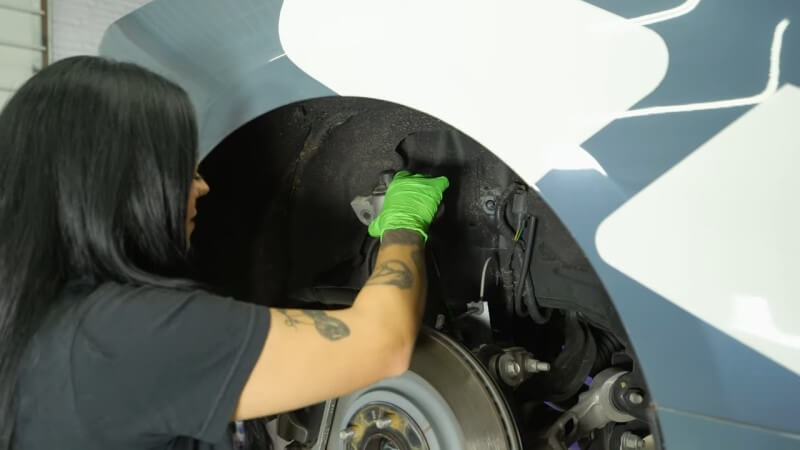
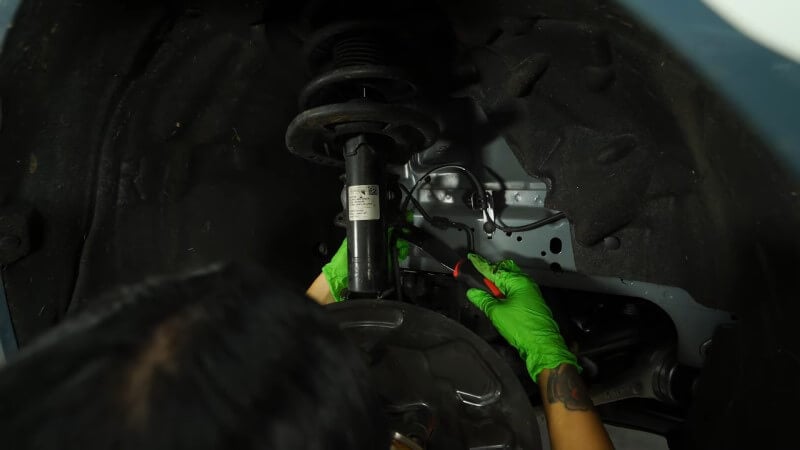
Step 25: Disconnect Brake Line Clips
Locate the two clips holding the brake line in place. Pop them off with a clip removal tool or screwdriver.
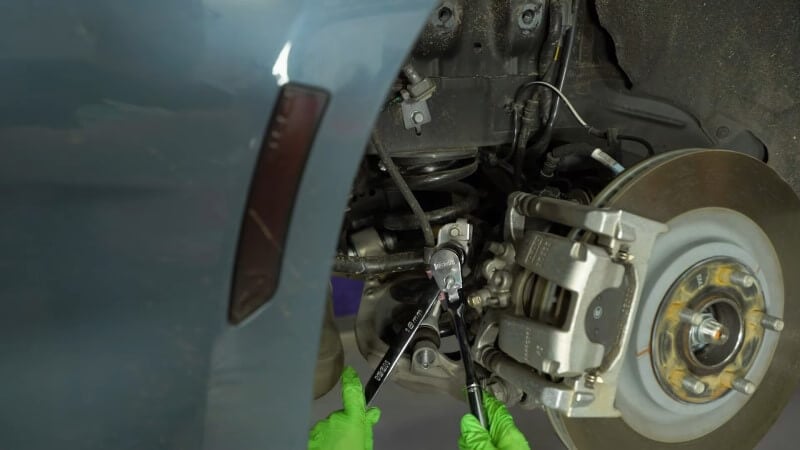
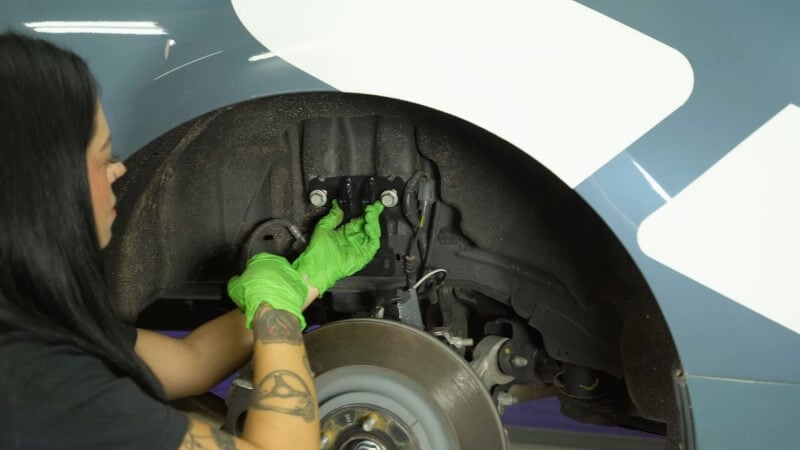
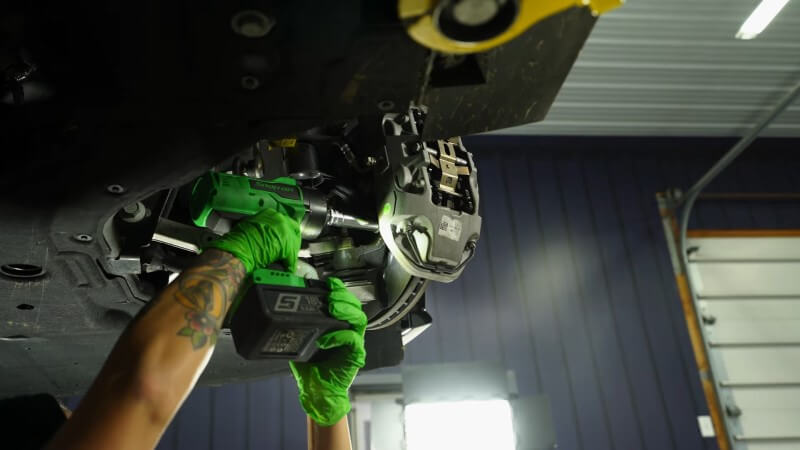
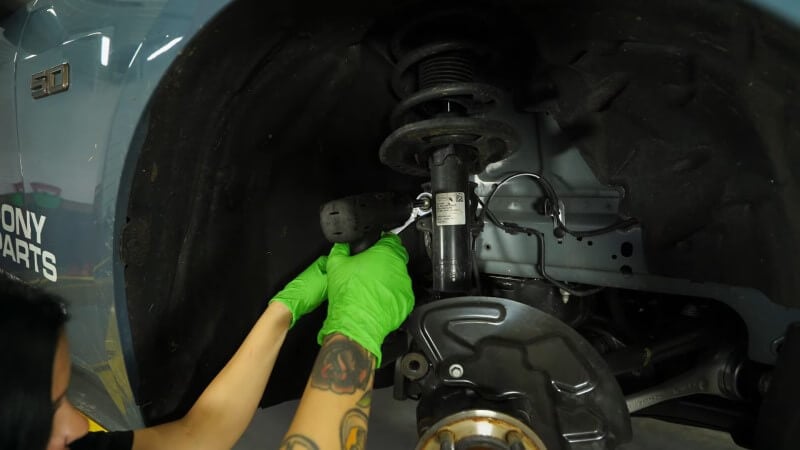
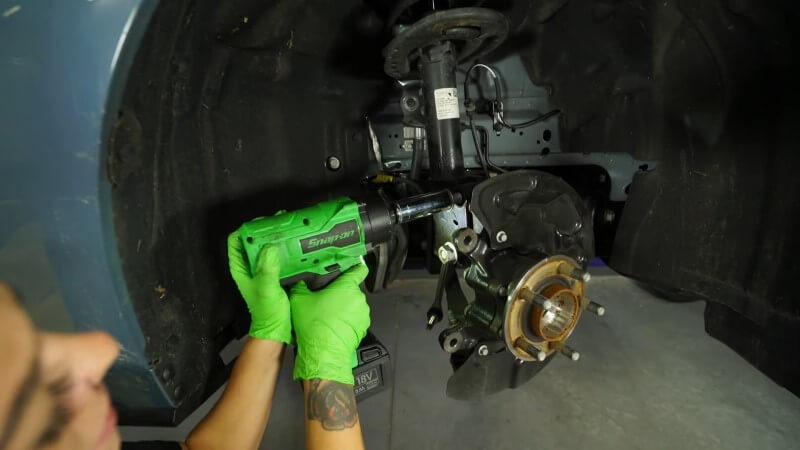
Step 26: Remove Strut Bolts
Unscrew the strut bolts holding the strut to the back of the wheel hub assembly. Don't unscrew the nuts completely because you'll need to hammer out the strut bolts.
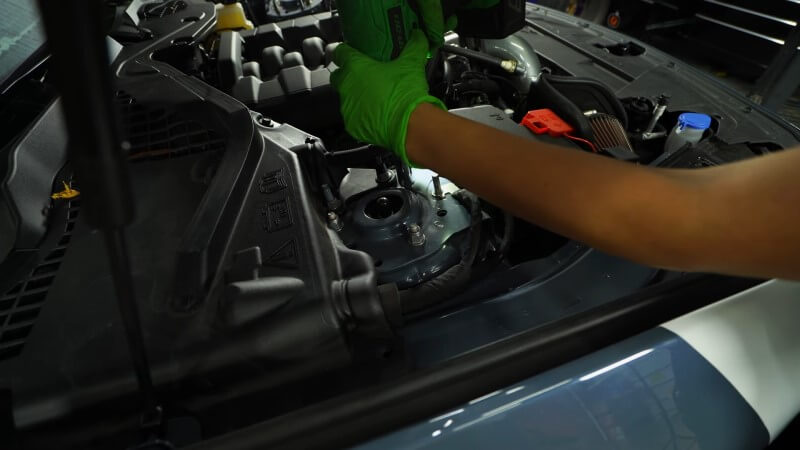
Step 27: Remove Top Strut Nuts
Open the hood and locate the three strut nuts holding the strut to the top of strut tower. Fully unscrew and remove two of the three nuts while only lightly unscrewing the third. This will prevent the strut from falling out of the bottom of the strut tower.
Step 28: Remove Front Strut
Once you're ready and holding the body of the strut, unscrew the last nut under the hood and carefully pull the strut out of your car from the bottom.
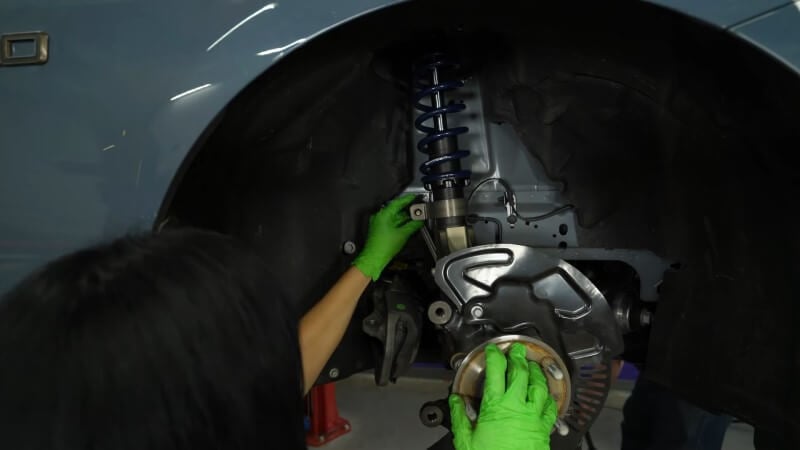
Installing New Front Coilover
This process is largely the same regardless of what coilovers you choose to install.
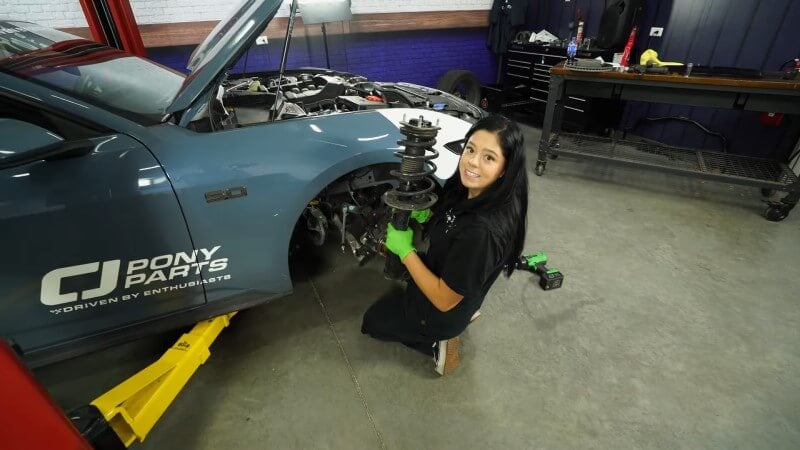
Step 29: Insert Coilover into Place
Slide your new coilover up through the strut tower until the studs poke through the holes in the top of the strut tower. Then, put the washers over the studs and loosely tighten the nuts down so that the coilover won't fall out.
It's helpful to have someone assist you with this step.
Step 30: Reinstall Strut Bolts
Line up the two holes on the bottom of the coilover with the two holes on the hub assembly. Then, push the factory strut bolts into the holes on the bottom of the strut, connecting the hub assembly to the strut. Hammer them into place.
Step 31: Install Strut Nuts
Tighten the strut nuts down onto the strut bolts. Then, torque the nuts down to 184 ft-lbs.
Step 32: Reattach Sway Bar Link
Slot the sway bar link into place and tighten the nuts into place.
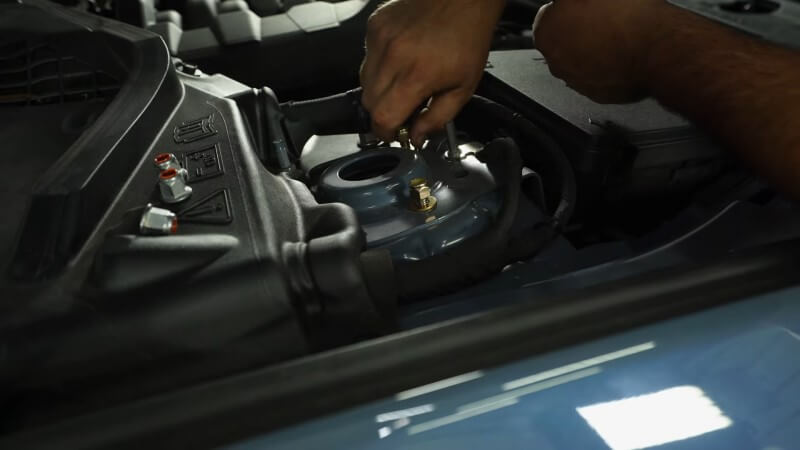
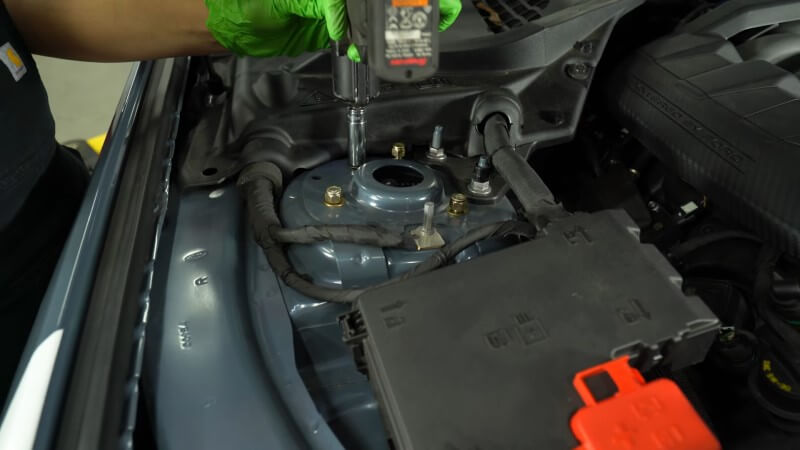
Step 33: Tighten Strut Tower Nuts
Back in the engine bay, tighten down the strut tower nuts that you left loose in step 29.
Step 34: Reinstall Brake Rotor
Slide the brake rotor over the studs and into place on the hub assembly.
Step 35: Reinstall Brake Caliper
Move your brake caliper into place and tighten down the bolts on the back of the caliper.
Step 36: Torque Everything Down
Go back over your caliper, rotor, sway bar link, and strut bolts and torque everything to factory spec.
Step 37: Repeat on the Other Side
Repeat steps 22 to 36 on the opposite side.
Step 38: Alignment
Now that your coilovers are installed, ensure your S650 is properly aligned by doing it yourself or taking it to a shop.
Congratulations, you're all done!
Tackle the Track with Your New Coilovers
A new set of coilovers goes a long way in improving the look and performance of your S650 Mustang. While not the easiest install, the results are definitely worth it if you're planning to take your ride to the track.
Check out our other suspension upgrades for the S650 Mustang if the Ridetech HQ series coilovers don't work for you.


