S650 Mustang Cold Air Intake Install Guide
Last Updated August 1, 2024 | Kevin BrentSince the S650 Mustang isn’t tuneable yet, adding horsepower upgrades has become a more difficult task than with previous generations. However, there are still some great ways to add that extra power you’re looking for with aftermarket parts. One popular option for upgrading your S650 Mustang’s engine is by increasing airflow with a cold air intake.
Cold air intakes are easy to install and can provide noticeable horsepower improvements over the stock setup. Check out our full cold air intake install guide below for a step-by-step process on how to add one to your S650 Mustang.

How to Install a Cold Air Intake on Your S650 Mustang
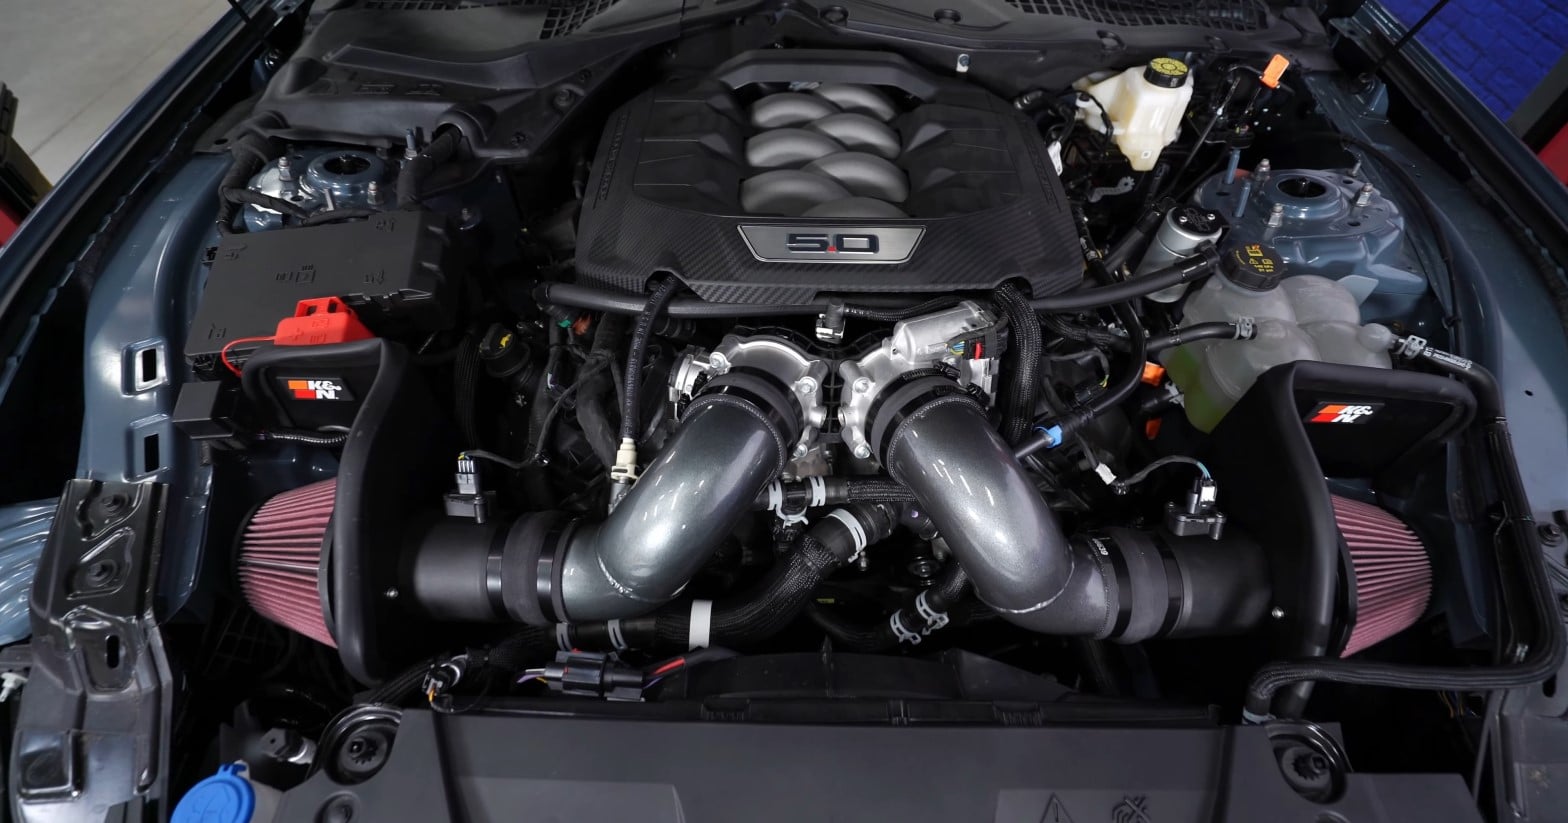
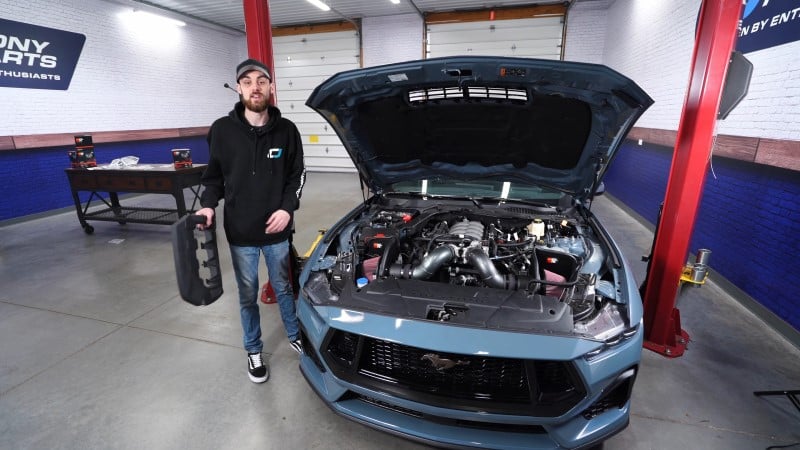
In this guide, we'll walk you through the process of installing an aftermarket cold air intake on your S650 Mustang. For this install, we used K&N’s 69-Series Typhoon high-flow cold air intake system for 2024+ GT and Dark Horse Mustangs. We're performing this install on a 2024 Mustang GT, but the process is largely the same if you have a Dark Horse model. With just a few basic tools and around an hour, you can add some extra horsepower to your S650 Mustang.
Check out the video below for more information on the installation.
Tools Needed
- ⅜” Ratchet
- Extension
- 7mm Socket
- 8mm Socket
- 10mm Socket
- T20 Torx
- Phillips-Head Screwdriver
- 2.5mm Allen Key
- 4mm Allen Key
- Pliers
Step 1: Disconnect the Battery
Locate the battery and remove the battery cover to access the terminals. Disconnect the negative terminal to prevent any electrical issues during the installation.

Step 2: Remove Driver’s Side Breather Hose
Locate the first breather hose on the driver’s side intake. Find the tab underneath the hose, then pull it towards the front of the car to disconnect the hose.
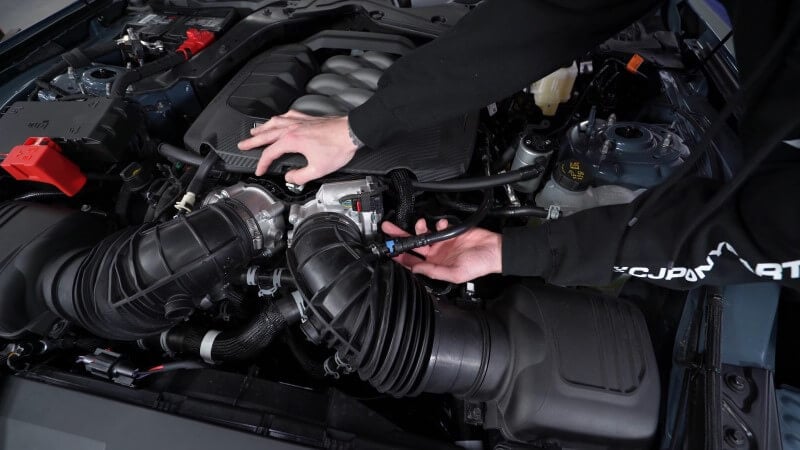
Step 3: Disconnect MAF Sensor
Locate the MAF sensor and pull up on the white connector to disconnect it. Disconnect the clip from the wiring harness. Repeat this process for the clip on the passenger side.
Step 4: Remove Airbox Bolts
Use a 10mm socket to remove the bolts holding the airbox on both the driver and passenger sides.
Step 5: Detach Hose Clamps
Loosen the hose clamps on both intakes using a screwdriver to free the intake tubes. Detach both intake tubes from the ports.
Step 6: Remove Driver’s and Passenger’s Side Airboxes
Move the fuse box on the passenger side using a flathead screwdriver to push out the tab and pull it up. Pull up on the passenger-side airbox to remove it from the engine bay.

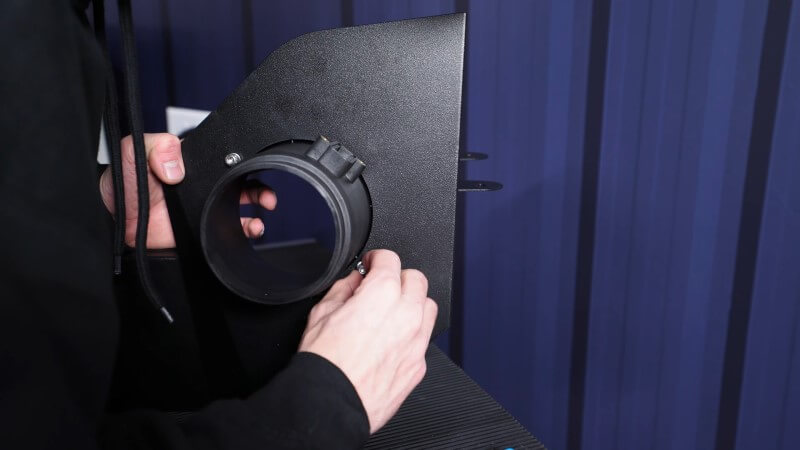
Step 7: Assemble Driver’s Side Heat Shield
Take the driver’s side heat shield and align it with the piece that holds the air filter. Align the holes and use the provided hardware to bolt them together. Use your hand to thread the supplied nuts onto the bolts, then tighten them down.
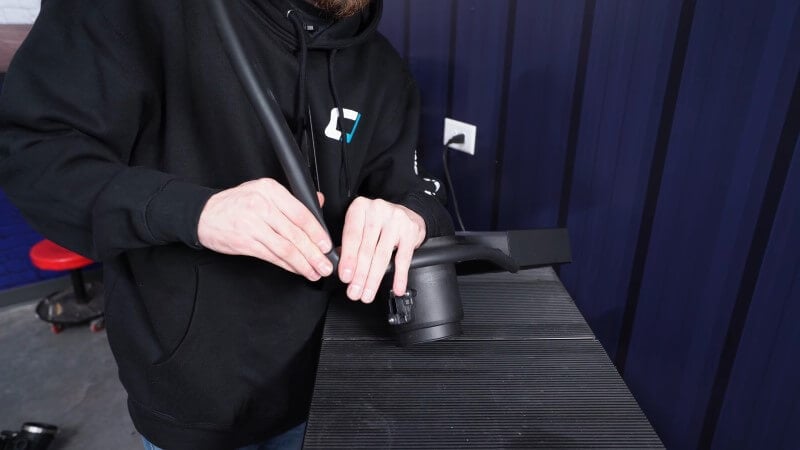
Step 8: Transfer Mass Air Flow Sensor
Remove the MAF sensor from the factory intake tube by removing the two Phillips-head screws. Then, install the MAF sensor in the same location on the K&N intake tube using the provided hardware.
Step 9: Install Seals on Heat Shield
Measure and cut the provided rubber seals to 25 inches and 36 inches. Install the 25-inch seal on the top of the heat shield and the 36-inch seal on the bottom. Use your hand to press the seal around the edges of the shield.
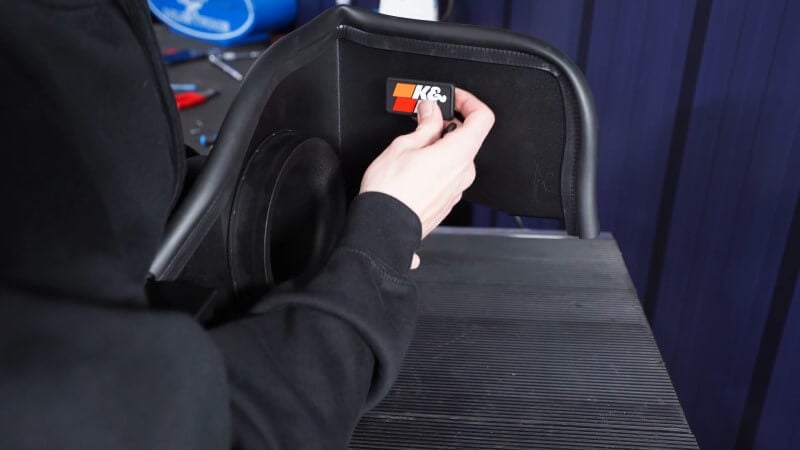
Step 10: Attach K&N Badge to Heat Shield
Snap the K&N badge and backing plate onto the heat shield.
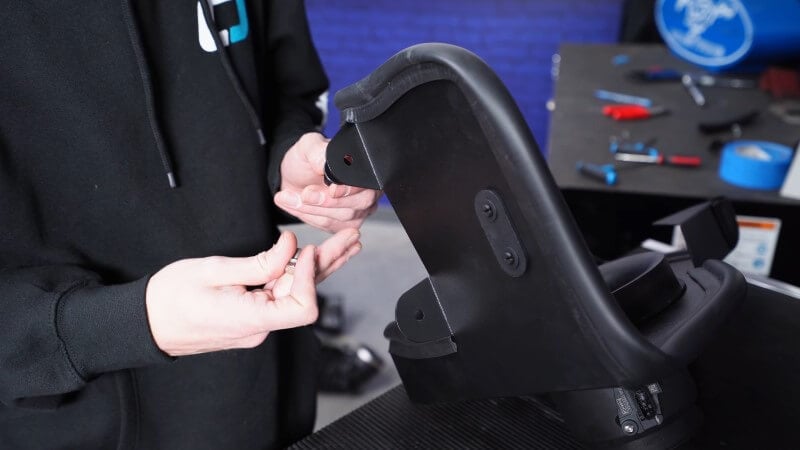
Step 11: Install Heat Shield Mount Hardware
Attach the mounting hardware to the second tab on the back of the heat shield. Hand tighten the bolts for now.
Step 12: Replace Factory Airbox Grommet
Remove the rubber grommet from the factory driver’s side airbox and place it in the factory hole in the engine bay.
Step 13: Install Driver’s Side Heat Shield
Position the bottom of the heat shield first, then shimmy it into place. Align the factory bolt location on the coolant reservoir with the mount. Use the original 10mm bolt to secure it.
Step 14: Assemble Passenger’s Side Heat Shield
Repeat steps 7-12 to assemble the passenger’s side heat shield and install the insulation seals. The only difference for the passenger side assembly is you will need to install a small rubber seal below the K&N logo. Use the supplied glue to attach this seal.
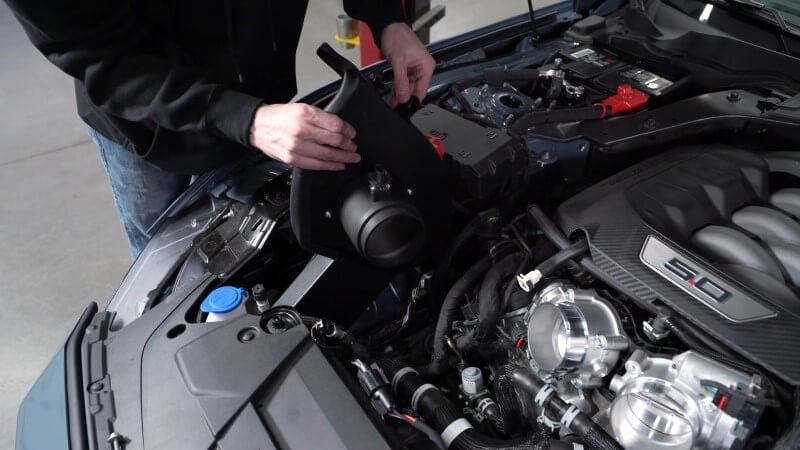
Step 15: Install Passenger’s Side Heat Shield
Remove the grommet from the factory intake and place it in its hole. Position the bottom of the heat shield first, then shimmy it into place. Move the fuse box back into its original spot.
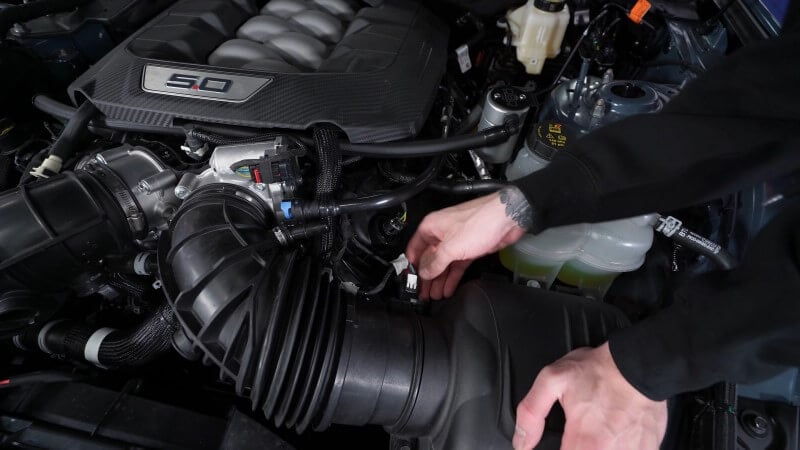
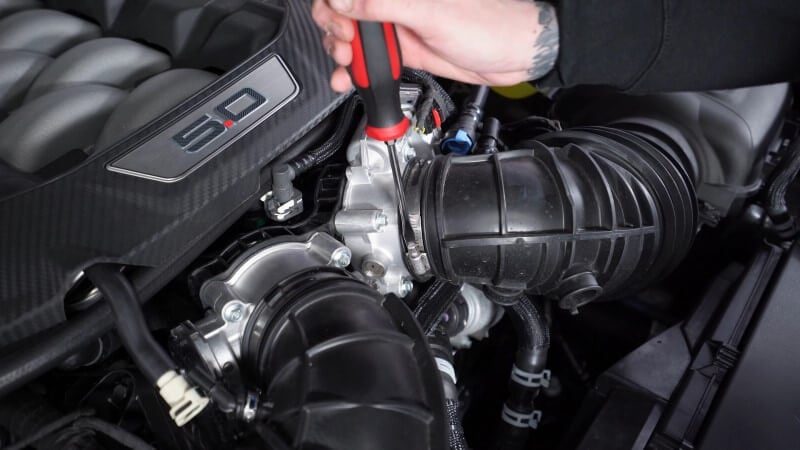
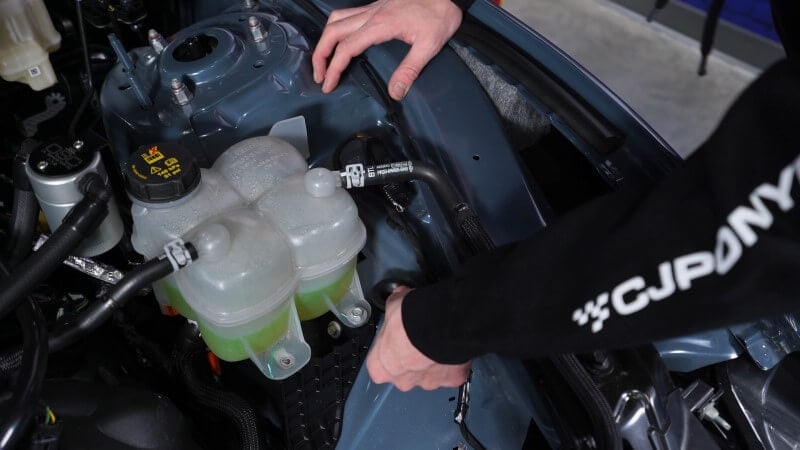
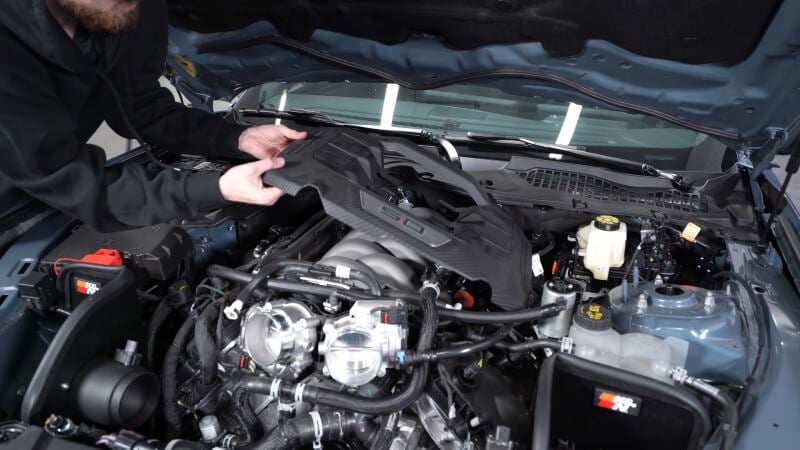
Step 16: Remove Engine Cover and Factory Hose
Pop off the engine cover by lightly pulling on the clips. Then remove the factory hose using the quick disconnect fitting.
Step 17: Install New K&N Hose
Remove the fitting from the factory hose and install it onto the new K&N hose. If the fitting is too tight to remove by hand, you can use a blade to cut the factory hose. Install the new hose in the same spot as the factory one.
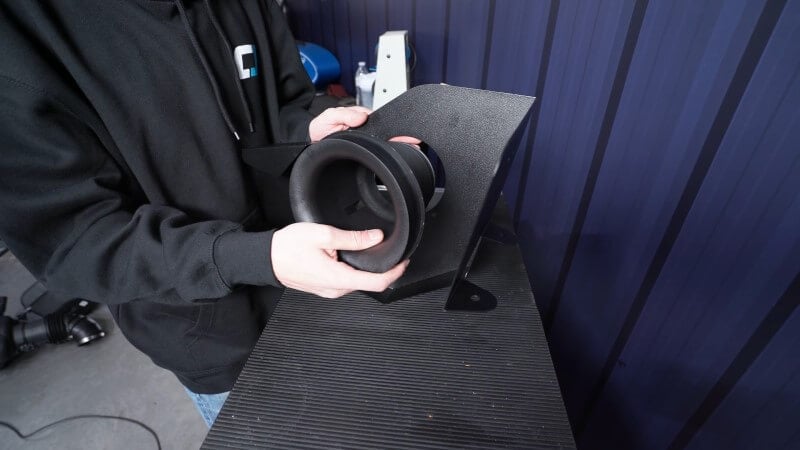
Step 18: Install Couplers and Clamps
Slide the provided couplers onto both air filter housing assemblies. Then, add and tighten the provided clamps to both couplers.
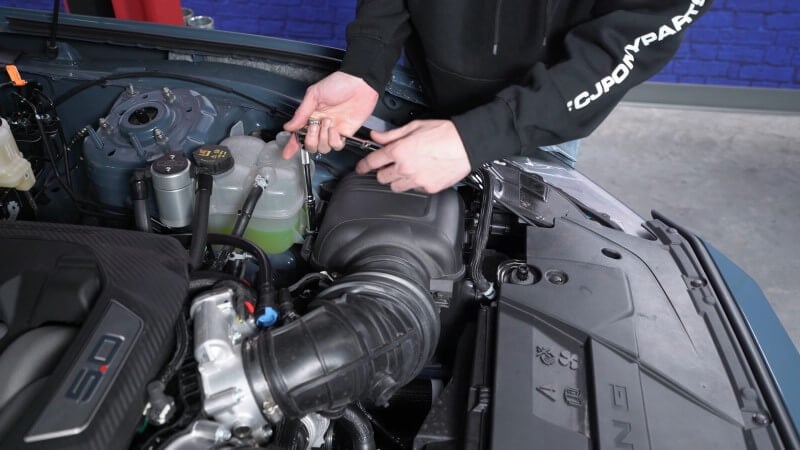
Step 19: Secure Passenger’s Side Heat Shield
Reinstall the 10mm bolt to secure the passenger heat shield.
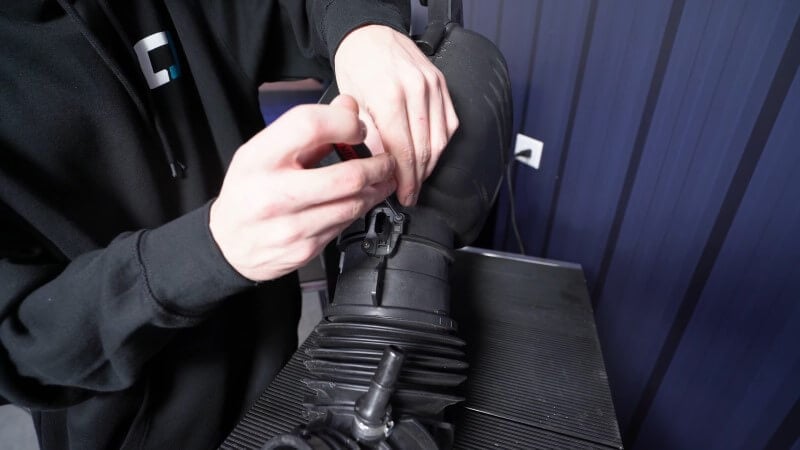
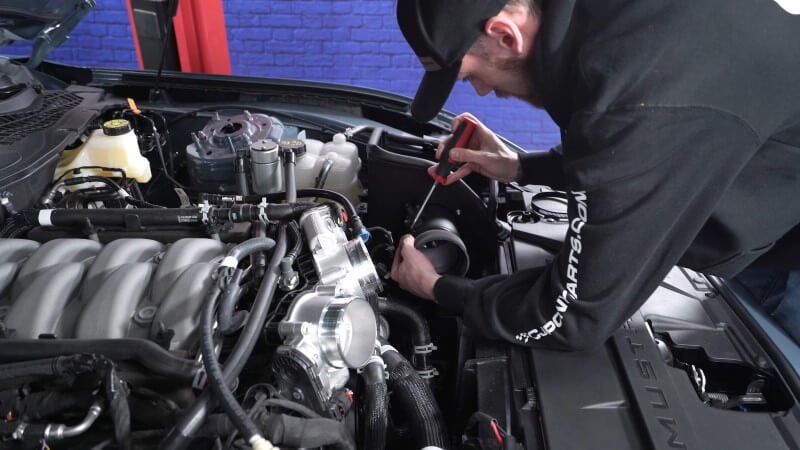
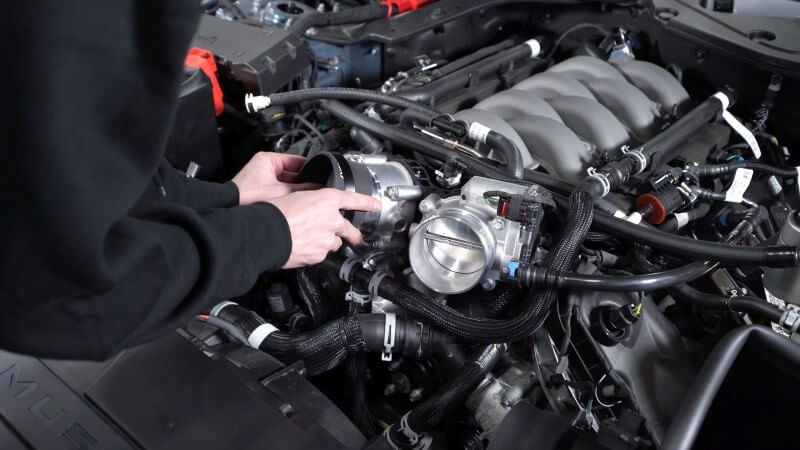
Step 20: Install Throttle Body Boots
Attach the boots to the throttle bodies using the provided couplers and clamps. Tighten the clamps on each of the boots using a screwdriver.
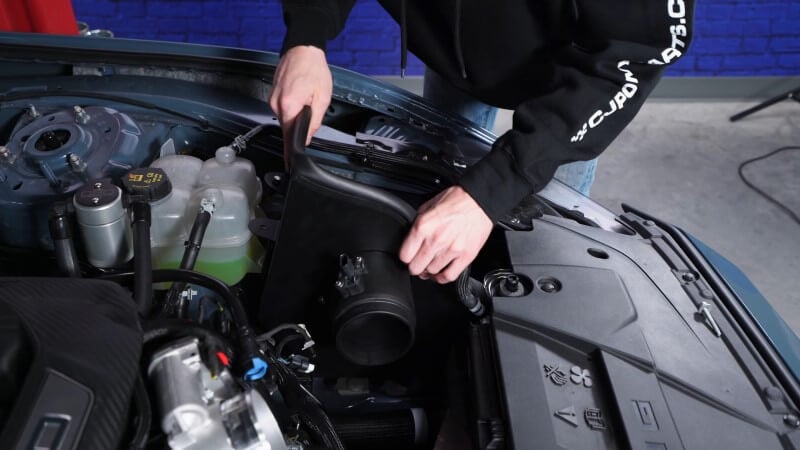
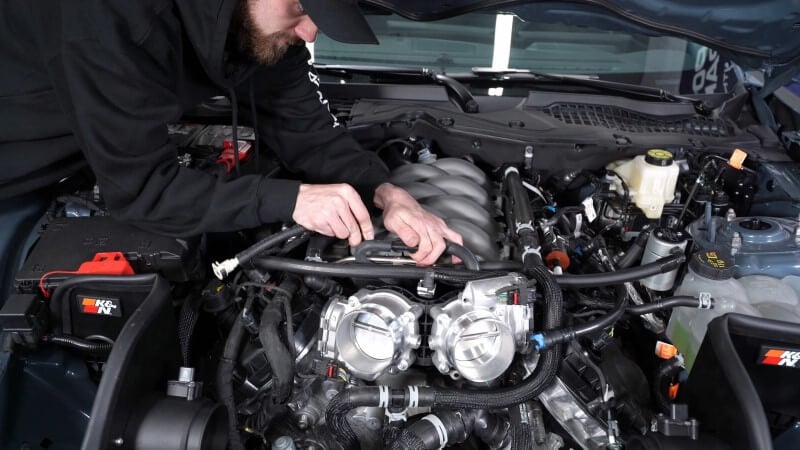
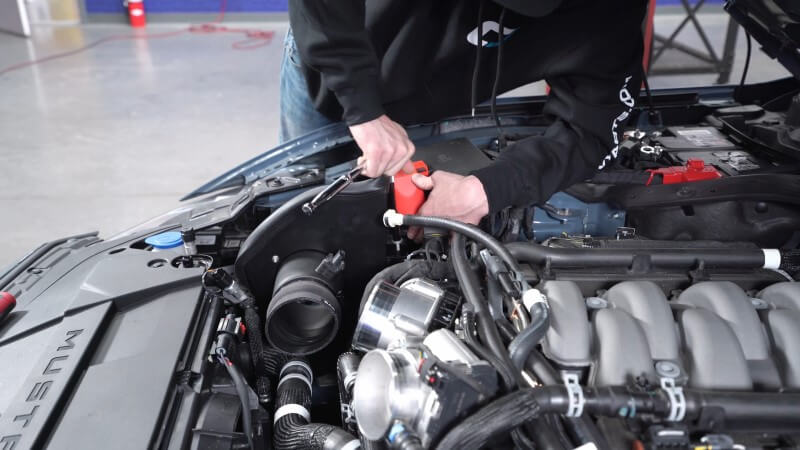
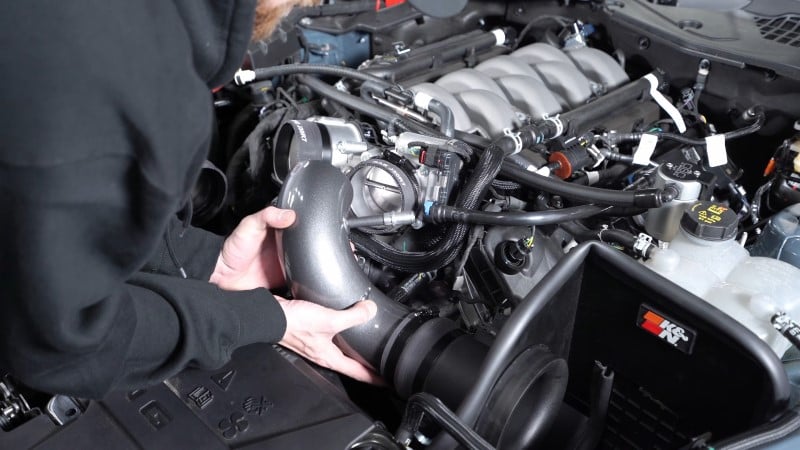
Step 21: Install Intake Piping
Attach the second set of clamps onto the ends of each coupler on the airbox housings and the throttle body boots. Slide the provided piping into the boots so that the sections are connected. Tighten the clamps with a screwdriver so that the pipes are secure. Then, reconnect any loose clips, tubes, or wiring harnesses to their factory positions.
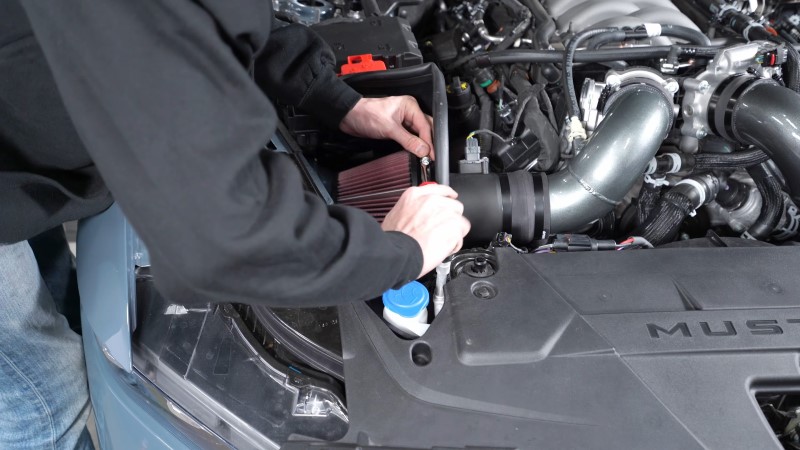
Step 22: Attach New Air Filters
Install the air filters onto the intake piping behind the heat shield using the provided clamps. Tighten the clamps using a screwdriver.
Step 23: Reinstall Engine Cover
Reattach the engine cover using the factory clips. Then, reconnect the battery.
Add Horsepower to Your S650 Mustang
With an aftermarket cold air intake installed on your S650 Mustang, you’ll have access to more horsepower and better performance over the stock setup. Plus, this cold air intake looks great in your engine bay, giving your 2024+ Mustang an aesthetic upgrade under the hood.
If you’re interested in a different air intake system than the one we installed, there are plenty of great alternatives. Check out our wide selection of aftermarket cold air intakes to take your S650 Mustang to the next level.


