1963-1972 Chevy and GMC Truck Side-Fill Gas Tank Conversion
Last Updated October 30, 2026 | Nate MoonisRelocating the gas tank on your 1963-1972 Chevy or GMC truck is a great way to get the factory fuel tank out from behind the seat and free up space inside the cab. A side-fill gas tank conversion moves the fuel tank underneath the bed, giving your classic pickup a cleaner interior and more flexibility when choosing a fuel filler location.
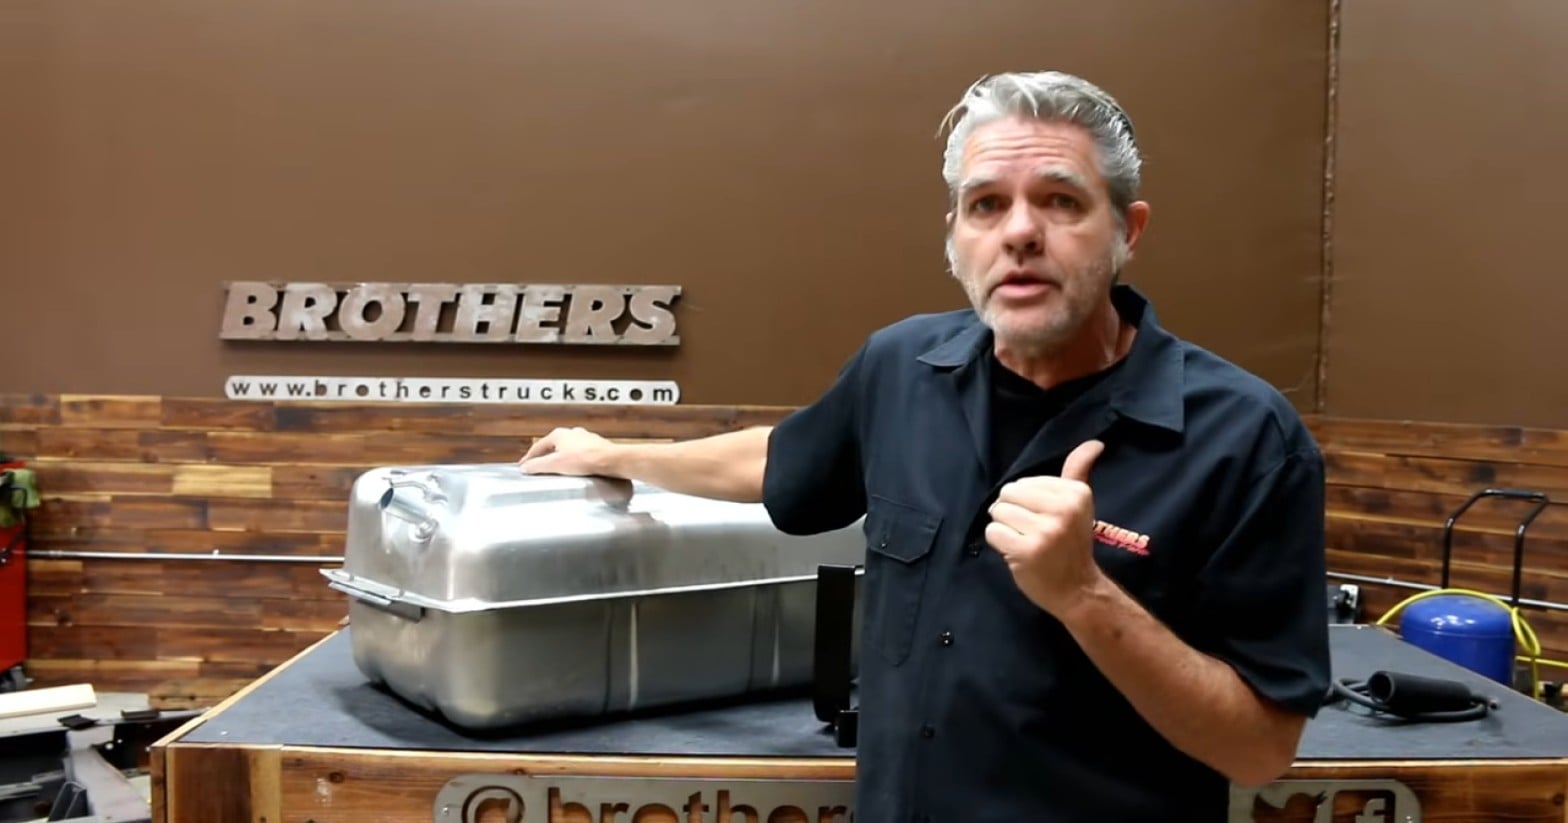
In this guide, we're installing a 21-gallon Blazer-style side-fill gas tank from Brothers Trucks. This setup allows you to route the filler through the bedside, wheel well, or a custom hidden location. The installation requires removing the truck bed, making a few clearance modifications, and mounting the tank between the frame rails.
Check out the video below for a more in-depth installation breakdown.
How to Install a Side-Fill Gas Tank on a 1963-1972 Chevy or GMC Truck
This step-by-step installation guide covers preparing the new gas tank, modifying the bed support and frame for clearance, installing the mounting straps, and routing the fuel lines and vent hoses.
Tools and Supplies Needed:
- Floor jack
- Wood block
- Ratchet and socket set
- Wrenches
- Adjustable wrench
- Drill
- Pilot drill bit
- 3/8-inch drill bit
- Marker
- Cutting tool or die grinder
- Fuel hose and fuel line
- Fuel hose clamps
- Fuel filter
- Vent hose and compatible vent components
- Replacement fuel tank sending unit and seal
- Safety glasses and gloves
1963-1972 Chevy and GMC Truck Side-Fill Gas Tank Installation
Important: Work in a well-ventilated area away from sparks, flames, and other ignition sources. Disconnect the battery, safely drain and remove the original fuel tank, and follow the conversion kit's instructions for fuel system components, mounting clearances, and venting. Never cut or grind near an open fuel system or fuel vapors.
Step 1: Install the Fuel Tank Sending Unit Seal
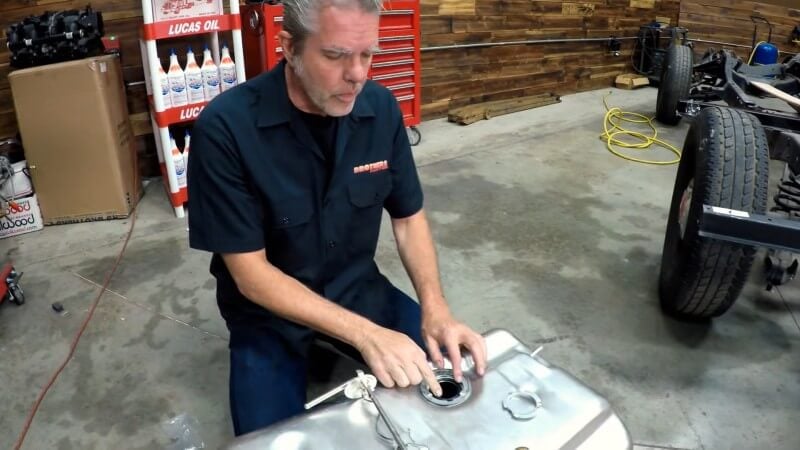
Before mounting the new gas tank, install the supplied rubber sending unit seal into the circular channel surrounding the sending unit opening. Make sure the seal sits evenly in the groove.
Step 2: Position the Fuel Sending Unit
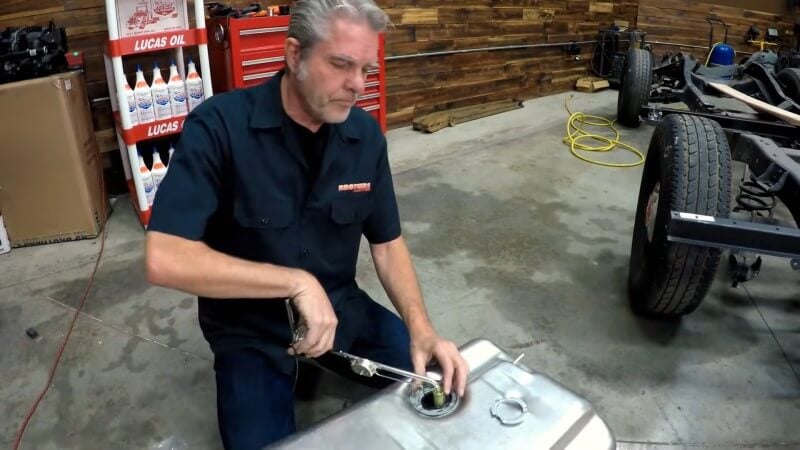
Carefully insert the sending unit into the tank opening. Align the raised tabs on the sending unit with the corresponding slots in the tank so the unit sits in its intended position.
Step 3: Secure the Sending Unit Retaining Ring
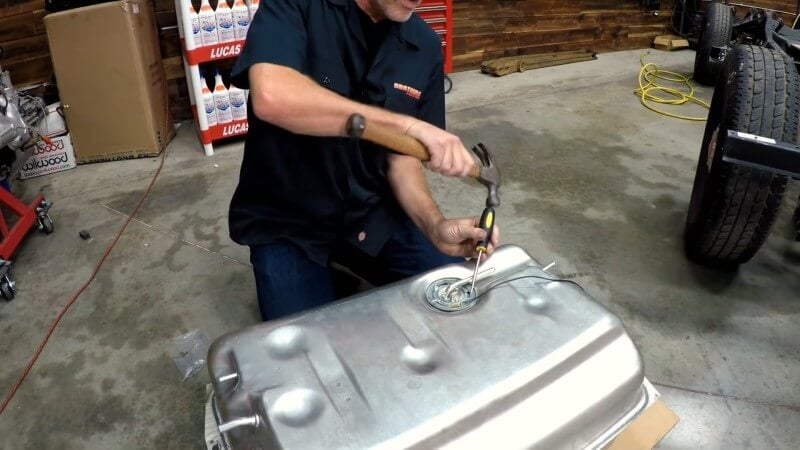
Place the retaining ring over the sending unit and align its three notches with the locking tabs on the tank. Rotate the ring into position, then carefully work it into its fully locked position using the appropriate tool.
Important: Check that all three retaining points are engaged and the ring has reached its locking stop. Use a non-sparking installation tool suitable for fuel tank retaining rings.
Step 4: Remove the Unnecessary Tank Mounting Tabs
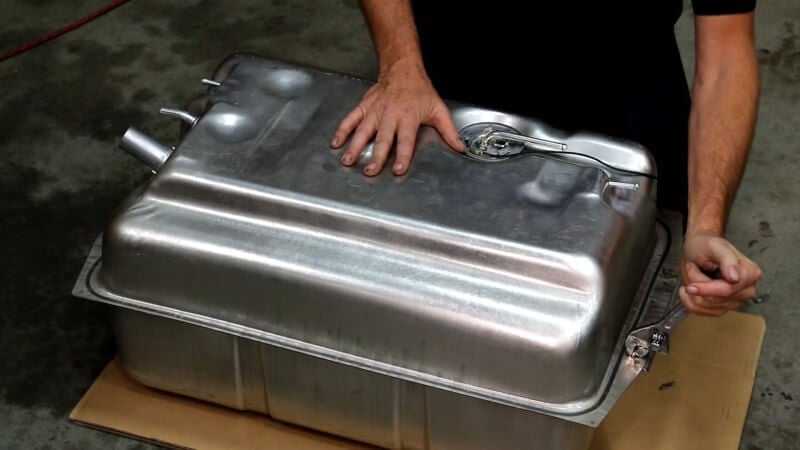
Locate the original mounting tabs along the sides of the Blazer-style tank. These tabs were designed for the original Blazer installation but aren't needed for the conversion shown in the video.
Use an adjustable wrench to bend the tabs back and forth until they break away, allowing the tank to sit flush against its mounting area.
Step 5: Remove the Truck Bed
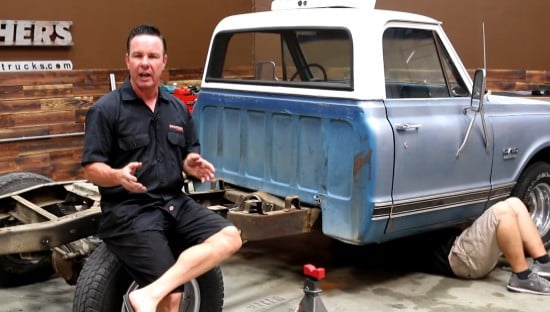
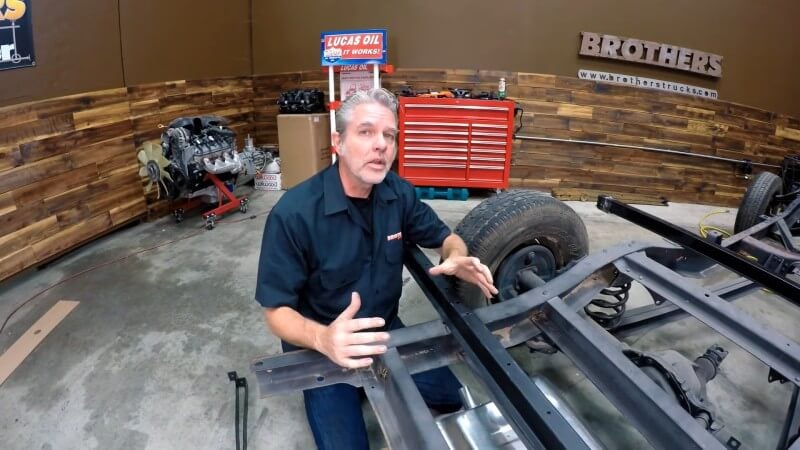
Remove the truck bed to gain access to the rear frame rails and bed support structure. The 21-gallon tank requires additional clearance beneath the bed, so the bed must be removed to complete the necessary modifications.
Step 6: Remove the Spare Tire Support
Locate the factory spare tire support in the rear frame area and remove it to make room for the new fuel tank.
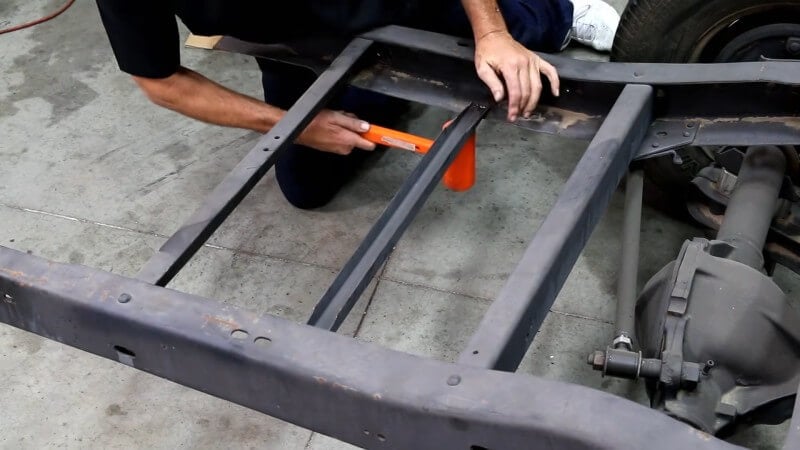
Step 7: Check the Fuel Tank Orientation
Examine the new tank and the surrounding frame supports. The tank has one angled side and one straight side that correspond with the nearby support structure. Position the tank so these surfaces line up correctly.
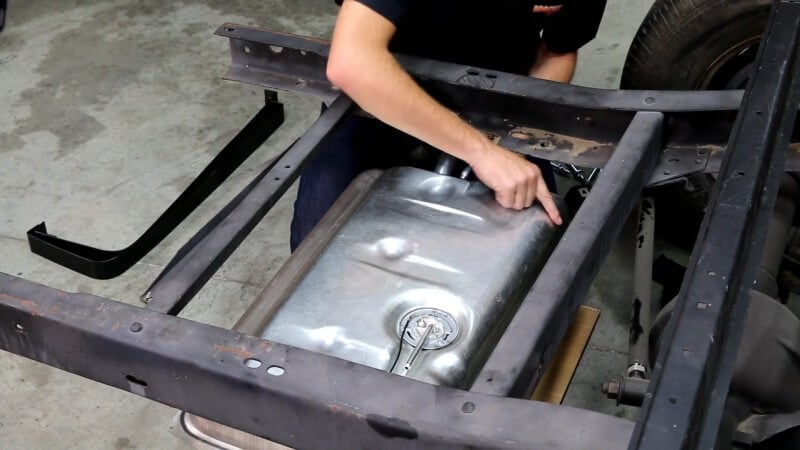
Step 8: Support the Fuel Tank With a Floor Jack
Place a wood block on the floor jack to distribute the load and prevent damage to the bottom of the tank. Raise the tank into its approximate mounting position between the frame rails.
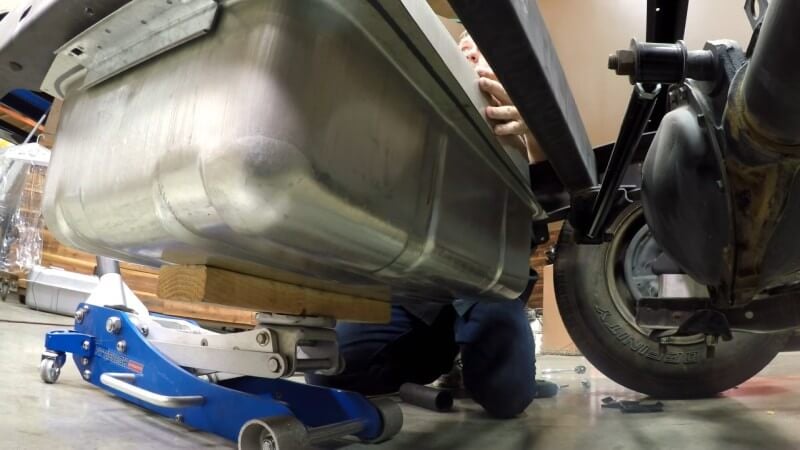
Step 9: Move the Gas Tank Toward the Rear of the Frame
Rather than centering the tank between the supports, move it rearward until it rests against the rear brace shown in the video. This positions the side-fill opening behind the bed sill support and provides additional clearance for the filler neck.
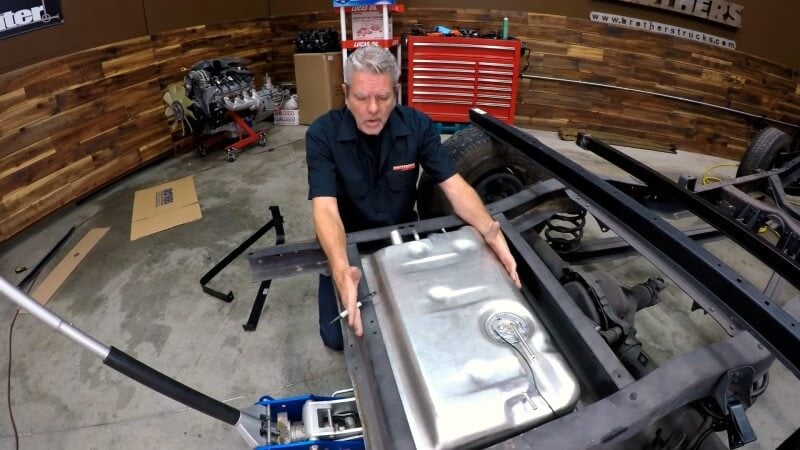
Step 10: Mark the Frame for Filler Neck Clearance
Locate the point where the filler neck interferes with the frame. Mark the section that needs to be notched, allowing room for both the filler neck and its hose.
The video demonstrates leaving approximately 1/4 inch of additional clearance on each side of the filler neck area.
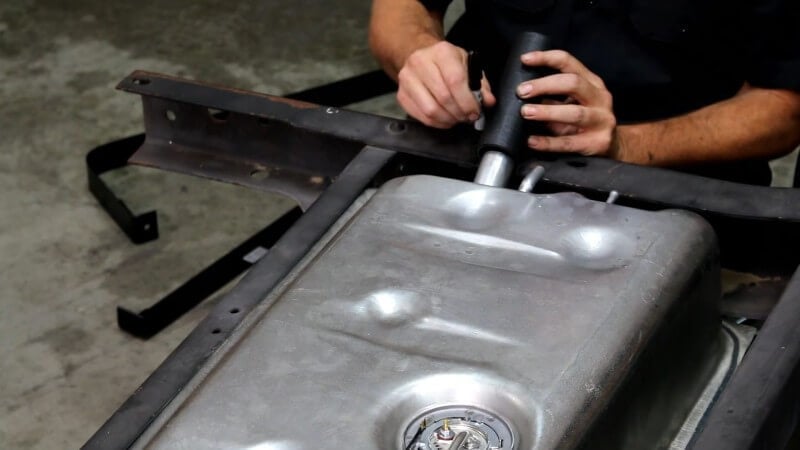
Step 11: Cut the Filler Neck Clearance Notch
Lower the tank out of the way and cut the marked clearance notch using an appropriate cutting tool. Remove any sharp edges and check that the filler neck and hose will have sufficient clearance when the tank is installed.
Important: Cutting a frame rail can affect its structural strength. Verify that the notch location and dimensions are permitted by the conversion kit manufacturer before cutting, and reinforce the area if required by the approved installation procedure.
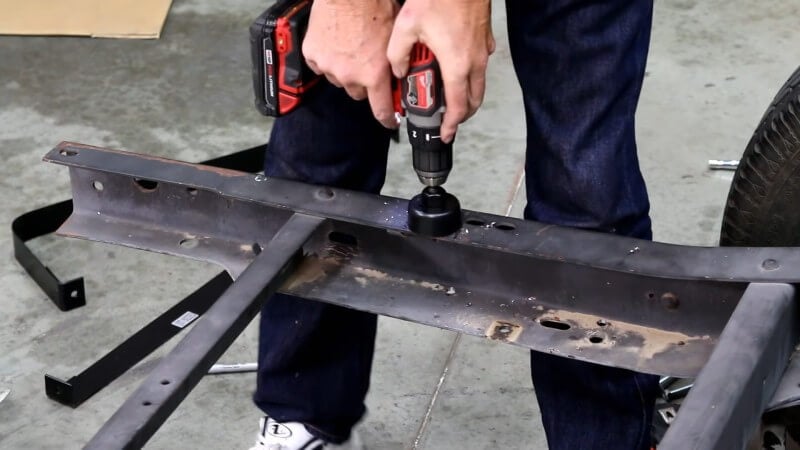
Step 12: Prepare the Fuel Tank Mounting Straps
Unbend the supplied tank straps from their shipping shape and form them to match the contours of the tank. Each strap should fit into the corresponding channel along the bottom of the tank.
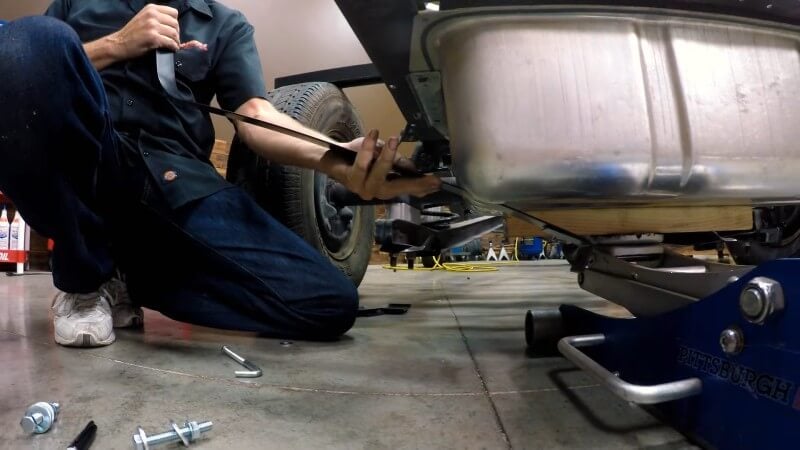
Step 13: Mark the Driver-Side Strap Mounting Holes
Position the first strap in the tank channel and determine where it needs to attach to the frame. Mark the mounting location outside the edge of the tank's flange.
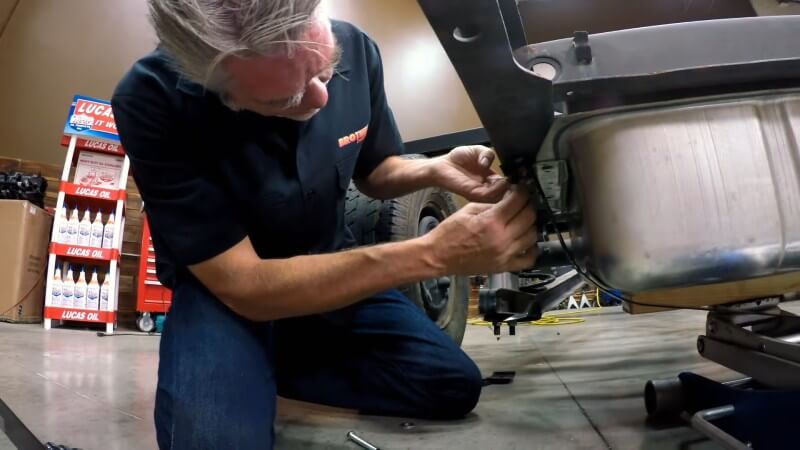
Step 14: Drill the Driver-Side Mounting Holes
Drill a pilot hole at the marked location, then enlarge it using a 3/8-inch drill bit for the supplied mounting bolt.
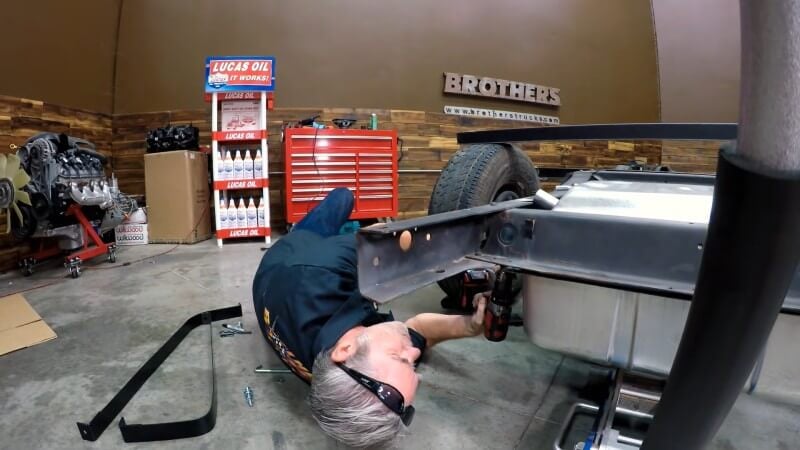
Step 15: Secure the Driver-Side Tank Straps
Insert the supplied bolt and washer through the drilled frame hole. Position the strap underneath and secure it with the washer and nut.
The video demonstrates permanently attaching the driver-side strap ends first because the filler neck prevents the tank from being lifted into position from that side after both ends are secured.
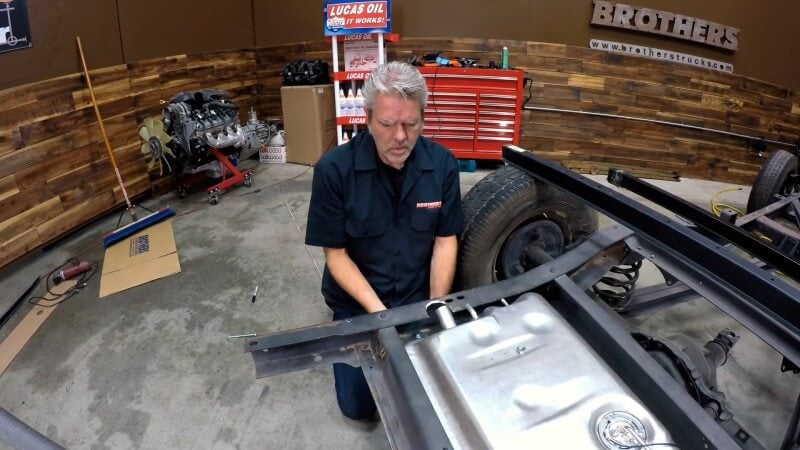
Step 16: Raise the Fuel Tank Into the Mounting Straps
Carefully raise the tank into position, guiding it over the installed straps and making sure the straps fit into the tank's recessed channels. Check that the filler neck passes through the clearance area without contacting the frame.
Step 17: Mark and Drill the Passenger-Side Strap Holes
Align the opposite ends of the straps with the frame and mark the passenger-side mounting locations. Drill pilot holes and enlarge them to accommodate the supplied J-bolts.
Step 18: Secure the Tank With the J-Bolts
Install the J-bolts through the passenger-side mounting holes and connect them to the tank straps. Tighten the hardware evenly until the tank is securely supported in its mounting position.
Pro Tip: The J-bolt arrangement allows the tank to be removed for future servicing without removing the truck bed again.
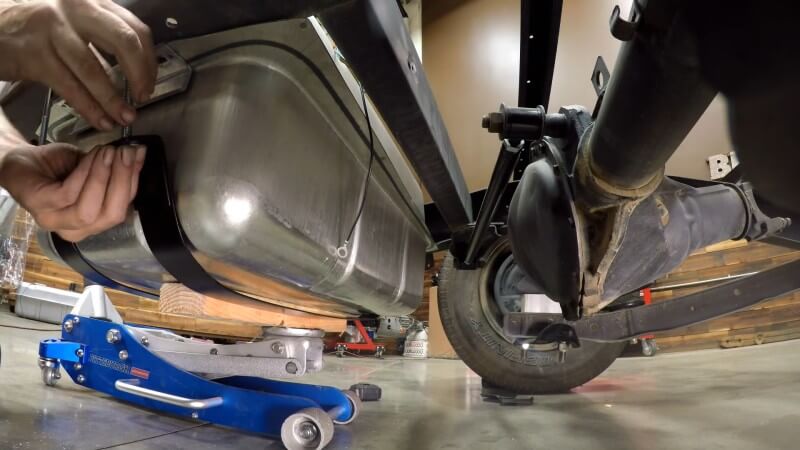
Step 19: Mark the Bed Sill Support for Clearance
Position the bed sill support over the mounted tank to identify the interference. Mark the width of the tank on both sides of the support, then mark a cut line approximately 1/2 inch below the upper edge, as demonstrated in the video.
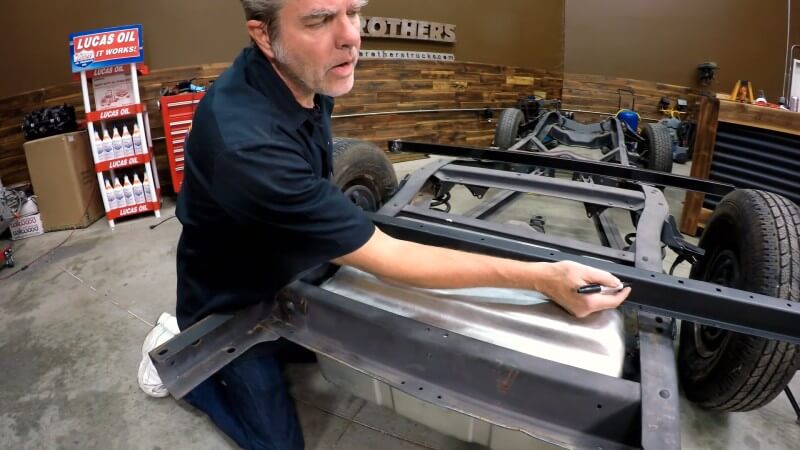
Step 20: Drill the Corners of the Clearance Opening
Drill holes at the inside corners of the marked opening before cutting. These rounded corners help reduce stress concentrations that could otherwise develop at sharp 90-degree cuts.
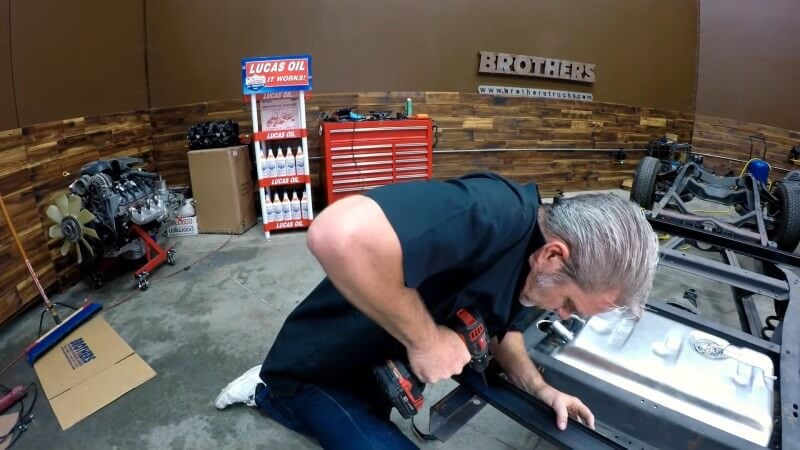
Step 21: Cut the Bed Sill Support for Tank Clearance
Cut along the marked lines to create the clearance opening, then remove any sharp edges. Test-fit the support over the tank to confirm that the tank has sufficient clearance.
Important: Removing material from a bed support can weaken it. Verify the modification and any required reinforcement with the tank kit manufacturer before reinstalling the bed.
Step 22: Connect the Fuel Lines
Connect the fuel supply line to the sending unit and route it toward the engine. The video recommends installing a metal fuel filter near the tank outlet.
Keep all fuel lines away from exhaust components, sharp edges, and moving suspension parts. Secure the lines with appropriate clamps and supports.
Step 23: Install the Fuel Tank Vent Hoses
Attach compatible vent hoses to the tank's vent connections and route them above the top of the tank. The video demonstrates using a small filter to help keep dirt out of the vent opening.
Important: The vent system must be compatible with the tank, filler cap, and vehicle's fuel system. Follow the kit manufacturer's instructions for proper vent routing, rollover protection, and vapor management. A simple open filter may not be appropriate for every application.
Step 24: Route the Side-Fill Fuel Hose
Choose the desired filler location and route the fuel filler hose from the tank's side-fill neck. The video discusses several possible locations, including the wheel well, bedside, and hidden filler openings behind exterior lighting.
Make sure the filler hose is compatible with gasoline, properly supported, and routed without sharp bends or interference. Install a suitable filler neck and cap assembly for the chosen location.
Note: The video discusses filler location options but does not demonstrate the final filler neck installation.
Step 25: Reinstall the Truck Bed and Check the Fuel System
After confirming the tank, mounting straps, filler hose, and vent connections have adequate clearance, reinstall the truck bed and secure it using the proper hardware.
Reconnect the fuel system and sending unit wiring, then add a small amount of fuel and carefully inspect all connections for leaks before filling the tank completely. Verify that the fuel gauge operates correctly and that the filler and vent system function as intended.
Note: The video concludes after demonstrating the tank mounting and clearance modifications. The final fuel system connections, bed reinstallation, and leak checks are necessary completion steps but are not shown in the footage.
Congratulations, you're all done!
Move Your 1963-1972 Chevy or GMC Truck's Gas Tank Under the Bed
Installing an under-bed gas tank is a practical way to relocate the original in-cab fuel tank on your classic Chevy or GMC pickup. The 21-gallon Blazer-style tank provides additional fuel capacity while giving you the flexibility to choose a more discreet filler location that works with your build.
Find the fuel tanks, sending units, mounting hardware, and other fuel system components you need for your classic Chevy or GMC truck at CJ Pony Parts.