How to Replace the Front Coil Springs on a 1963-1987 Chevy or GMC Truck
Last Updated October 23, 2026 | Nate MoonisReplacing the front coil springs on your 1963-1987 Chevy or GMC truck is a great way to refresh worn suspension components or change your truck's ride height. A new set of springs can help restore proper suspension performance, while lowering springs can give your classic pickup a more aggressive stance.
This installation typically takes around two to three hours with the right tools and some help from a friend. Because the front coil springs support the weight of the truck and remain under significant tension, it's important to take the proper safety precautions throughout the process.
Check out the video below for a more in-depth installation breakdown.
How to Replace the Front Coil Springs on a 1963-1987 Chevy or GMC Truck
This step-by-step installation guide covers removing the front shock absorber, disconnecting the sway bar and steering components, replacing the front coil springs, and reassembling the suspension. The process is similar for factory-height and lowering springs, but the amount of spring tension can vary considerably.
Tools and Supplies Needed:
- Floor jack
- Jack stands
- Wheel chocks
- Ratchet and socket set
- Wrenches
- Torque wrench
- Tie rod end puller or pickle fork
- Ball joint separator
- Spring compressor suitable for the suspension
- Pliers
- Wire or zip ties
- Replacement cotter pins
- Safety glasses and gloves
1963-1987 Chevy and GMC Truck Front Coil Spring Installation
Important: Front coil springs store considerable energy and can cause serious injury if released unexpectedly. Park on a level surface, chock the rear wheels, engage the parking brake, and securely support the truck with jack stands. Use a spring compressor or restraint system approved for your truck's suspension and follow the vehicle's service manual when unloading or reinstalling the springs. Never rely on a floor jack alone to restrain a compressed spring.
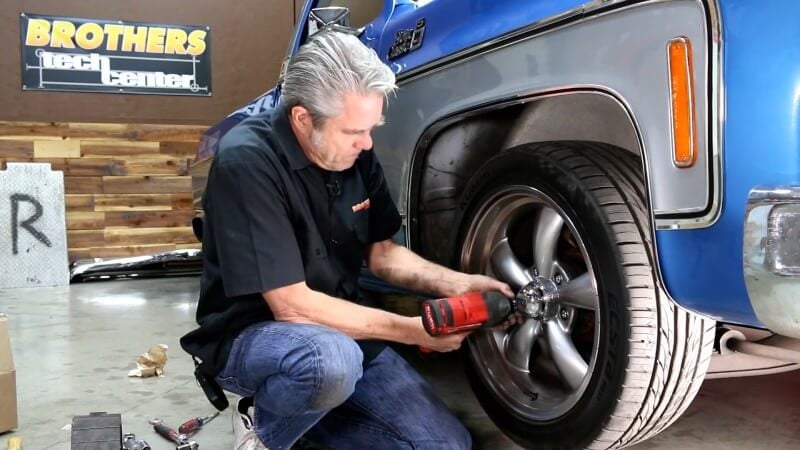
Step 1: Remove the Front Wheel
Loosen the lug nuts, raise the front of the truck, and support it securely with jack stands. Remove the front wheel to access the suspension components.
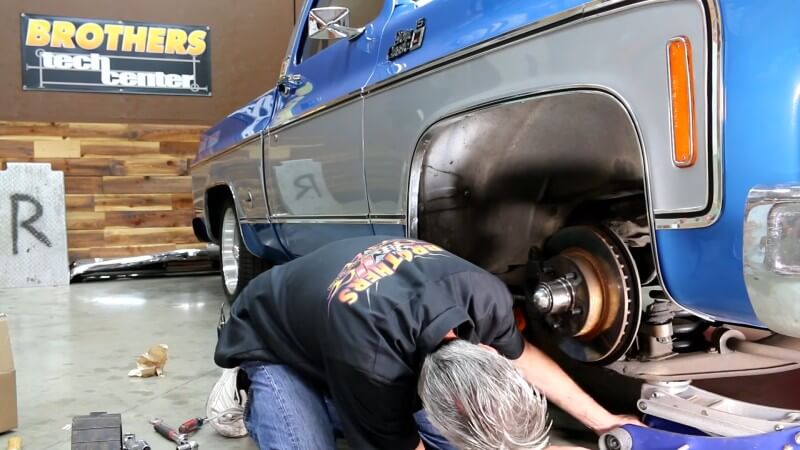
Step 2: Support the Lower Control Arm
Position a floor jack underneath the lower control arm and raise it slightly to support the suspension. This helps take some of the load off the shock absorber and sway bar connections before removal.
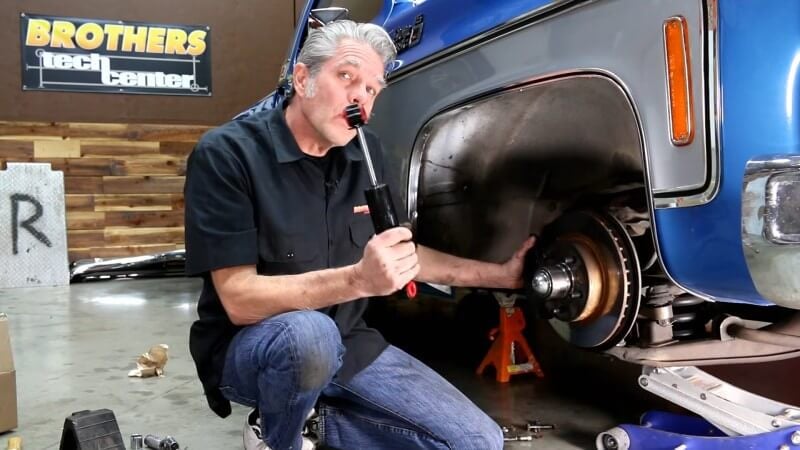
Step 3: Remove the Front Shock Absorber
Disconnect and remove the front shock absorber to allow the lower control arm to move through the range needed for the spring replacement.
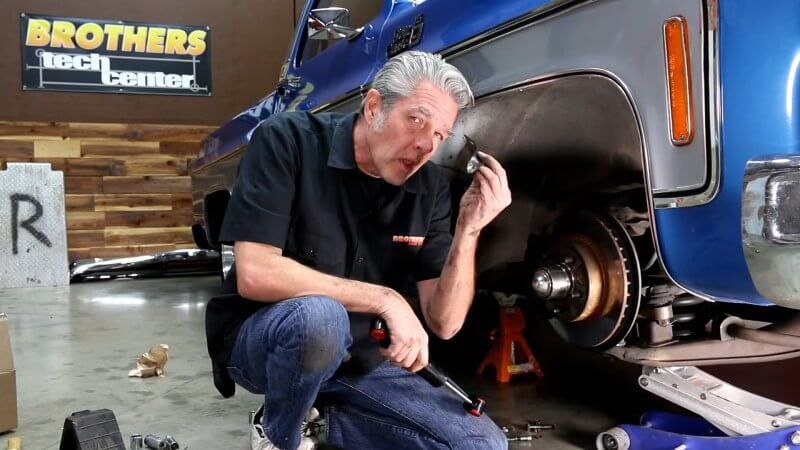
Step 4: Disconnect the Front Sway Bar
Remove the sway bar clamp or connection that restricts movement of the lower control arm. This allows the control arm to move downward during the spring removal process.
Step 5: Remove and Support the Brake Caliper
Remove the front brake caliper and secure it out of the way using wire or a suitable strap. Make sure the caliper is supported independently rather than hanging from the flexible brake hose.
Important: Allowing the caliper to hang by its hose can damage the hose and potentially cause a brake fluid leak.
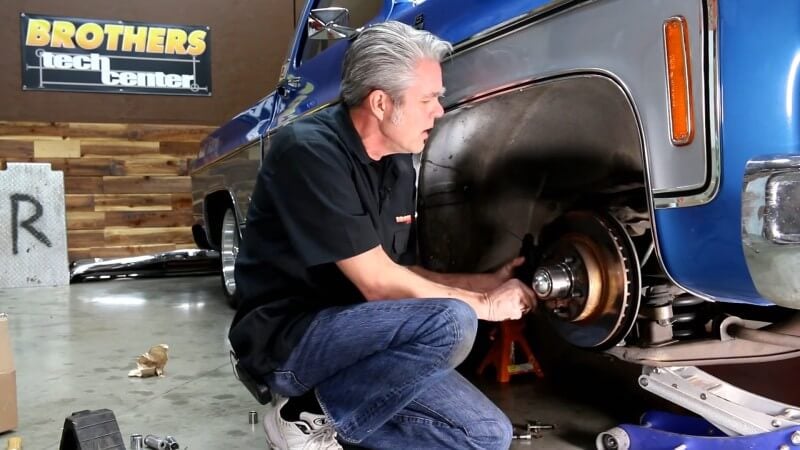
Step 6: Loosen the Tie Rod End Nut
Remove the cotter pin from the tie rod end and loosen the retaining nut approximately four or five turns. Leave the nut threaded onto the stud to keep the tie rod end from separating unexpectedly.
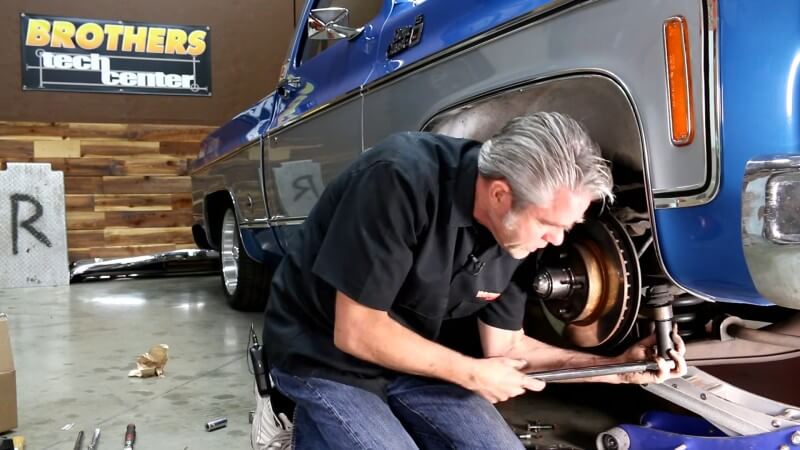
Step 7: Separate the Tie Rod End
Use a tie rod end puller to separate the tapered stud from the steering arm. Once the connection releases, remove the retaining nut and move the tie rod end out of the way.
Pro Tip: A tie rod end puller is less likely to damage the rubber boot than a pickle fork, making it a better option if you plan to reuse the tie rod end. Thread the nut back onto the stud for safekeeping.
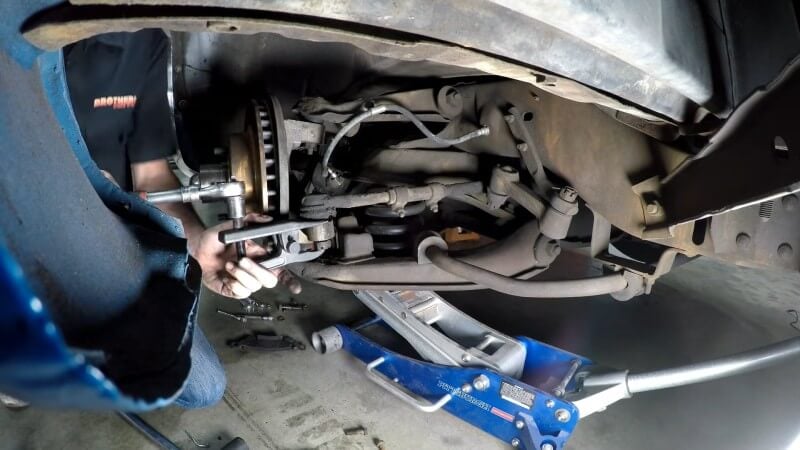
Step 8: Loosen the Upper Ball Joint Nut
Remove the upper ball joint cotter pin and loosen the castellated retaining nut. Leave the nut partially threaded onto the stud to retain the spindle when the tapered connection releases.
Important: Make sure the lower control arm and coil spring are properly restrained before separating the upper ball joint. The spring remains under tension at this stage.
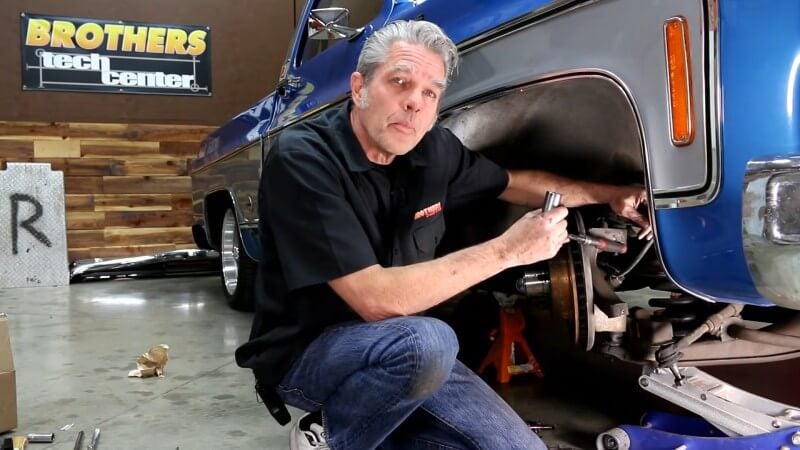
Step 9: Separate the Upper Ball Joint
Use a ball joint separator to release the upper ball joint from the spindle. Once the tapered connection has separated and the spring is securely restrained, remove the retaining nut and move the upper control arm out of the way.
The lower ball joint can remain connected to the spindle during this procedure.
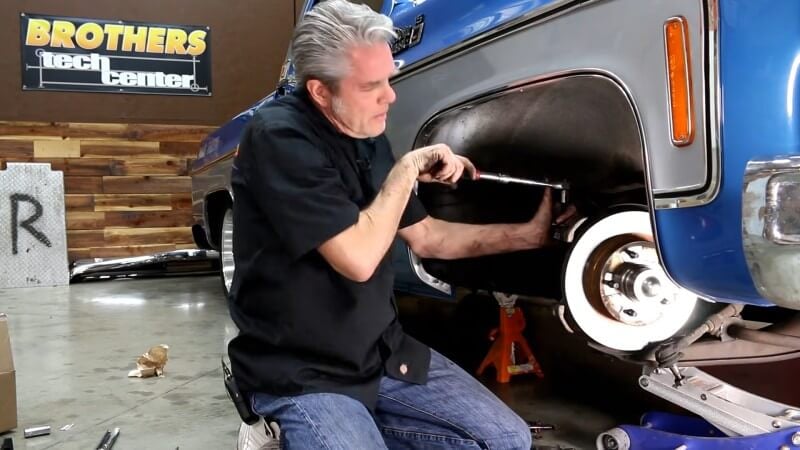
Step 10: Carefully Lower the Lower Control Arm
Following the vehicle's approved spring removal procedure, gradually lower the supported control arm to unload the coil spring. Keep the spring properly restrained throughout the process.
Important: The truck shown in the video already has lowering springs installed, which have less stored tension in this particular setup. Factory-height springs may require additional clearance and a suitable spring compressor before they can be safely removed.
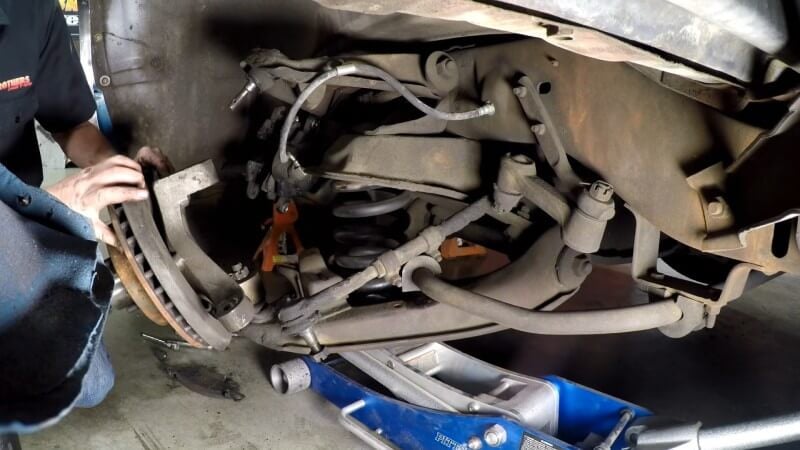
Step 11: Remove the Old Coil Spring
Once the spring is completely unloaded, remove it from the lower control arm and upper spring pocket. Inspect the spring seats and surrounding suspension components for damage or wear.
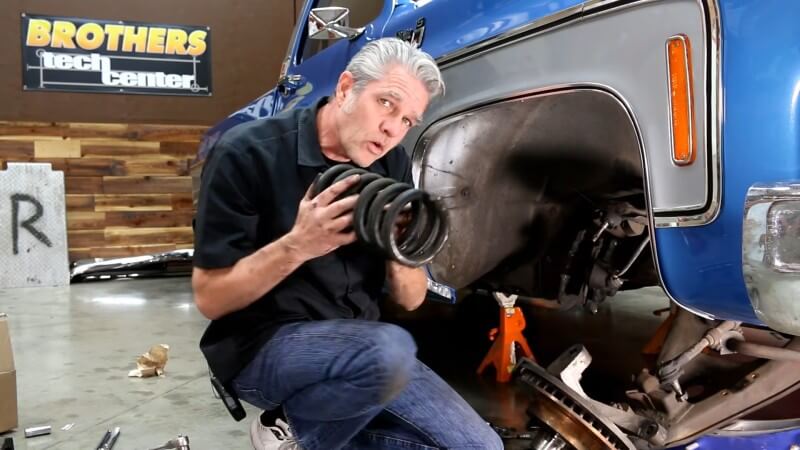
Step 12: Position the New Coil Spring
Place the replacement coil spring into the lower control arm and align its lower end with the locating slot. Make sure the upper end of the spring is positioned correctly against the upper spring pocket.
Pro Tip: The lower spring seat has a locating feature that helps position the end of the coil. Check the spring's orientation before raising the control arm.
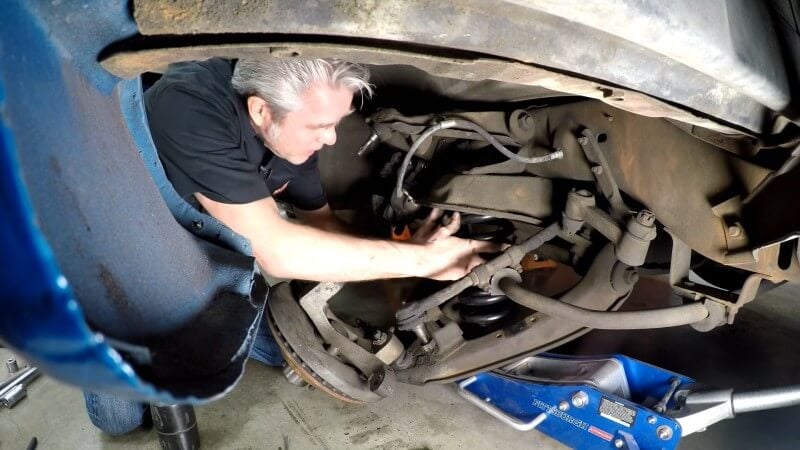
Step 13: Raise the Lower Control Arm
Using the appropriate spring installation procedure and restraint equipment, carefully raise the lower control arm while checking that the coil spring remains properly seated in its upper and lower pockets.
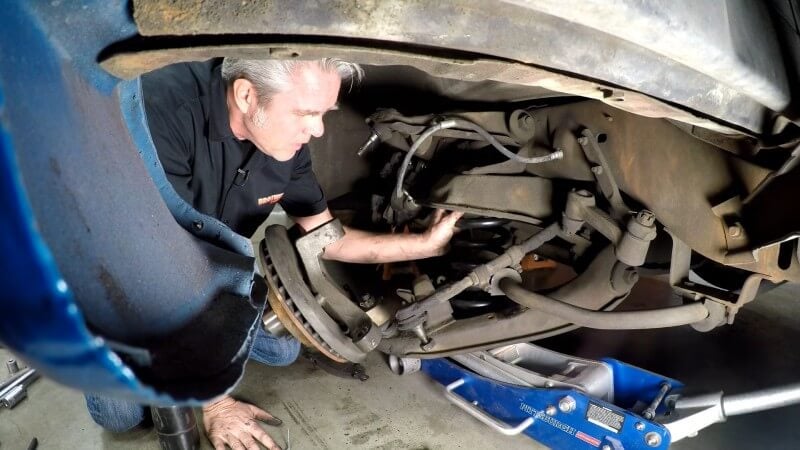
Step 14: Reconnect the Upper Ball Joint
Align the spindle with the upper control arm and reinstall the upper ball joint retaining nut. Tighten the nut to the correct specification for your truck, then install a new cotter pin.
Important: The video quotes 50 ft-lb for the upper ball joint. Confirm the specification for your truck's year and suspension components before tightening. If necessary, tighten the castellated nut slightly further to align the cotter pin hole. Do not loosen it to achieve alignment unless instructed by the manufacturer.
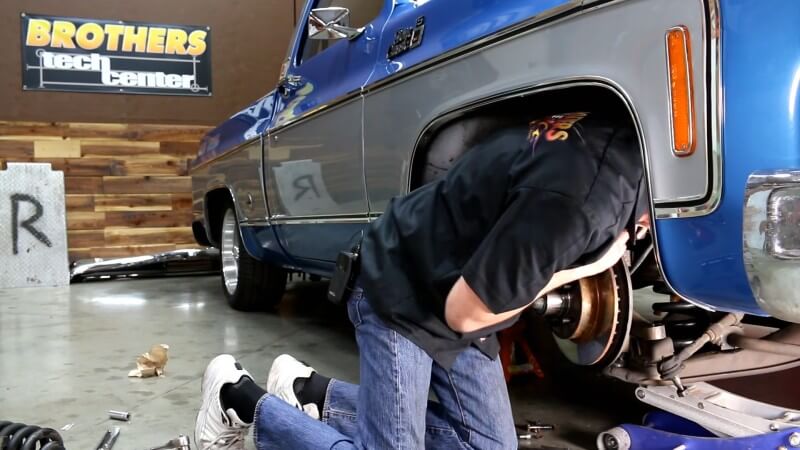
Step 15: Reconnect the Tie Rod End
Reinstall the tie rod end into the steering arm and tighten the retaining nut to the correct specification. Install a new cotter pin to secure the connection.
Note: The video references approximately 35-40 ft-lb for the tie rod end. Verify the correct torque for your specific truck before installation.
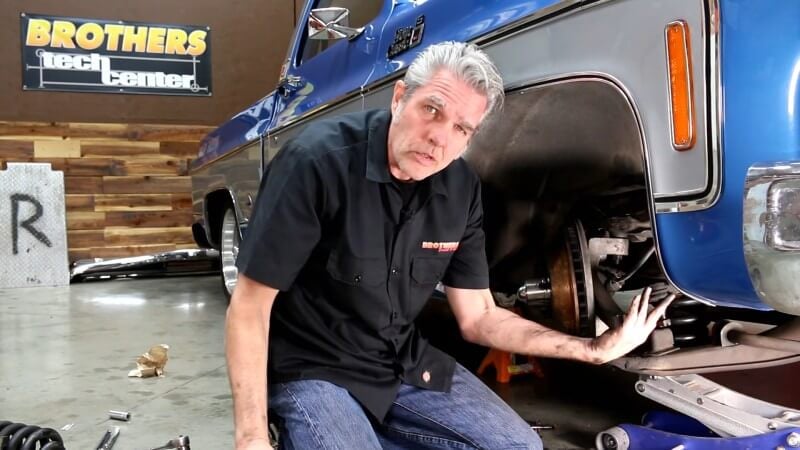
Step 16: Reinstall the Front Sway Bar
Reconnect the front sway bar and tighten its mounting hardware according to the appropriate specifications.
Step 17: Reinstall the Brake Caliper and Shock Absorber
Reinstall the front brake caliper and shock absorber, making sure the brake hose is routed correctly and isn't twisted or stretched. Tighten all mounting hardware to the applicable specifications.
Step 18: Reinstall the Wheel and Check the Suspension
Double-check the suspension hardware, cotter pins, spring seating, and brake components. Reinstall the wheel, lower the truck, and torque the lug nuts to the correct specification.
Repeat the process on the opposite side, then have the front-end alignment checked, especially if you've changed the truck's ride height.
Congratulations, you're all done!
Refresh Your 1963-1987 Chevy or GMC Truck's Front Suspension
Replacing the front coil springs on your 1963-1987 Chevy or GMC truck gives you an opportunity to correct worn or sagging suspension components or adjust your truck's ride height. With the new springs properly seated and the suspension reassembled, your classic pickup is one step closer to the stance and ride you're looking for.
Continue your suspension project with replacement springs, shocks, and other front-end components from CJ Pony Parts.