
How To Install Projector Headlights on S550 Mustang
Last Updated August 8, 2023 | Bill TumasInstalling a set of projector headlights on your S550 Mustang is a great way to improve the look of the front end and increase nighttime visibility. In this article, we're going to be installing a set from FORM Lighting, but the process is largely similar on any 2018-2023 Mustang GT or EcoBoost. The headlight assemblies from FORM Lighting are direct replacements for the factory headlights, so the process is simple and easy.
Mustang Projector Headlights Install Instructions
Parts and Tools Needed:
- 1/4" Ratchet
- 5.5 mm Socket
- 7 mm Socket
- 8 mm Socket
- 10 mm Wrench
- Panel Removal Tools
- Basic Wiring Tools

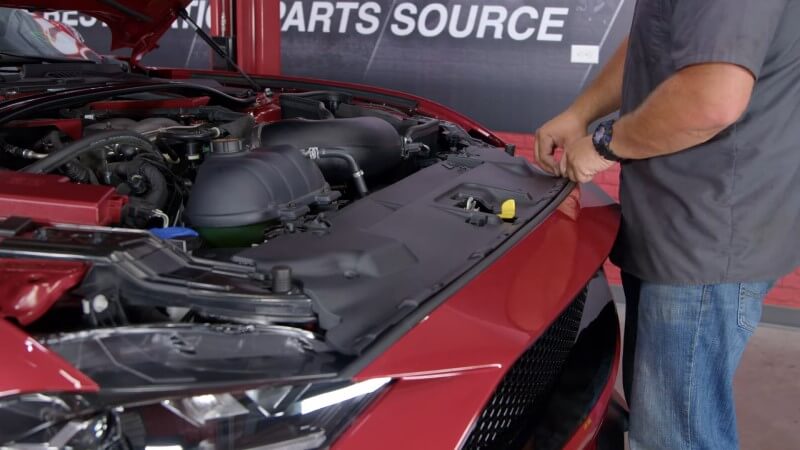
Step 1: Remove Plastic Radiator Clips
Remove the eight plastic clips on the radiator cover by pulling up on the center of each clip and pulling them out.
Then, remove the radiator cover.
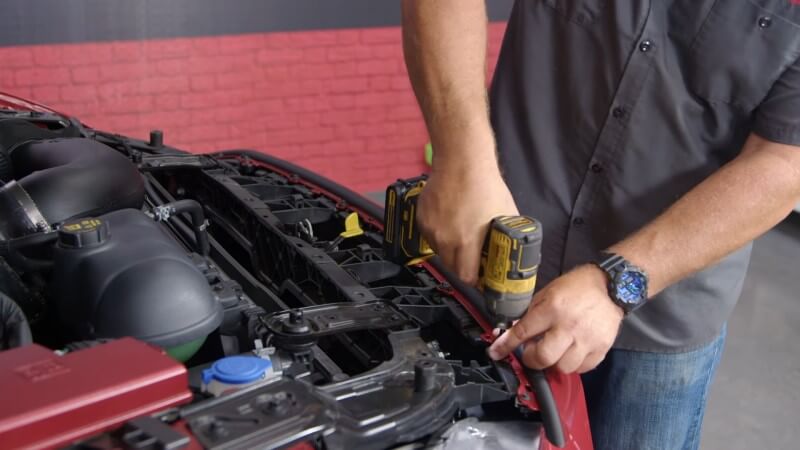
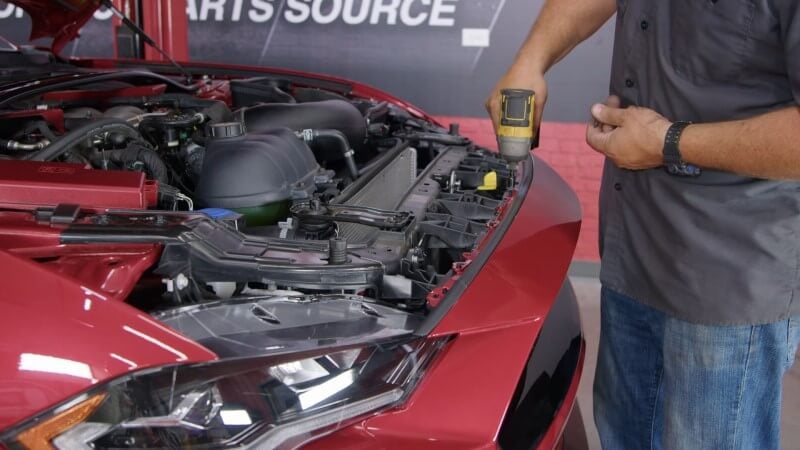
Step 2: Remove Hardware Holding Bumper
Remove the eight screws underneath the radiator cover holding the bumper to the radiator support.
Step 3: Pull Back Fender Liner
Remove the five clips holding the fender liner in place and pull it back to access two nuts holding the front bumper to the front fender. Repeat this process on the other side.

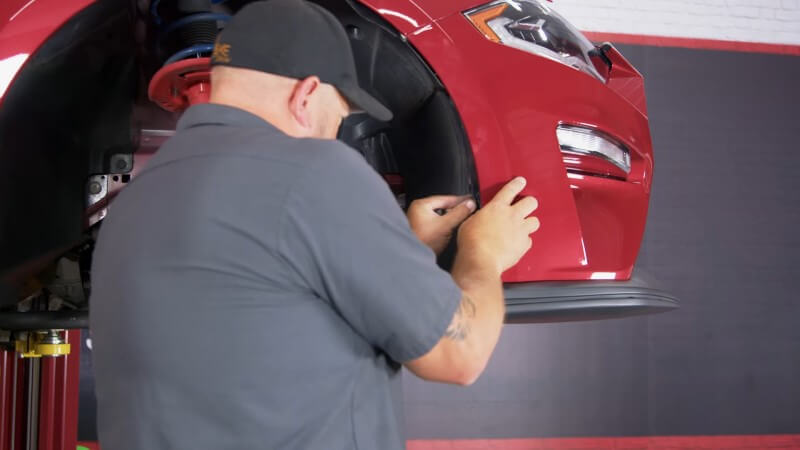
Step 4: Separate Front Bumper from Front Fender
Loosen the two nuts you located in the previous step and separate the bumper from the fender. Simply push on the pin between the nuts and pull it down until they come apart.
Repeat this process on the other side.
Step 5: Lift Your Mustang
Raise the car using either a lift or a jack and jack stands.
Pro Tip: If you aren't sure where to safely place your jack or stands, check out our S550 jack points guide.
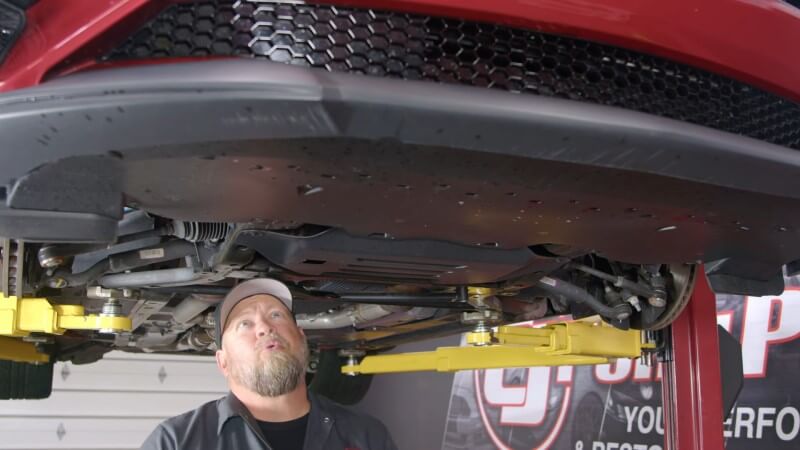
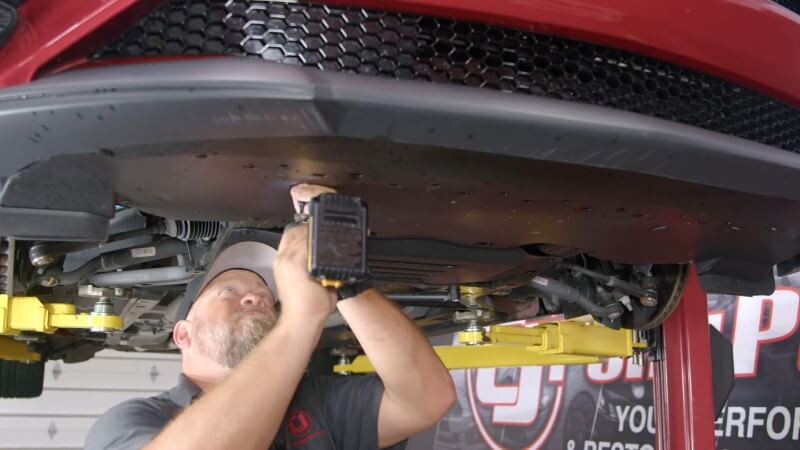
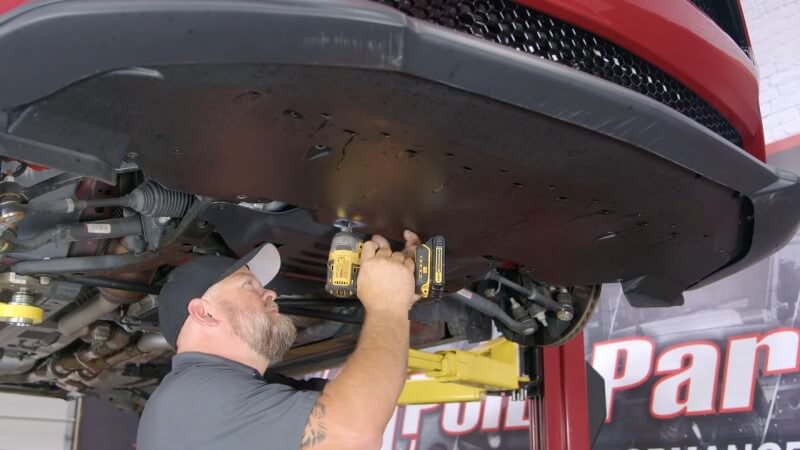
Step 6: Remove Belly Pan Hardware
Remove the pushpins and screws holding the belly pan in place.
Step 7: Remove Front Bumper
Return to the front of the car and lift the front bumper over the alignment tabs and pull towards yourself. The bumper should start to separate from the support.
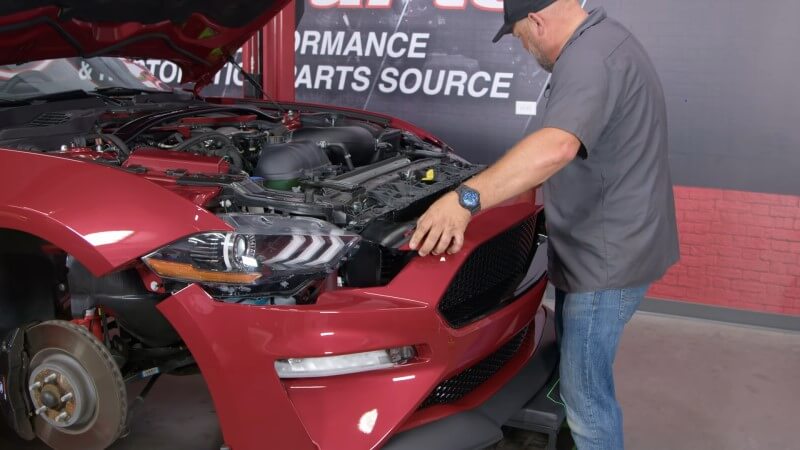
Also, remember to unplug the marker lights before pulling the bumper fully off.
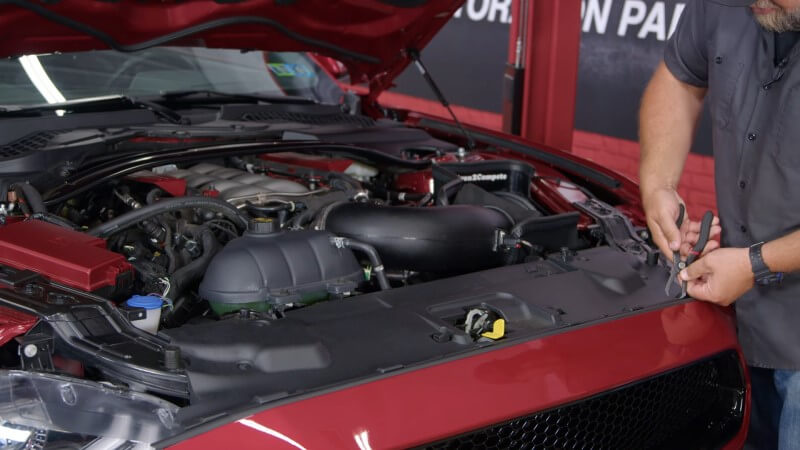
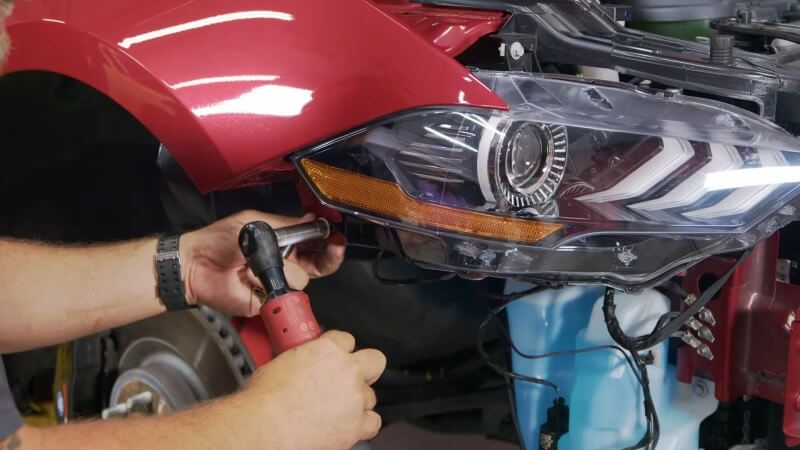
Step 8: Remove Stock Headlights
Unscrew the three headlight mounting bolts and carefully pull the stock headlight off, unplugging everything in the process. Repeat this on the other side.
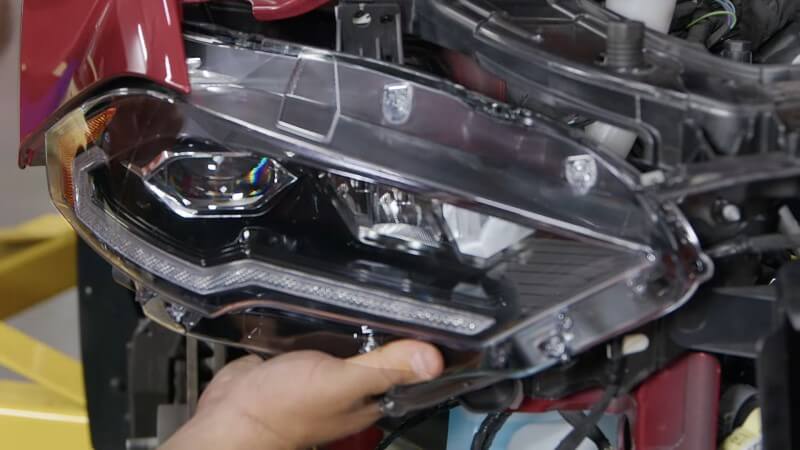
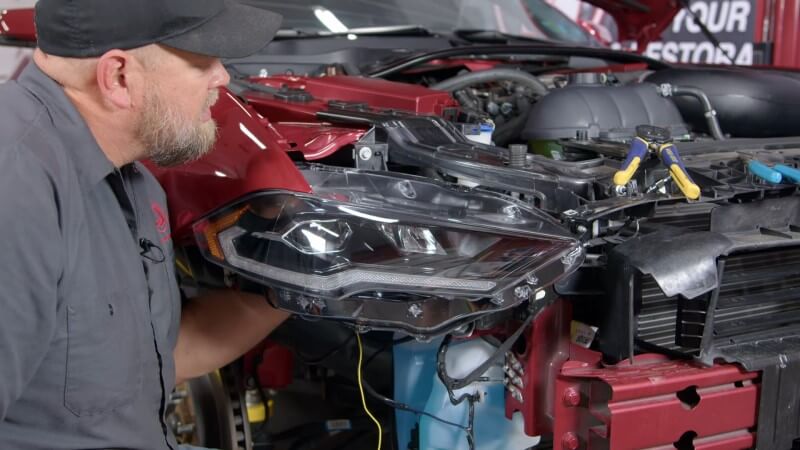
Step 9: Mount Aftermarket Headlights
Mount both aftermarket headlights using the factory mounting positions and reinstall the original hardware.
Step 10: Tap Into Factory Turn Signal Harness
To make the turn signals work, hold the turn signal harness facing up and locate the second wire from the end (yellow).
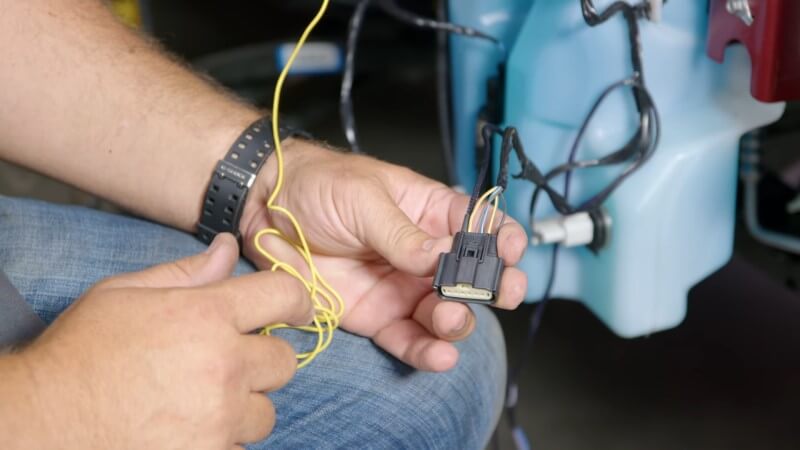
Tap into this wire with the provided wiretaps, or you can solder it for a more secure connection. Do this for both headlights.
Step 11: Plug in Modified Harness
Reach behind the mounted headlight and reconnect the modified wiring. Repeat this process on the other side.
To test your wiring, turn your hazard lights on and ensure they work properly.
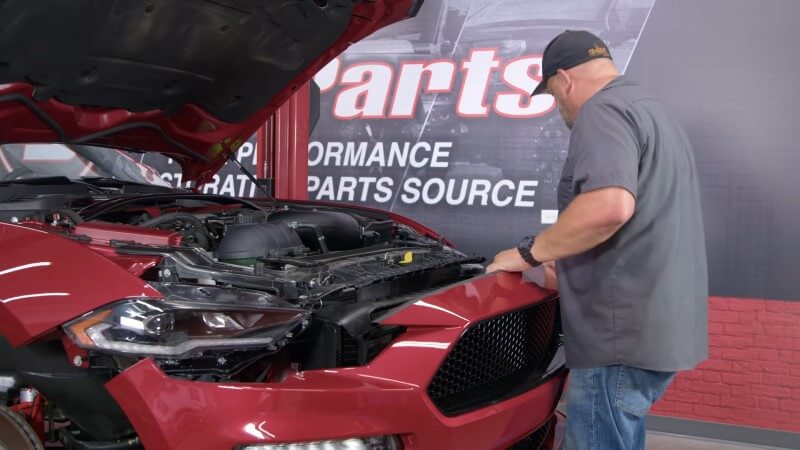
Step 12: Reattach Front Bumper
Raise your front bumper up to the front of your car and plug the marker lights back in. Then, put the bumper back onto the alignment tabs.
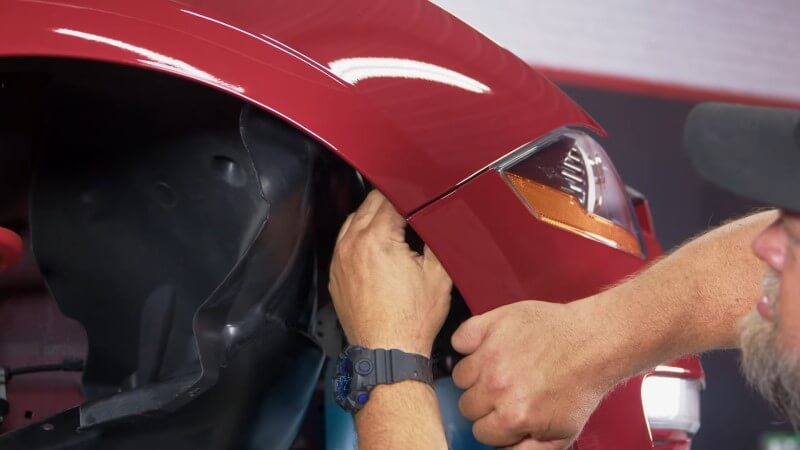
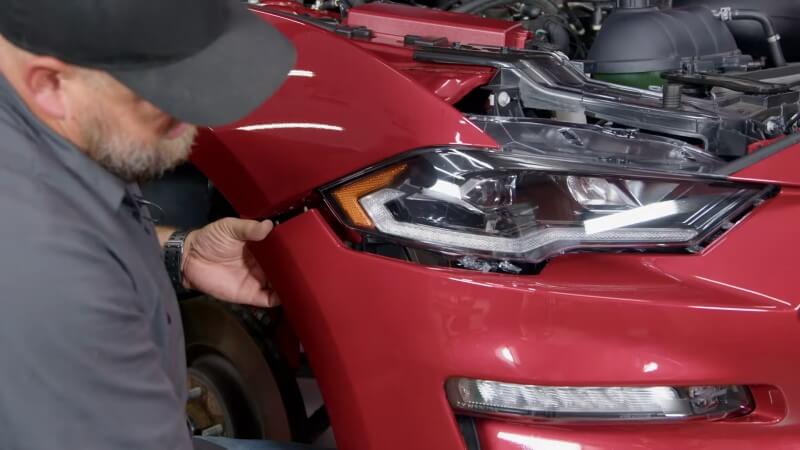
Step 13: Align Front Bumper and Fenders
Make sure your bumper goes above the tabs on the headlight and line it up with the front fender until they click together. Repeat this process on the other side, and reinstall the hardware.
Step 14: Reinstall Belly Pan Hardware
Reinstall the factory pushpins and screws into the belly pan.
Step 15: Reinstall Fender Liner Hardware
Reinstall the factory clips to hold the both fender liners in place. Each side should have five clips.
Step 16: Reinstall Radiator Support Hardware
Reinstall the factory hardware connecting the front bumper to the radiator support.
Step 17: Reinstall Radiator Cover
Put the radiator cover back in place and reinstall the factory hardware.
Congratulations, you're all done!
Make the Most of Your New S550 Headlights
With your newly installed projector headlights, you'll be able to see more clearly at night and in adverse weather conditions. If you're looking to upgrade your Mustang lighting further, adding a set of fog lights to compliment your new headlights is an easy and effective way to increase nighttime visibility.


