

How to Install a Sway Bars on Your S650 Mustang
Last Updated February 28, 2025 | Nate MoonisIf your 2024+ Ford Mustang isn't cornering as sharply as you'd like, upgrading your factory sway bars and replacing them with an aftermarket set can reduce body roll in corners and improve stability. All S650 Mustangs come equipped from the factory with sway bars, but many enthusiasts decide to upgrade them before doing any high-performance driving or tracking.
Check out the video below for a more in-depth installation breakdown.
How to Install Adjustable Sway Bars on a 2024-2025 Mustang
This step-by-step installation guide will walk you through the removal of the stock front and rear sway bars and the installation of the new, adjustable sway bars. While this guide and video were made for the 2024 Mustang, the process is similar for all S650 Mustangs. In the video above, we chose a set of RTR adjustable coilovers that comes with the necessary grease for installation.

Tools and Supplies Needed:
- 10mm Socket
- 13mm Socket
- 18mm Socket
- 18mm Wrench
- Floor Jack
- Jack Stands
- Grease (included in kit)
- Disposable Rubber Gloves
- Pry Tool
Step 1: Loosen Front Sway Bar End Links
Use an 18mm wrench to loosen and remove the front sway bar end link on the driver's side. Then, do the same on the passenger's side.

Step 2: Remove Sway Bar End Link from Sway Bar
Separate the sway bar end link from the sway bar by using a pry tool to carefully pop the end link out of place.
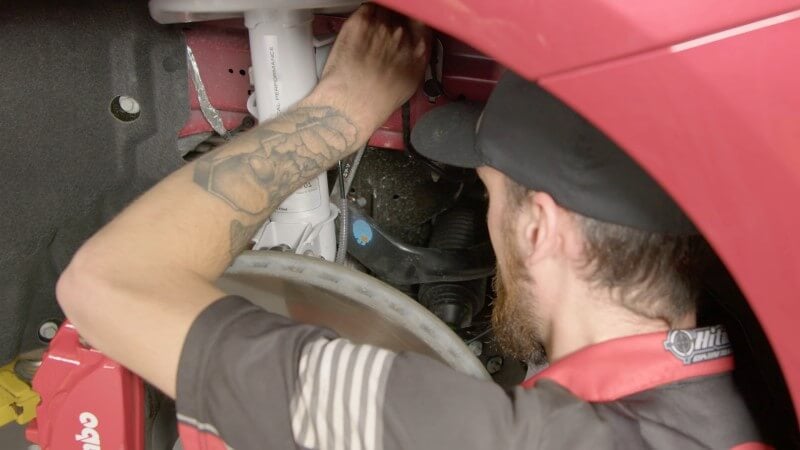
Repeat that process on the other side.
Step 3: Loosen Back Sway Bar Bolt
Use an 18mm wrench to loosen and remove the back bolt on the front sway bar on one side.
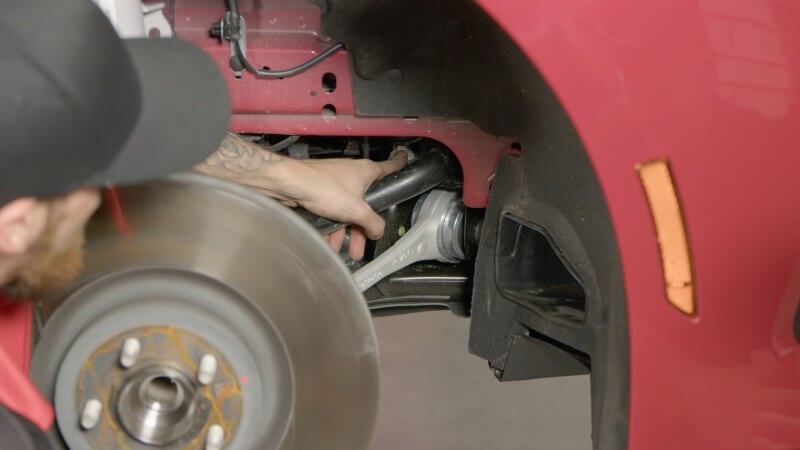
Repeat that process on the other side.
Tip: The front sway bar bolt can be hard to get off. Use the open end of an 18mm wrench and a floor jack handle to crack the bolt loose, then use the closed end to loosen and remove it the rest of the way.
Step 4: Loosen Dual Intake Clamps
Pop the hood and locate the dual air intakes at the front of the engine bay.
Loosen the clamp bolts securing the intakes to the engine.

Step 5: Disconnect PCV Lines
Gently push in the clip connecting the PCV lines to the intakes and pull outward until they separate on both sides.

Step 6: Separate Dual Intakes from Throttle Bodies
Slide the dual air intakes off of the throttle bodies by wiggling it side-to-side until they come loose.

Step 7: Disconnect MAF Sensor
Pop the intake cover off and locate the mass air flow sensor. Then, disconnect the mass air flow sensor by pulling back on the white tab and separating the connector from the intake.
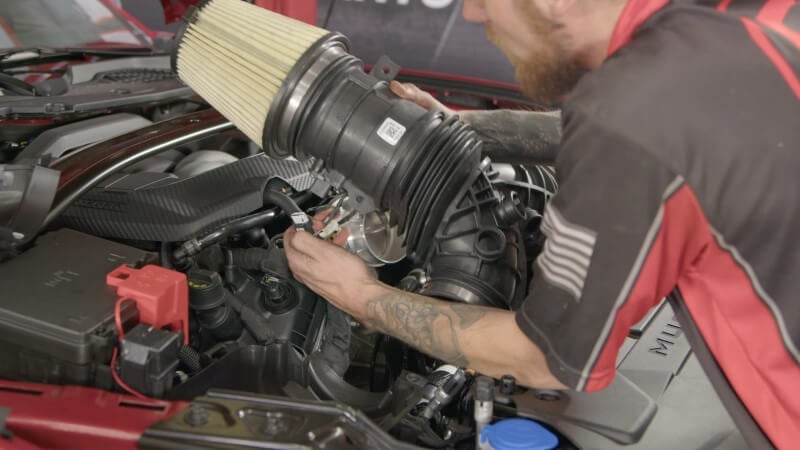
Then, use a pry tool or clip removal tool to pop the wiring harness clip off of the intake.

Step 8: Remove the Intakes
After you've disconnected everything, remove the intakes from the engine bay.

Step 9: Remove Bottom of Air Box Cover
Use a 10mm socket to remove the bolt holding the bottom of the the air box cover in place. Then, pull the air box cover out of the engine bay.

Step 10: Remove Front Sway Bar Mounting Bolts
After removing the air box and intakes, locate the front sway bar mounting bolts and remove them with a socket wrench and extension.

Step 11: Remove Front Sway Bar
Pull the sway bar out of the Mustang from the front wheel well. If possible, have a helper or friend push from the opposite side to get it out easier.

Step 12: Slide New Front Sway Bar Into Place
Carefully slide your new front sway bar into place through the front wheel well. If possible, leave the shipping wrap on the sway bar to prevent it from getting scratched during installation.

Step 13: Grease Sway Bar Bushings
Using the supplied grease in the kit, apply grease to the inside of the sway bar bushings until sufficiently covered.
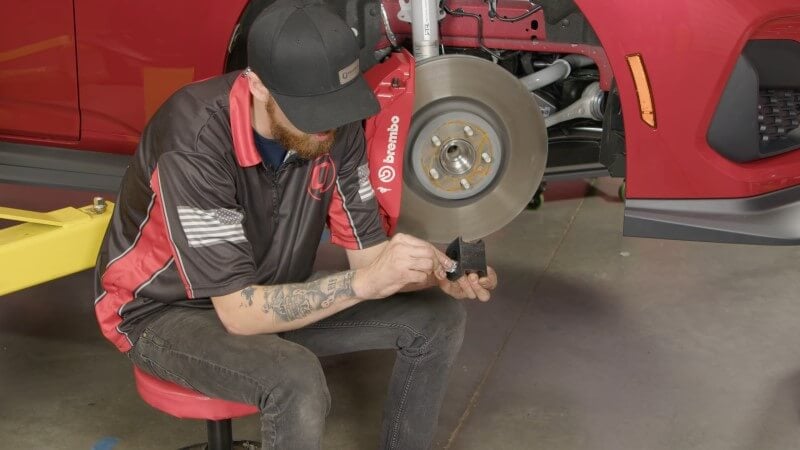
Remember to grease both the driver's and passenger's side bushings.
Step 14: Install Front Sway Bar Bushings
Insert the greased front sway bar bushings into place on the new sway bar.

Step 15: Install Sway Bar Mounting Brackets
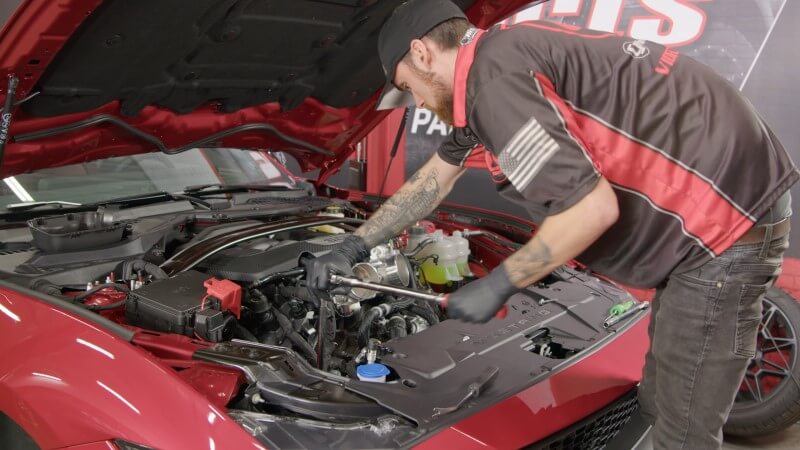
From the engine bay, install the sway bar mounting brackets with the factory hardware.
Step 16: Reinstall Sway Bar End Links
Locate the mounting hole on the sway bar and reconnect the sway bar end link, but don't tighten everything down. Once you've reconnected the sway bar on the opposite as well, then go back and tighten both sides to spec.

Step 17: Reinstall Air Boxes and Intakes
Go back into the engine bay and reinstall your air boxes and intakes before moving onto the rear sway bar.
Step 18: Remove Rear Sway Bar End Link Bolt
Move to the rear of the car and access the rear wheel well. Then, remove the 10mm bolt holding the sway bar end link in place on both sides.

Step 19: Disconnect Sway Bar End Link
Loosen and remove the sway bar end links from the both sides.

Step 20: Remove Rear Sway Bar Mounting Bolts
Locate and remove the two rear sway bar mounting bolts on either side of the rear sway bar.

Step 21: Remove Rear Sway Bar
After all of the mounting bolts have been removed, carefully remove the rear sway bar.

Step 22: Remove End Links from Factory Sway Bar
Loosen and remove the sway bar end links from the factory sway bar. Then, set them aside for later.

Step 23: Install Rear Sway Bar Bushings
Using the supplied grease, apply a thin layer of grease to the inside of both rear sway bar bushings.

Then, slide the bushings into place on the new rear sway bar.
Step 24: Slide Rear Sway Bar Into Place
Carefully slide the new rear sway bar into place on the rear of the car.

Step 25: Reinstall Factory Mounting Brackets
Reinstall the factory sway bar mounting brackets and hardware to secure the new rear sway bar in place.

Step 26: Reinstall Factory Sway Bar End Links
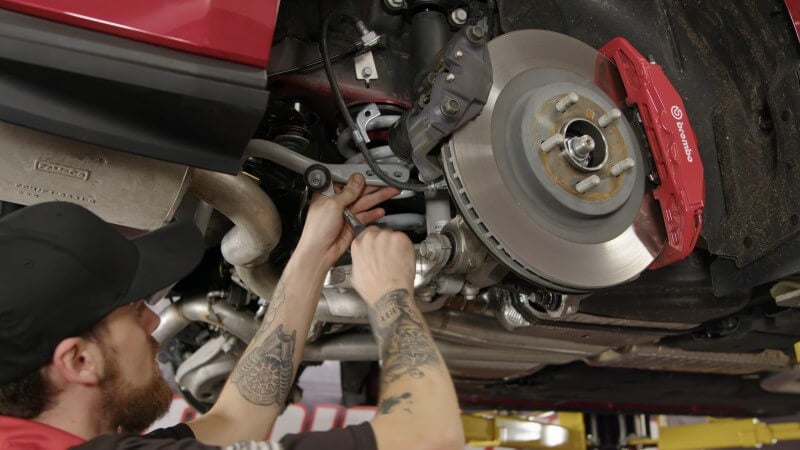
Reinstall the factory sway bar end links onto the sway bar and spring perches. Be sure to reuse the factory hardware.
Step 27: Install Brake Line Bracket
Slide the supplied brake line bracket over the top of the sway bar end link and use the factory hardware to tighten it into place.
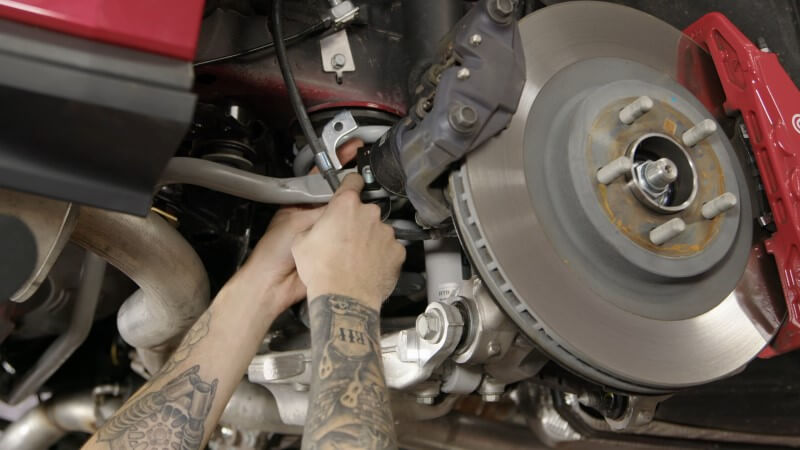
Congratulations, you're all done!
Take Corners with Confidence After Installing New Sway Bars
Upgrading from the factory sway bars allows you to adjust your 2024-2025 Mustang's suspension setup down to the smallest details. Not sure which sway bar you want for your ride? We have a great article that explains what a sway bar is and which type is right for your ride.


